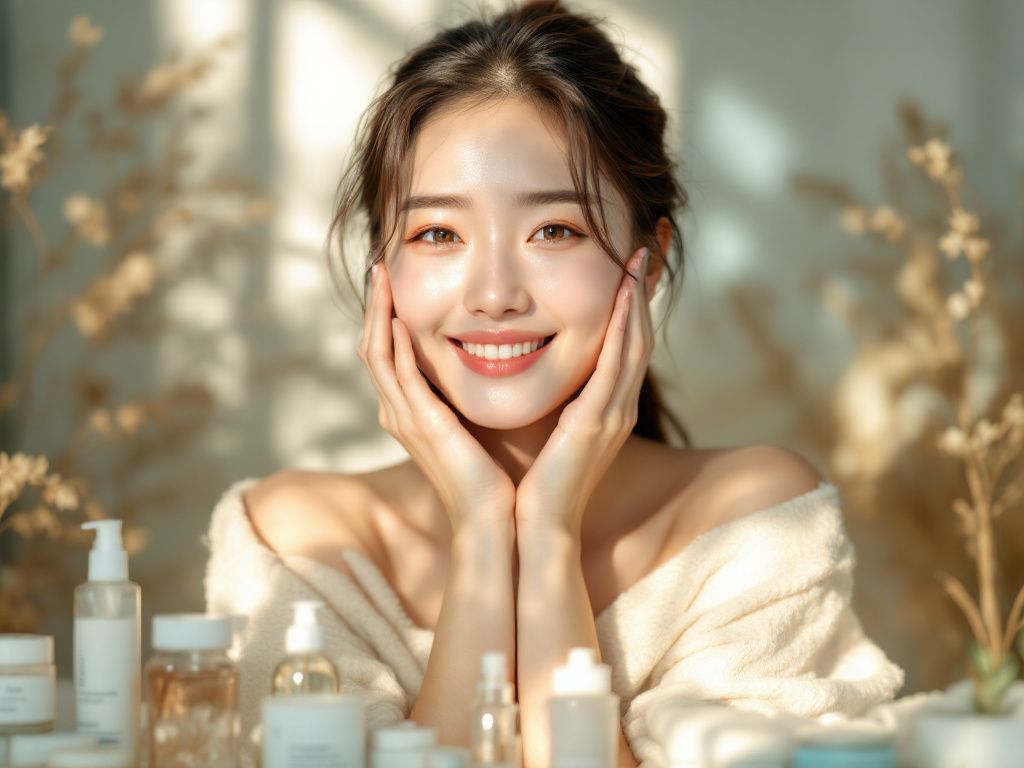
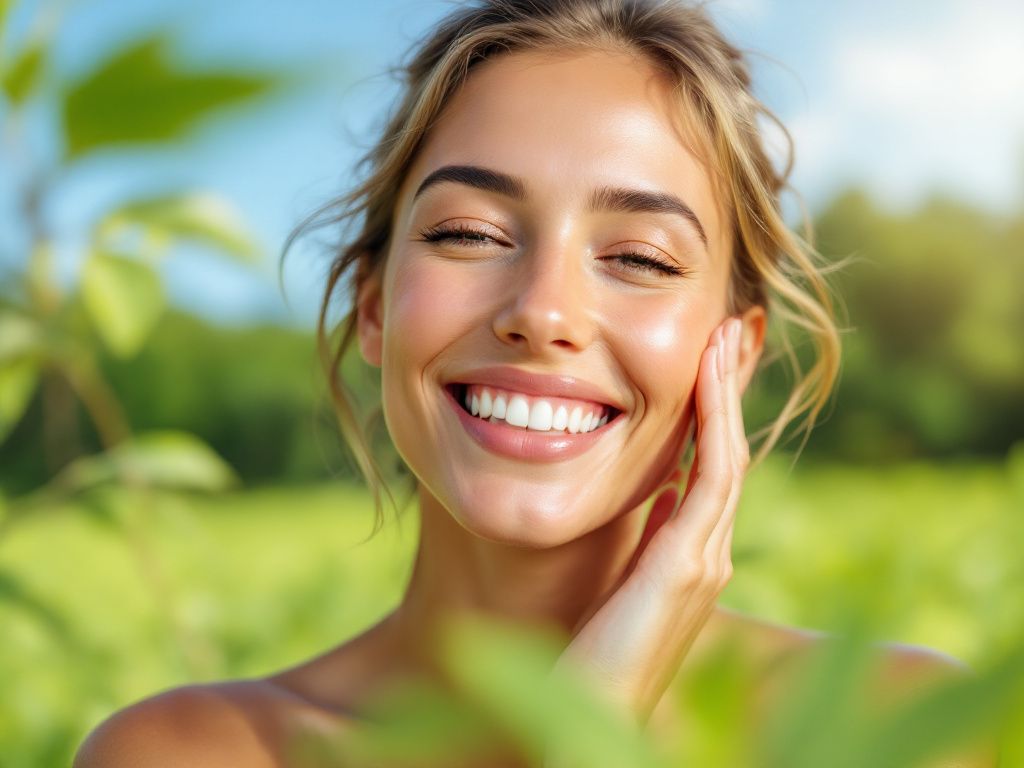
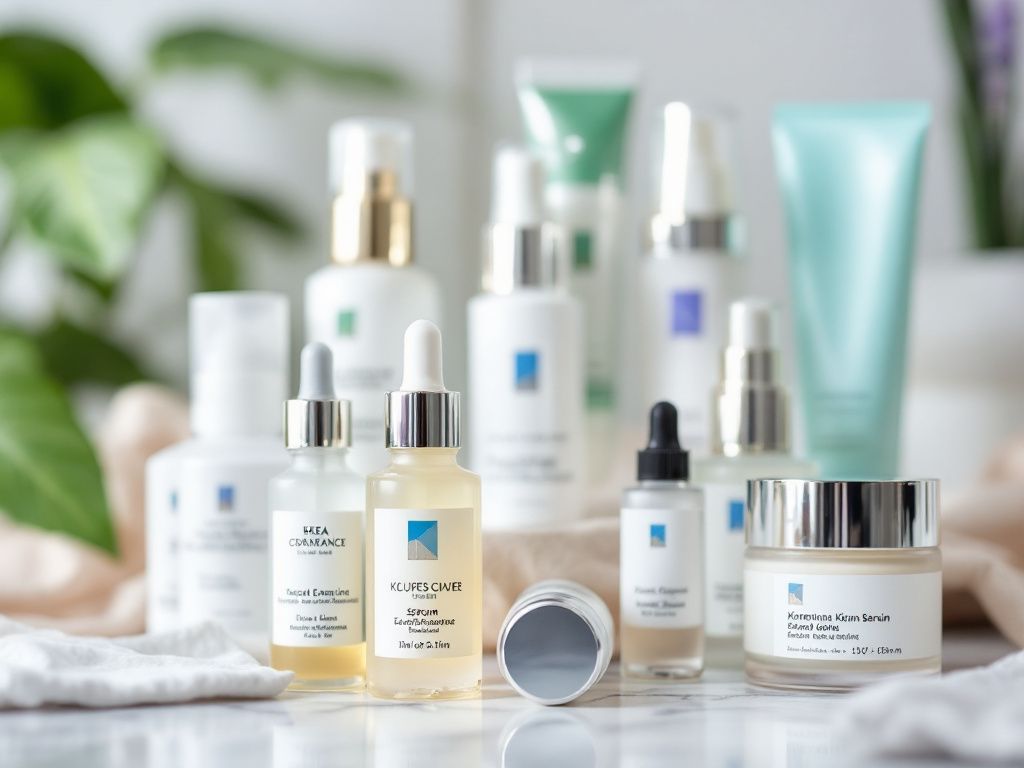
![Scandinavian Skincare Secrets [Revealed]](https://culturalchicstyles.com/wp-content/uploads/2025/06/10x-Blogs-2-2025-06-18T113546.586-1024x576.png)
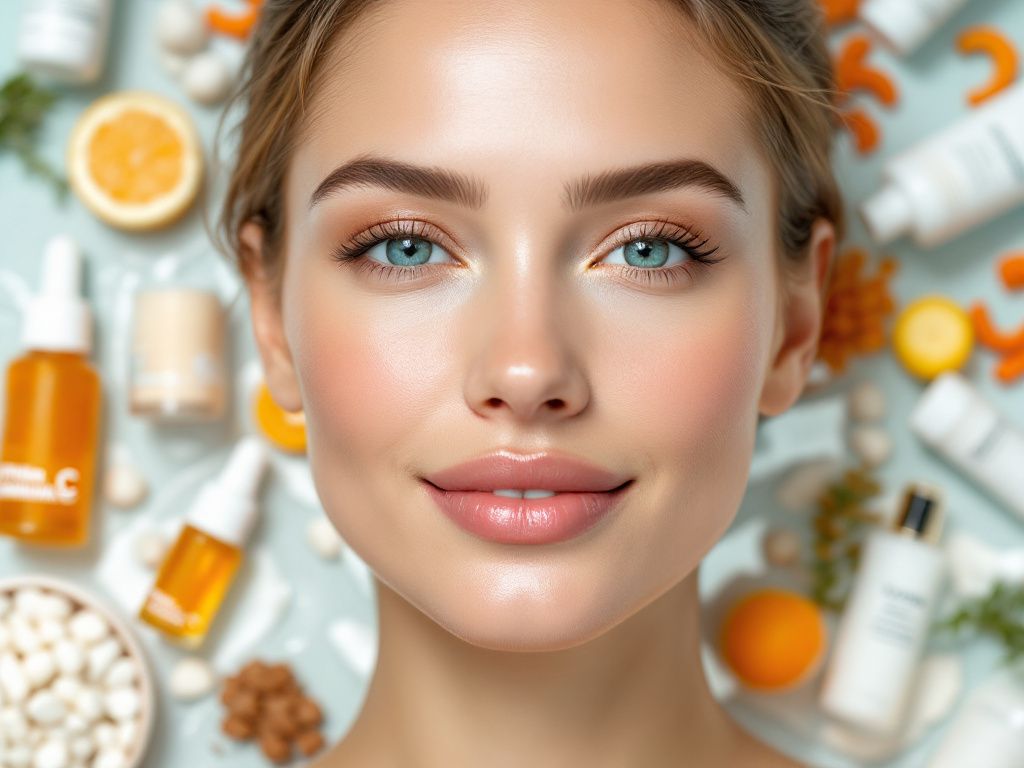
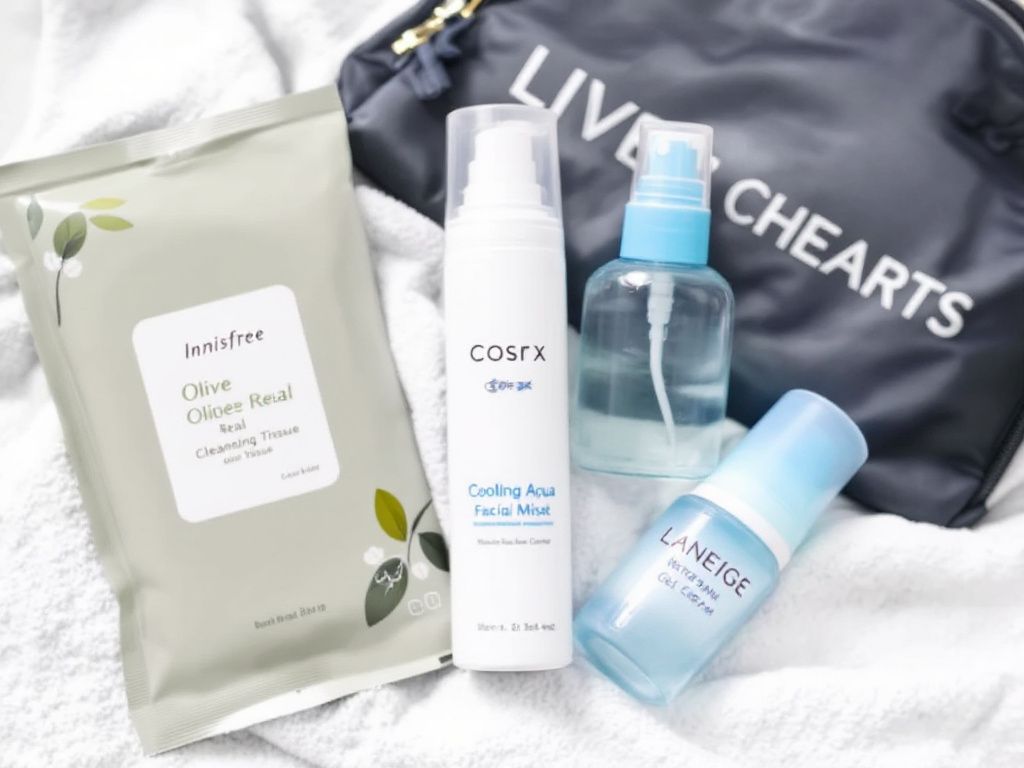
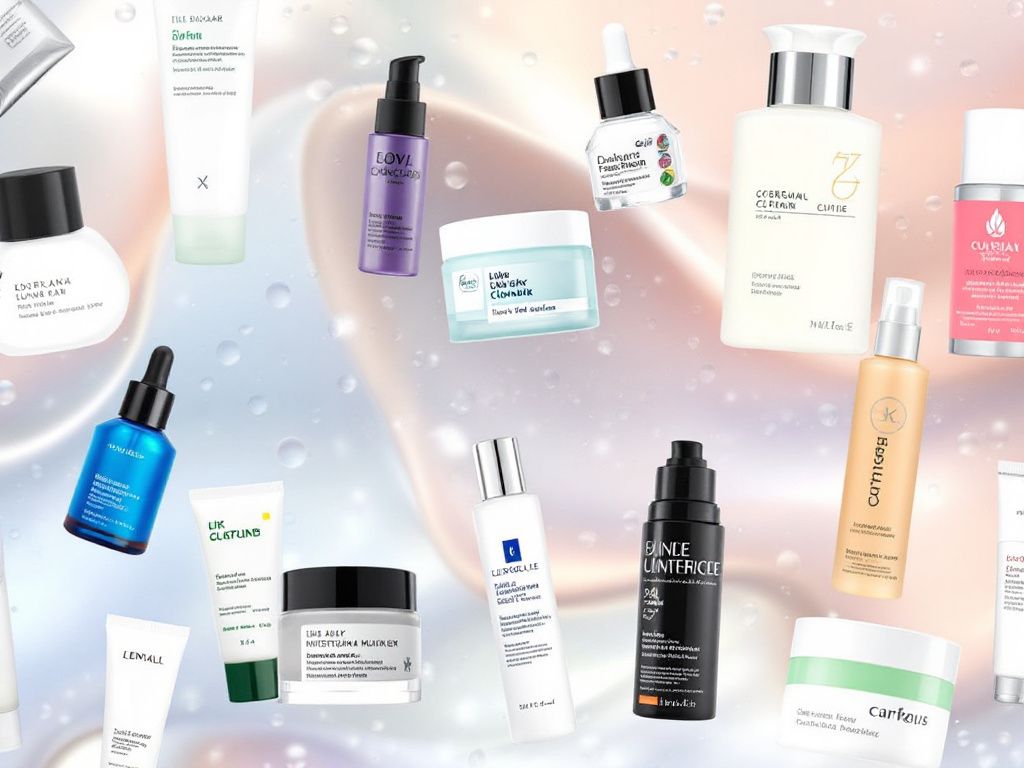
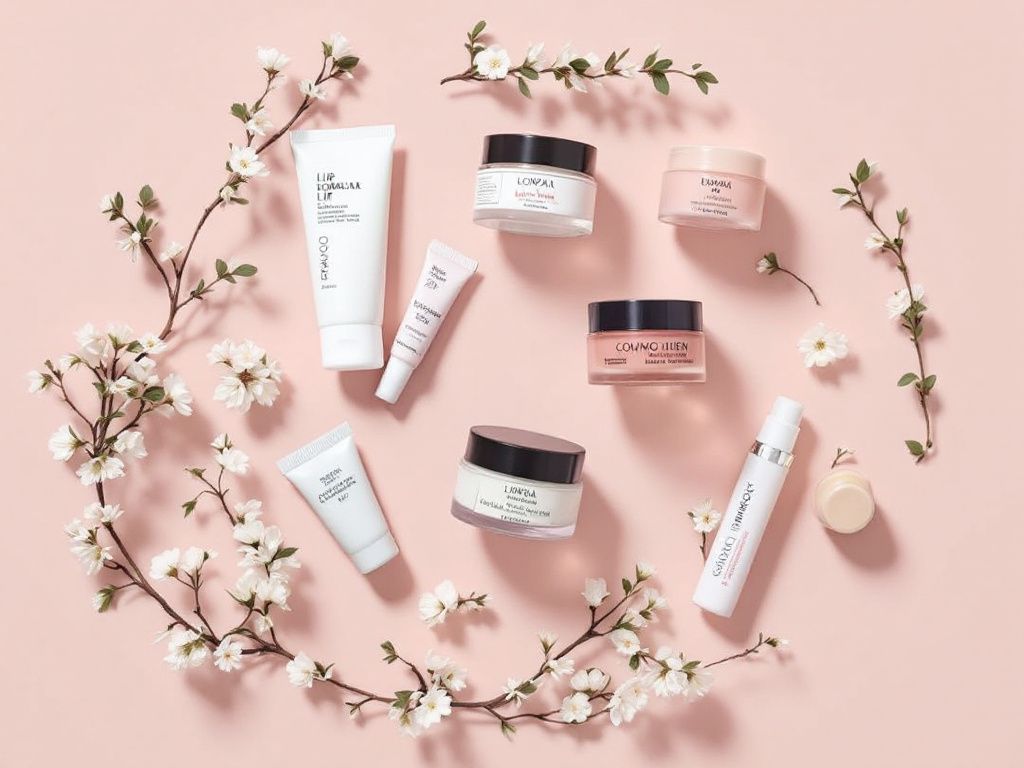
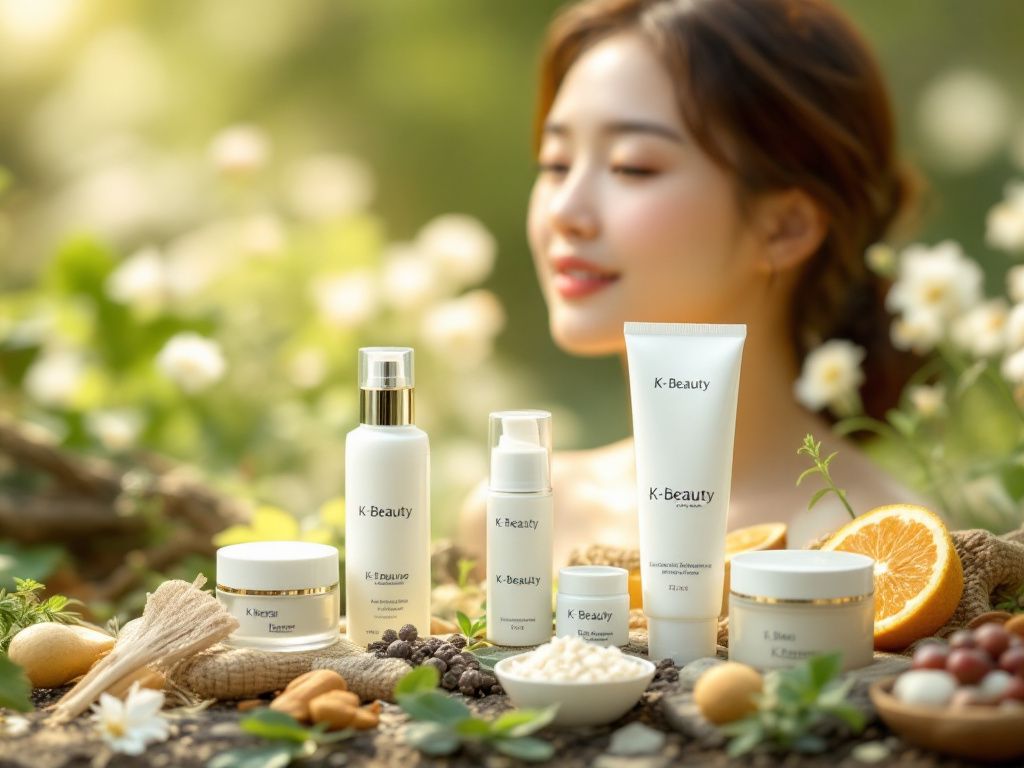
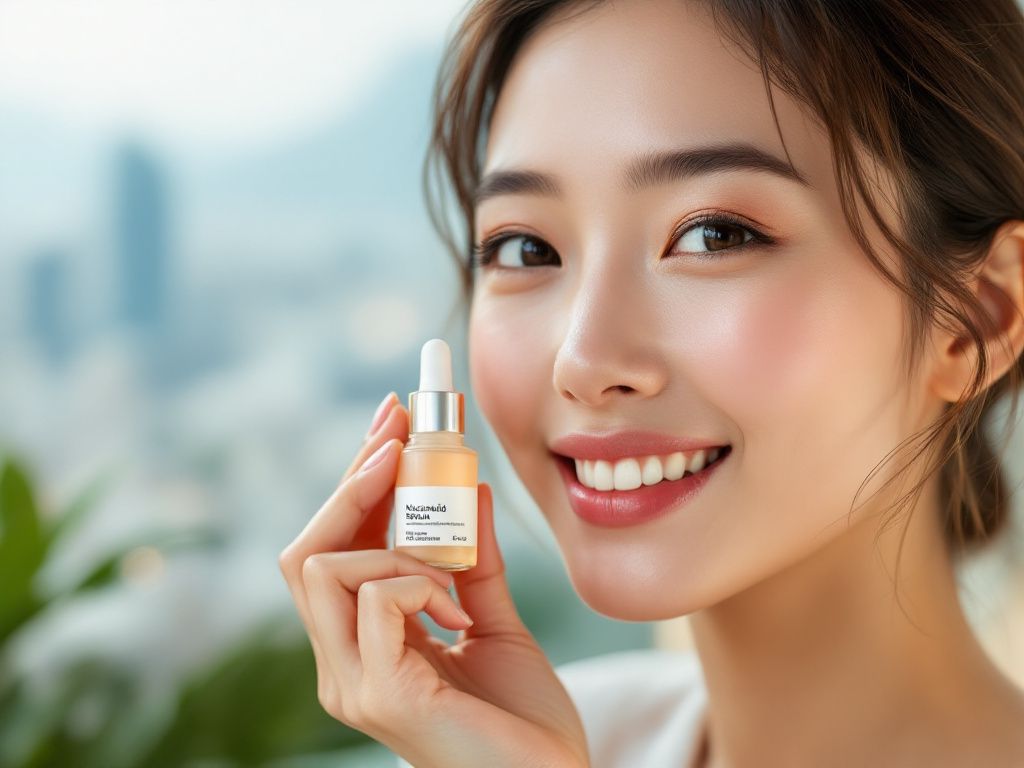
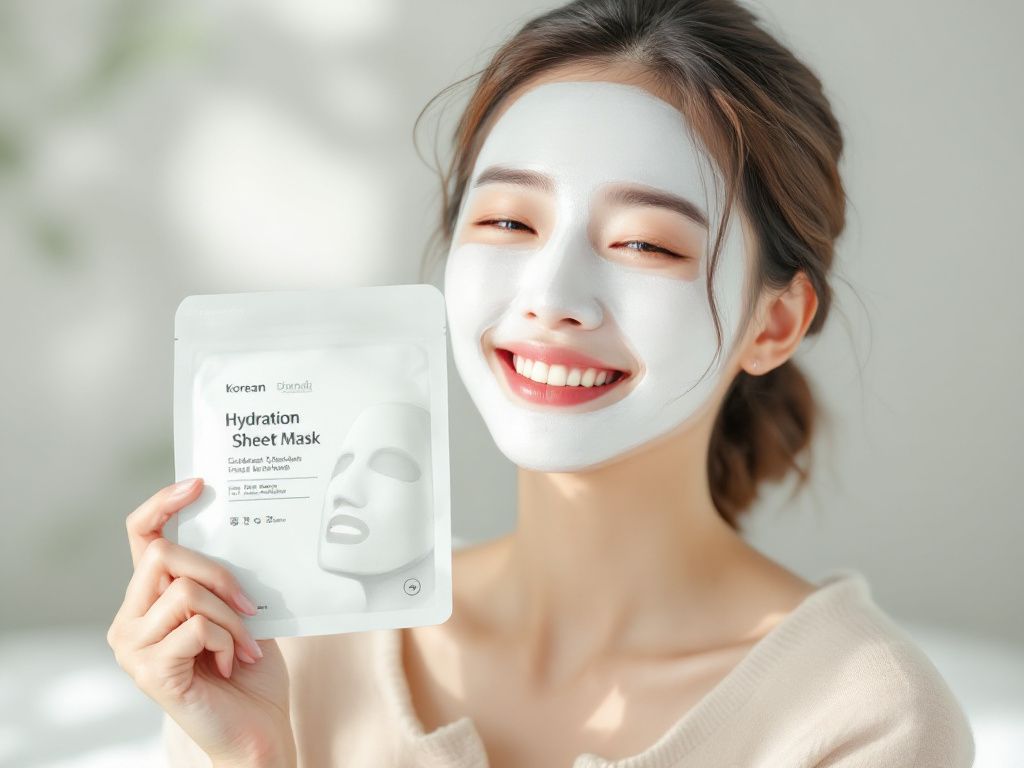
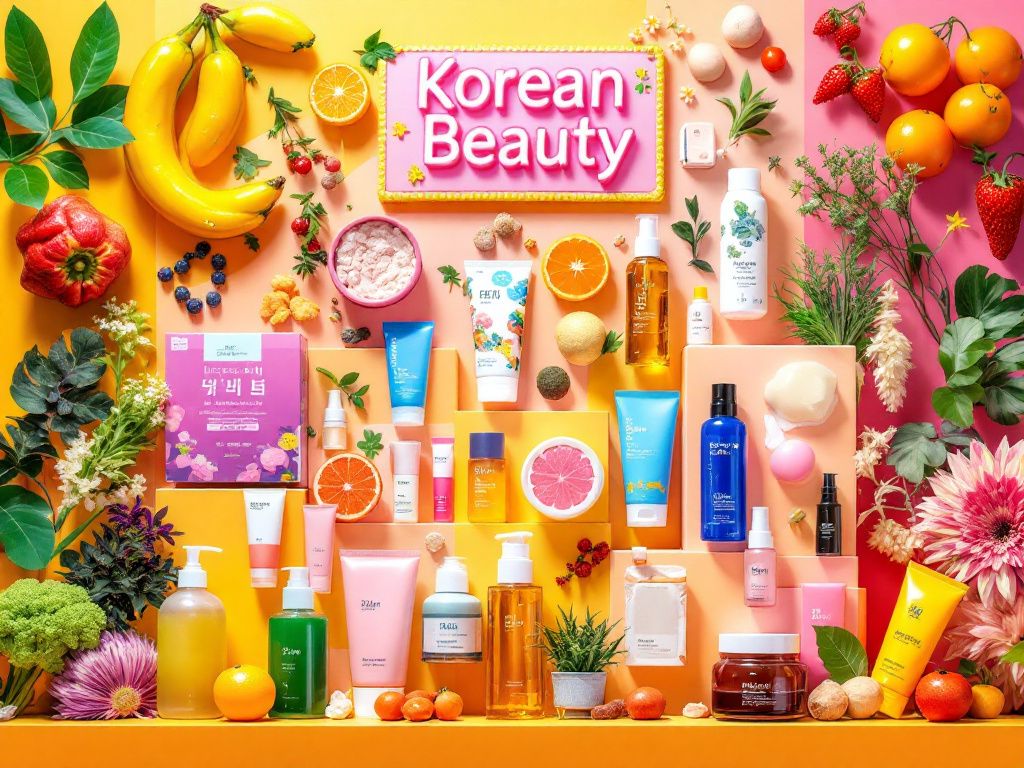
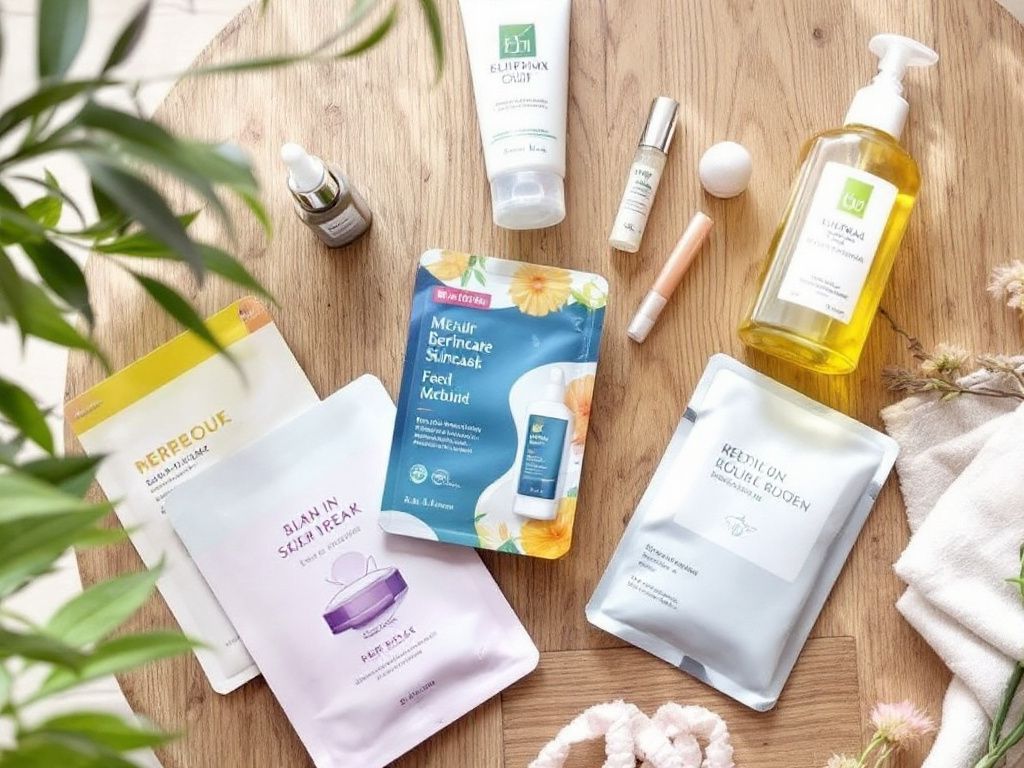
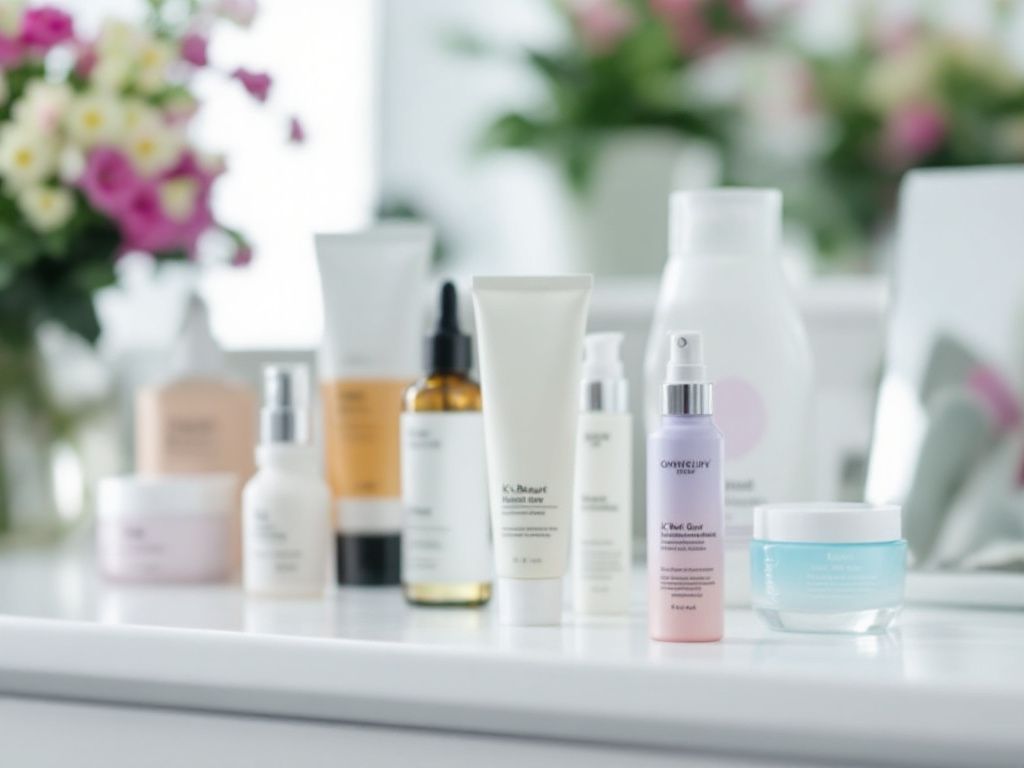
![[Beginner's Guide] Must-Have Korean Beauty Products](https://culturalchicstyles.com/wp-content/uploads/2025/06/10x-Blogs-2-2025-06-16T185259.533-1024x576.png)


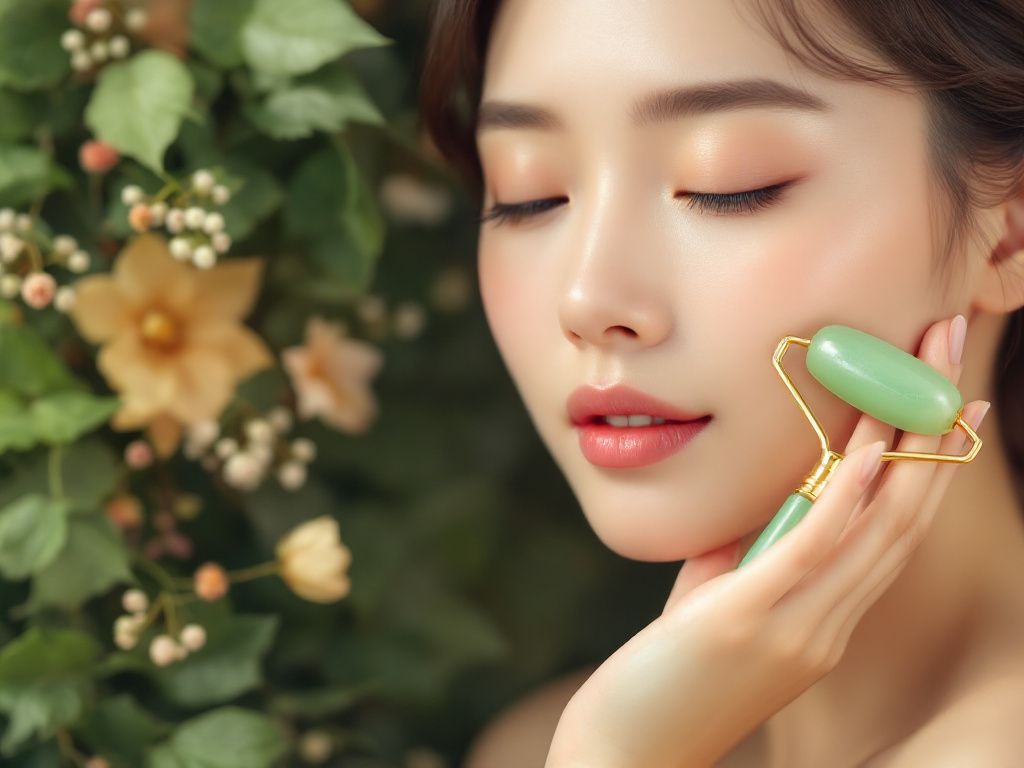


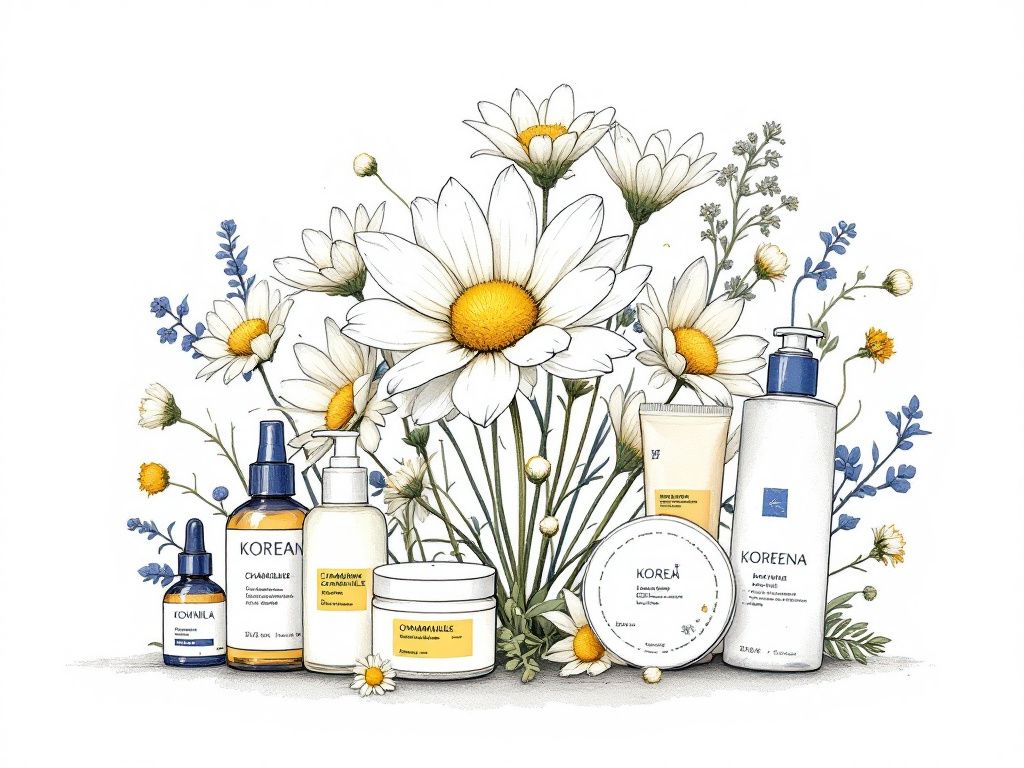
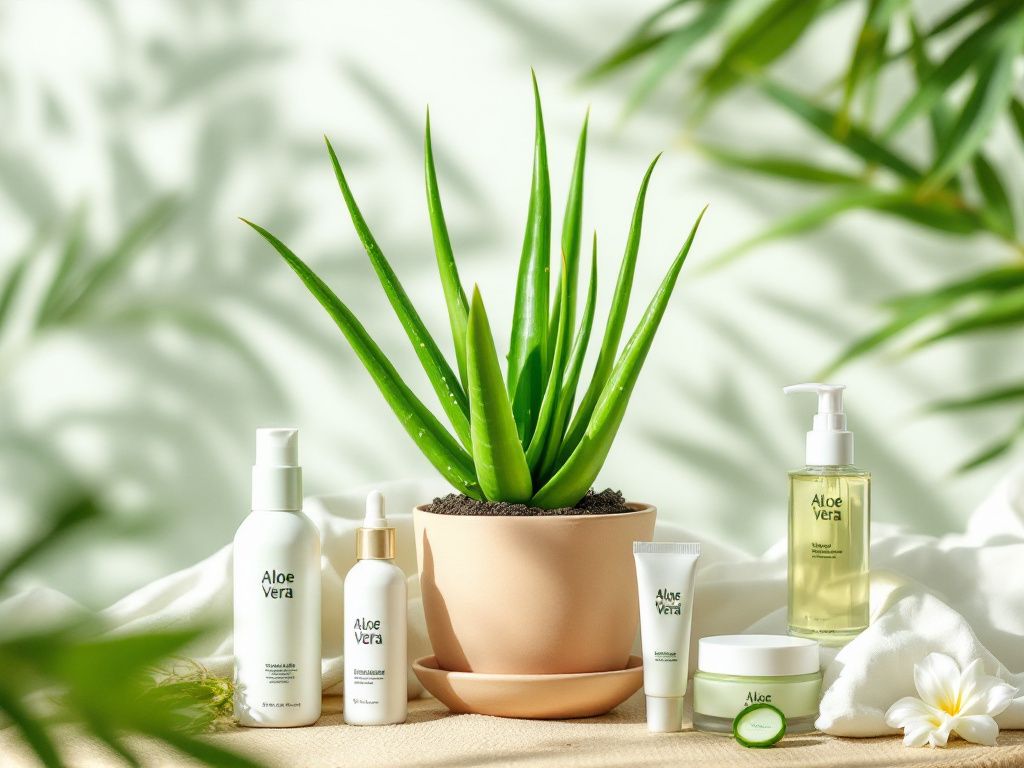
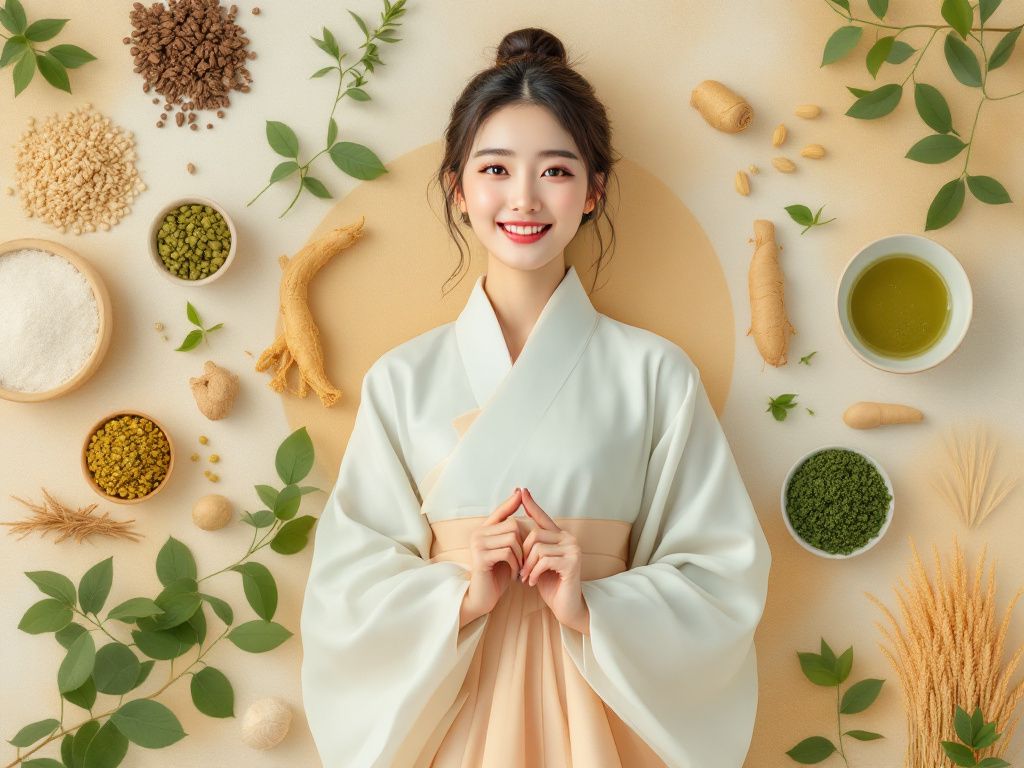
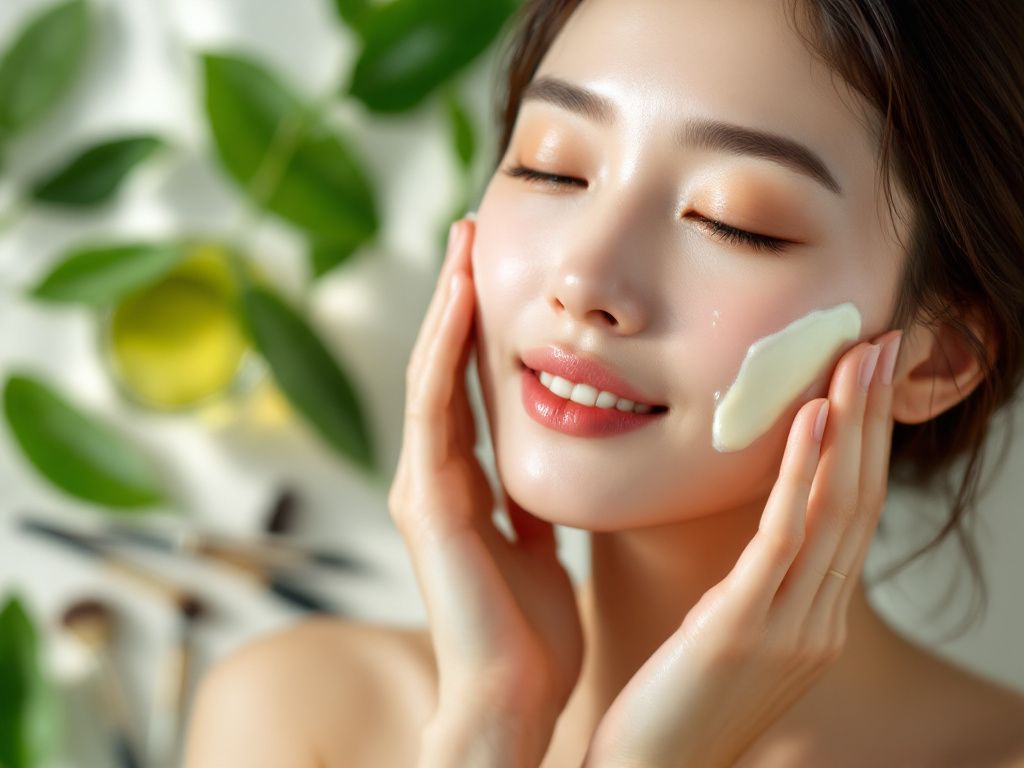
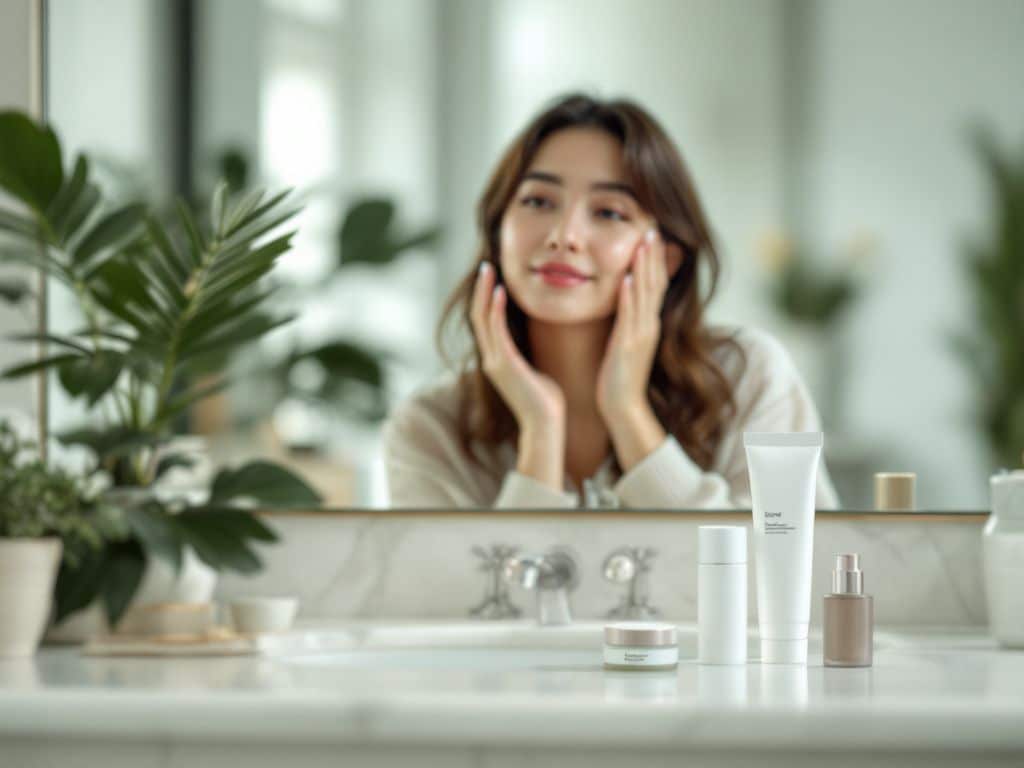
![[Ancient Meets Modern] How Hanbang Korean Skincare Is Changing Beauty Trends](https://culturalchicstyles.com/wp-content/uploads/2025/05/10x-Blogs-83-1024x576.png)


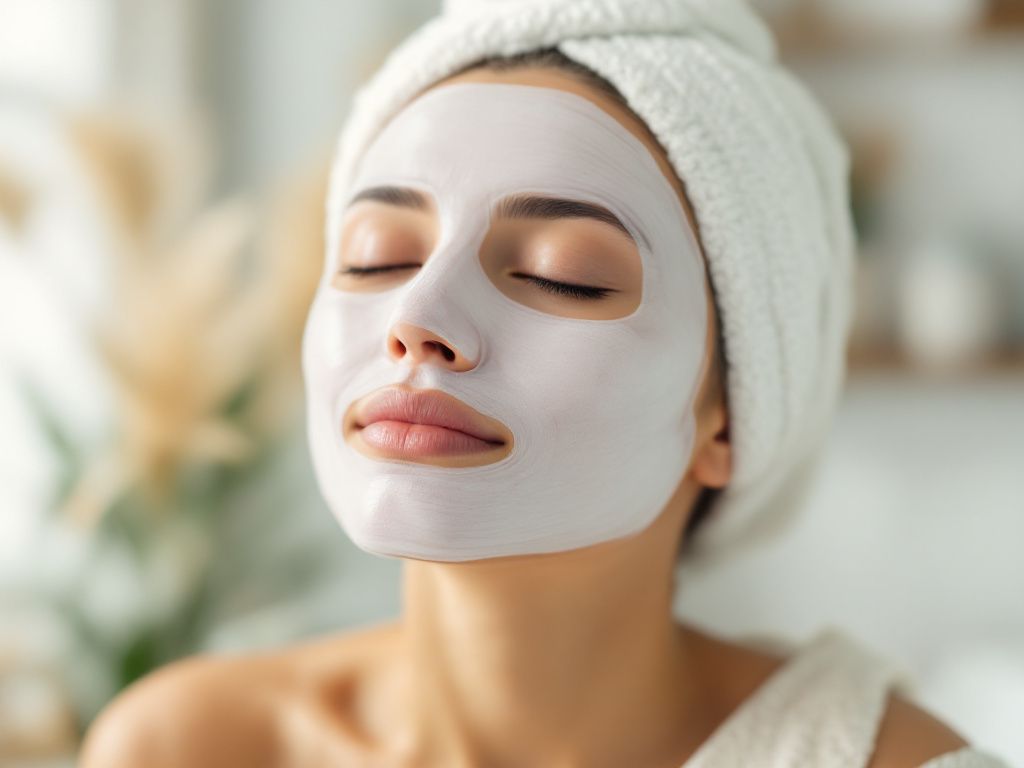
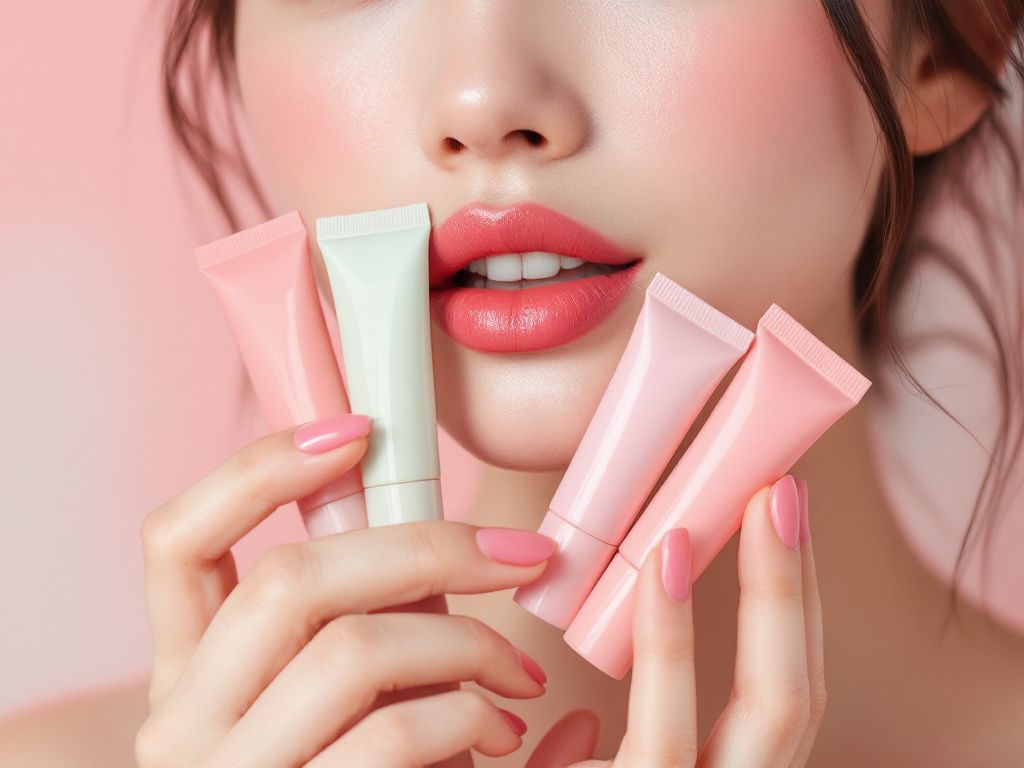
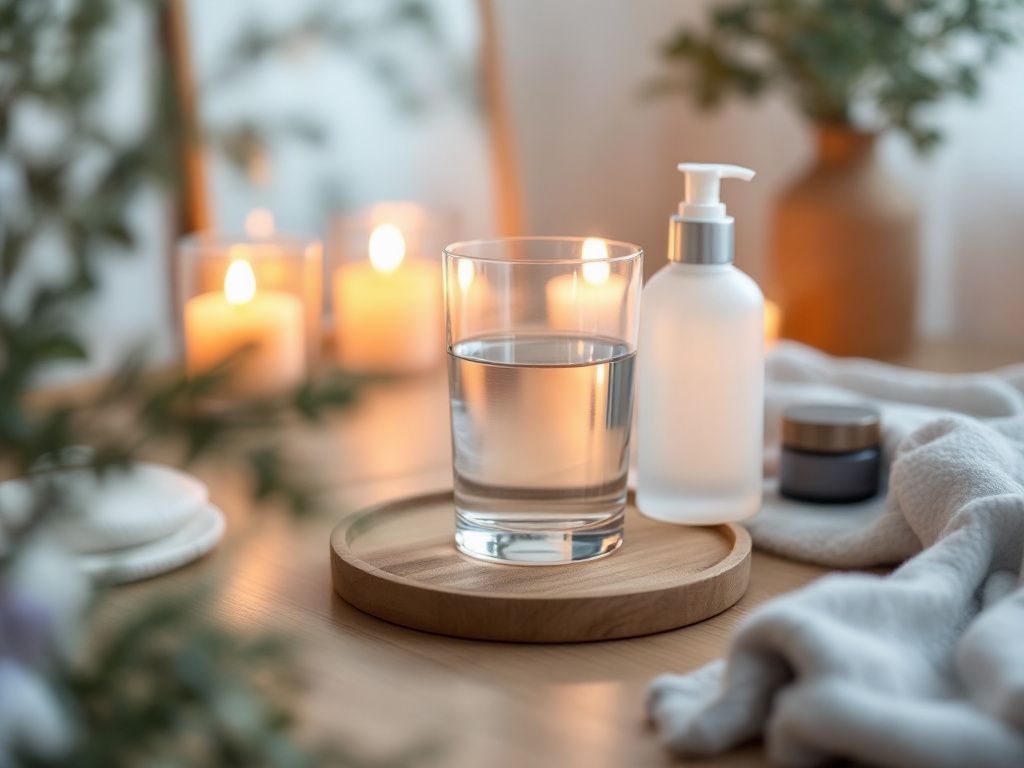
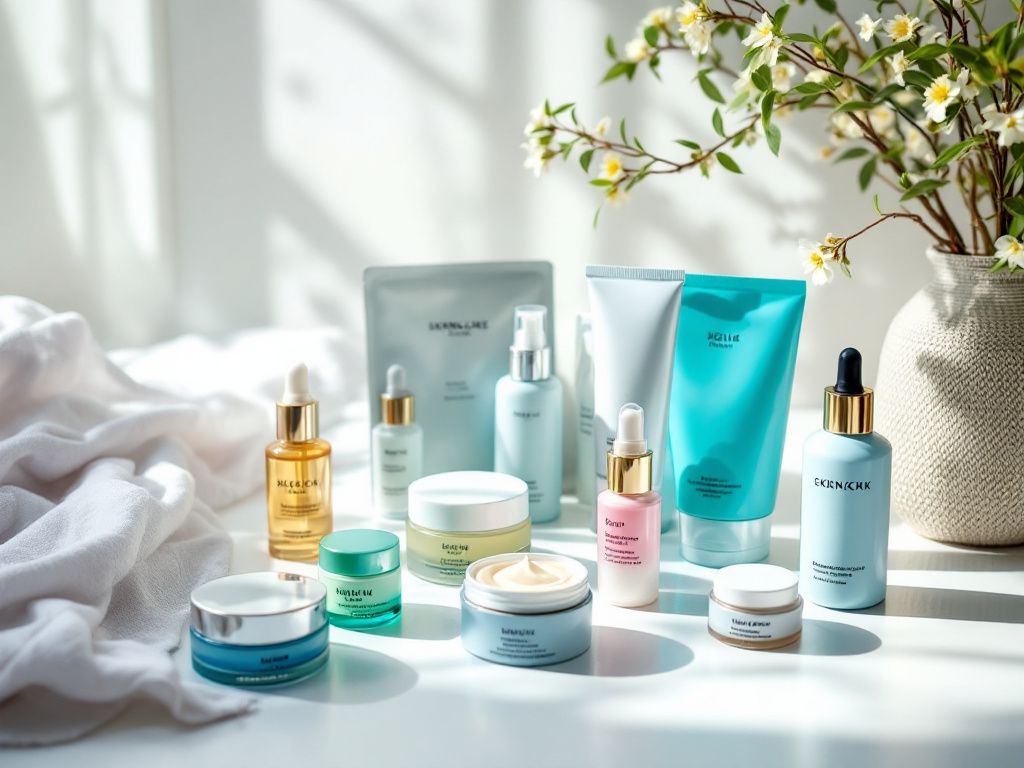
![[Skincare Rituals] Unlock the Ancient Japanese Secret of Double Cleansing](https://culturalchicstyles.com/wp-content/uploads/2025/04/10x-Blogs-78-1024x576.png)


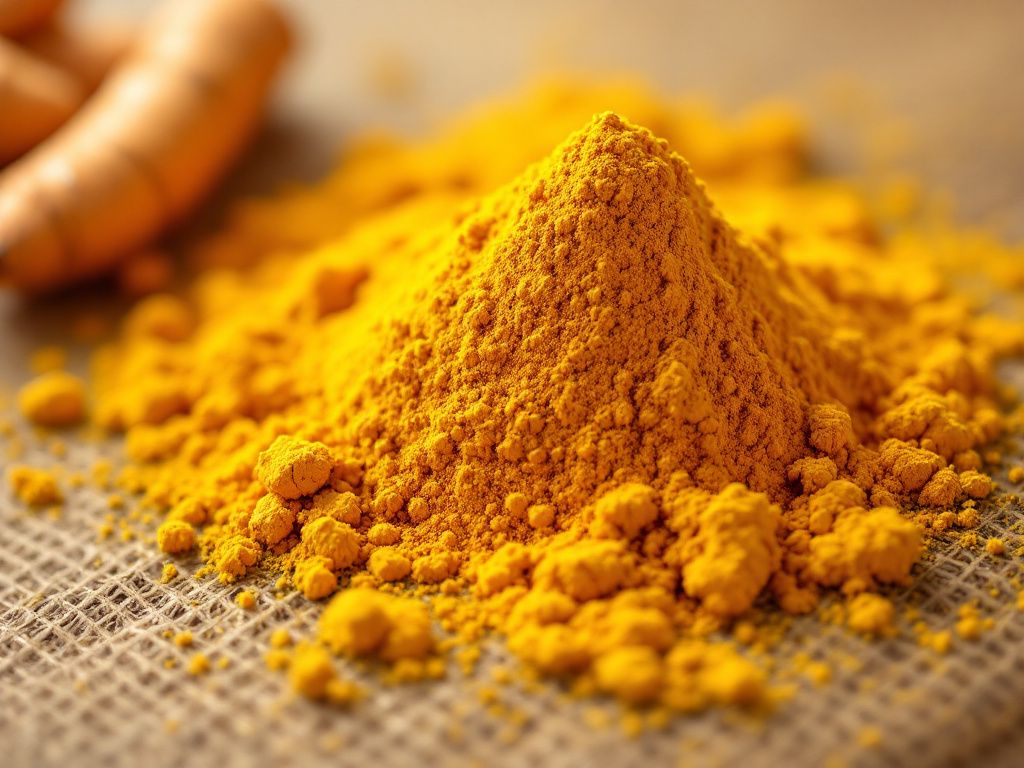


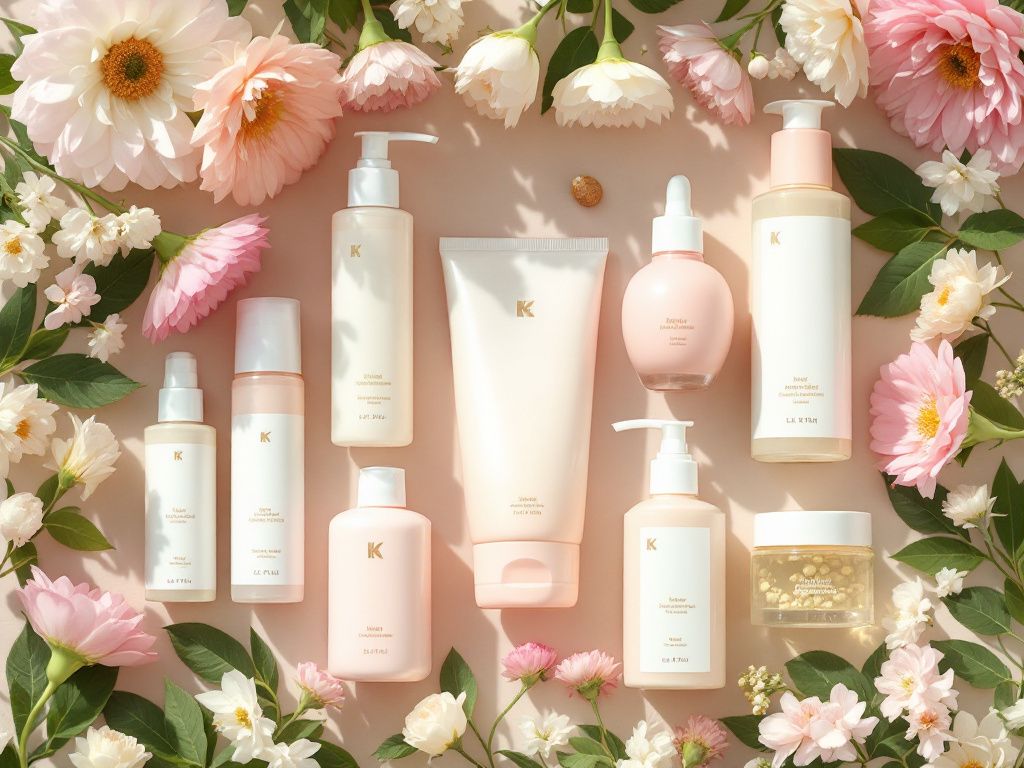


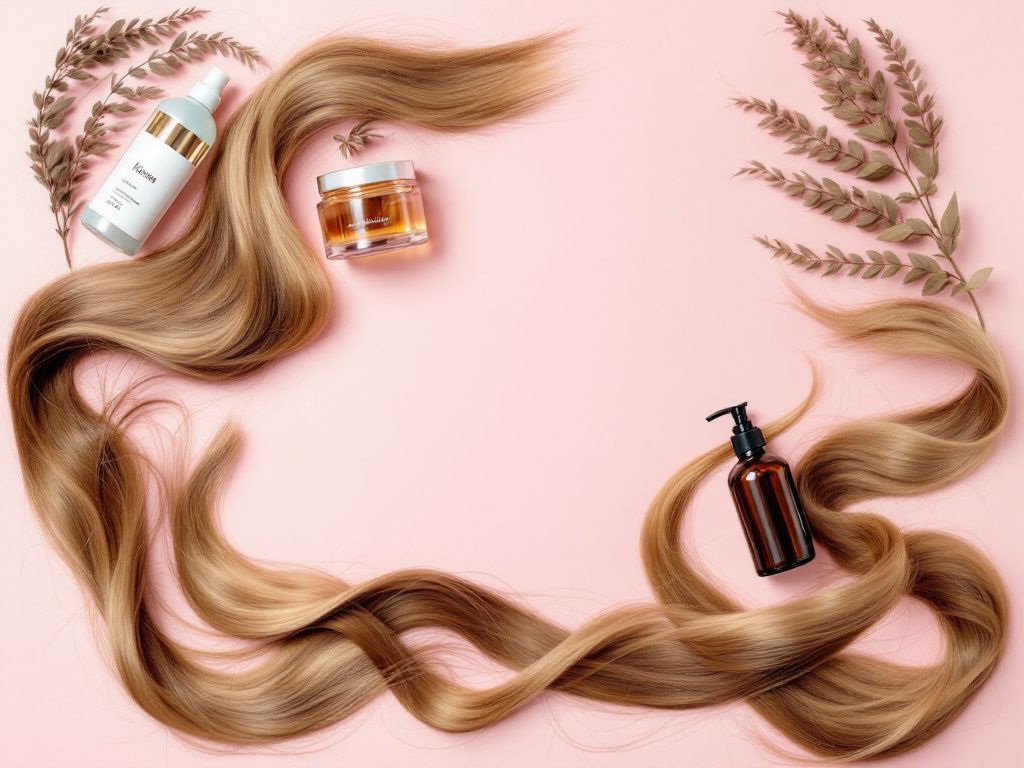


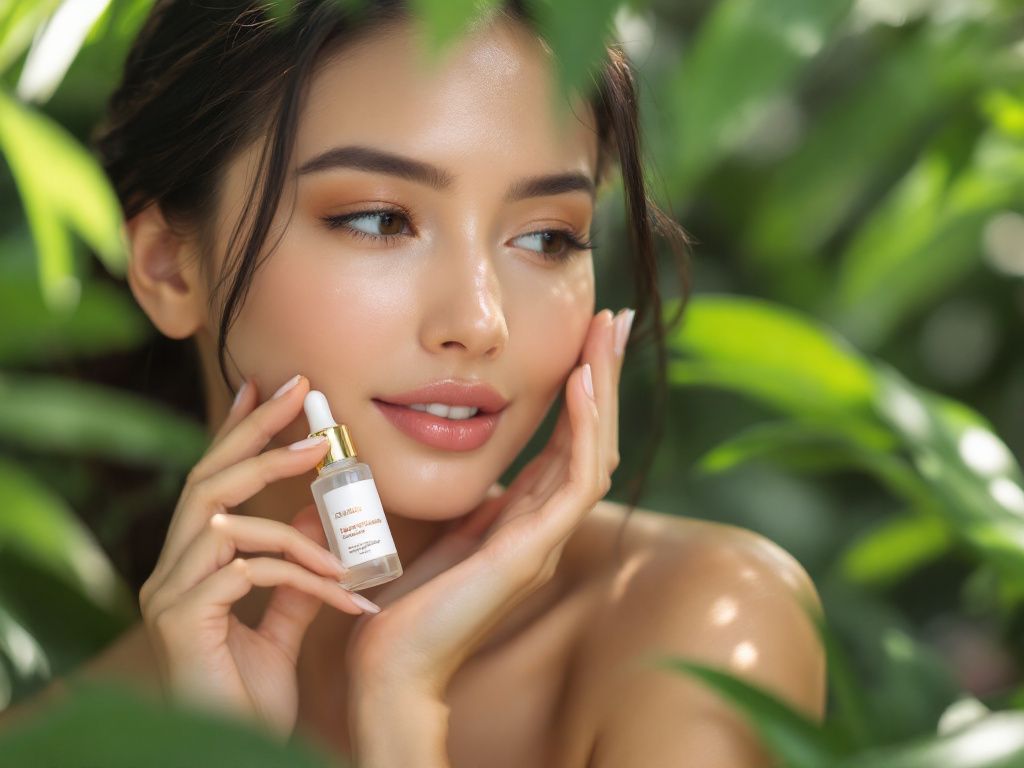


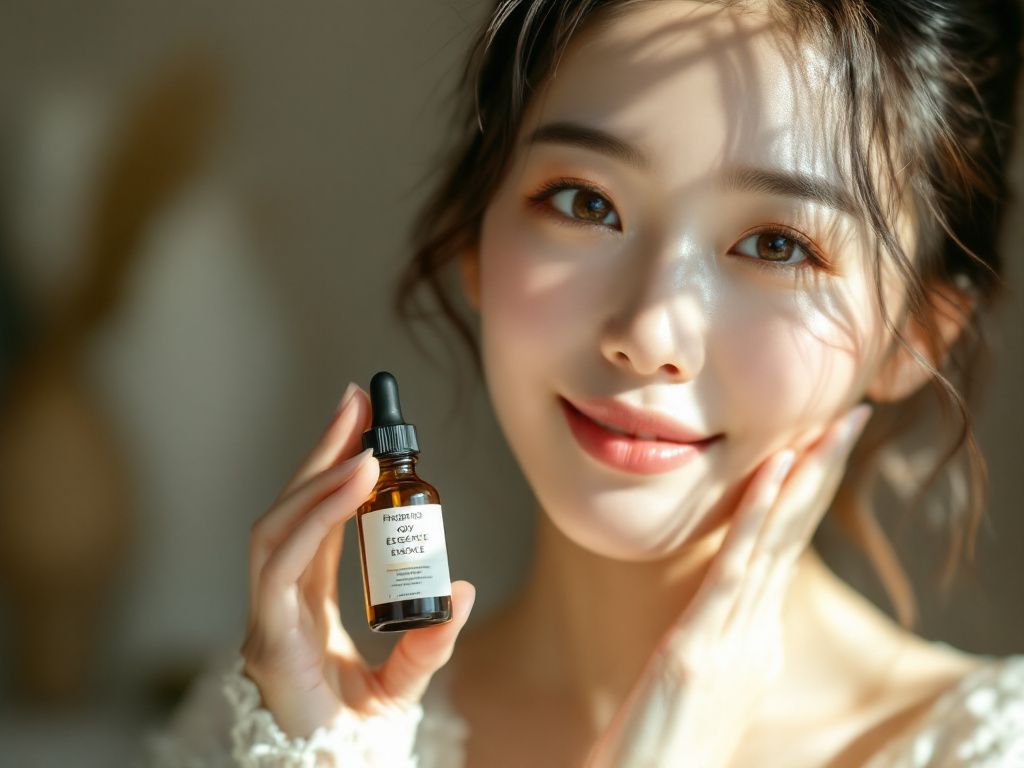
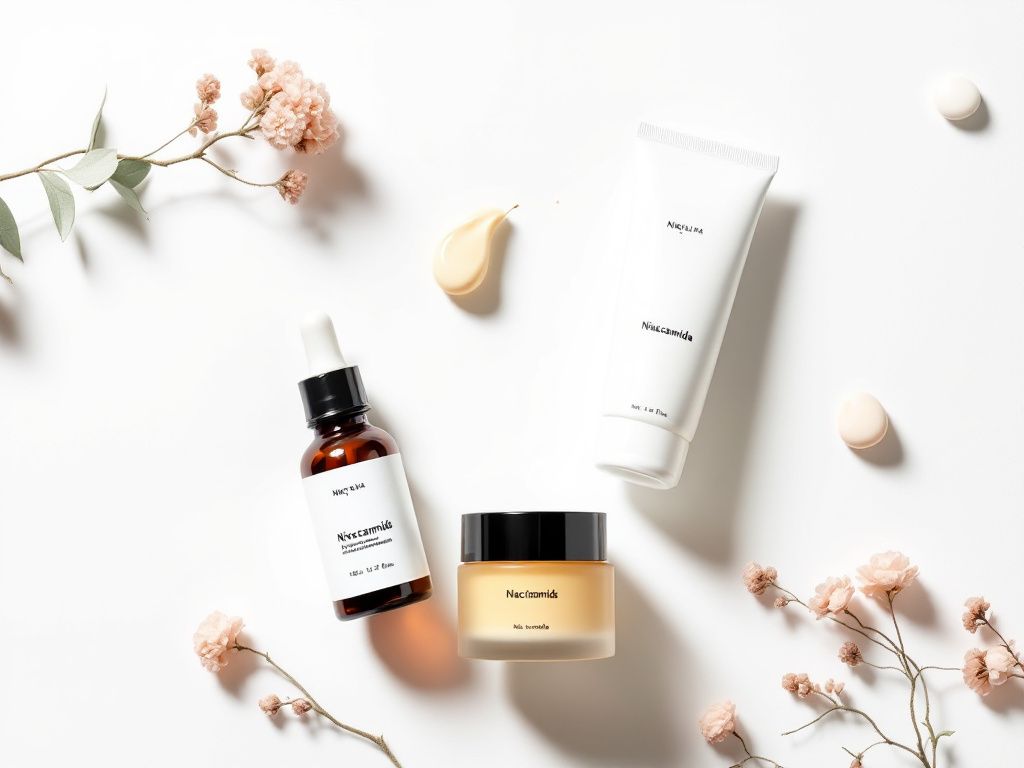


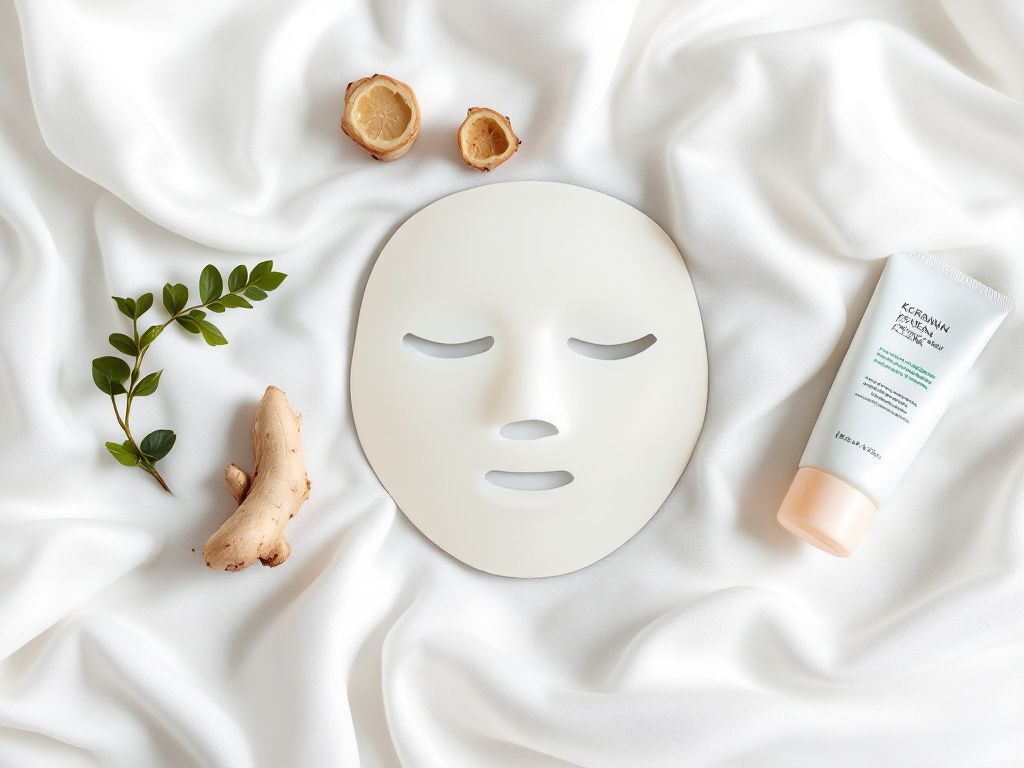


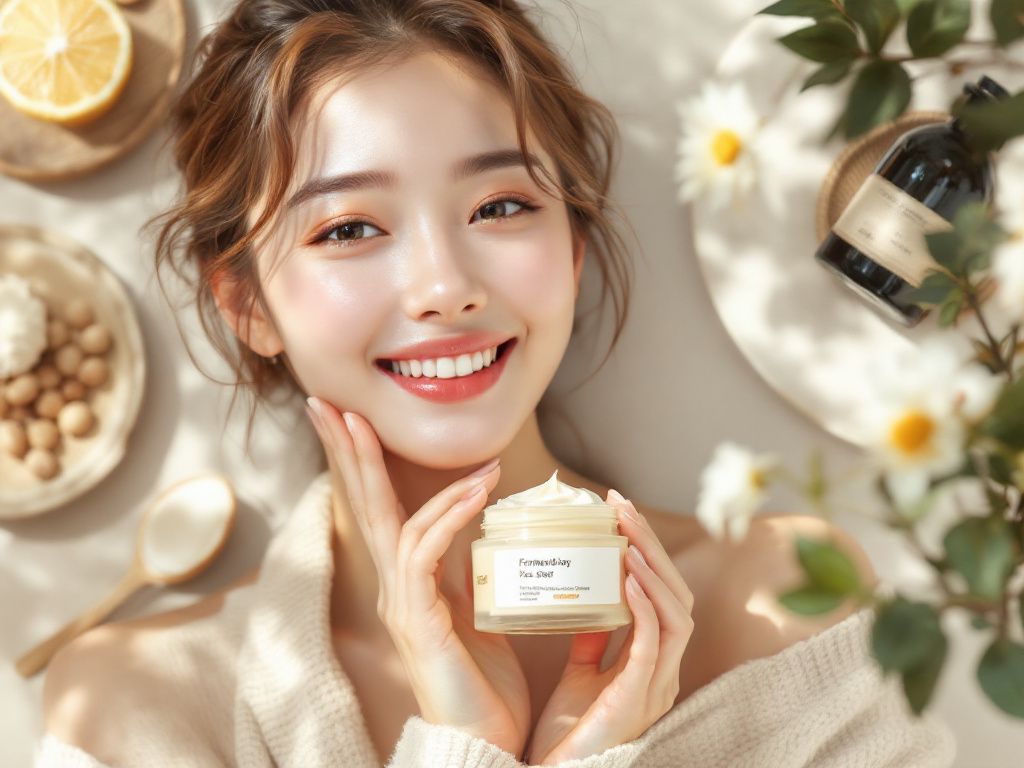


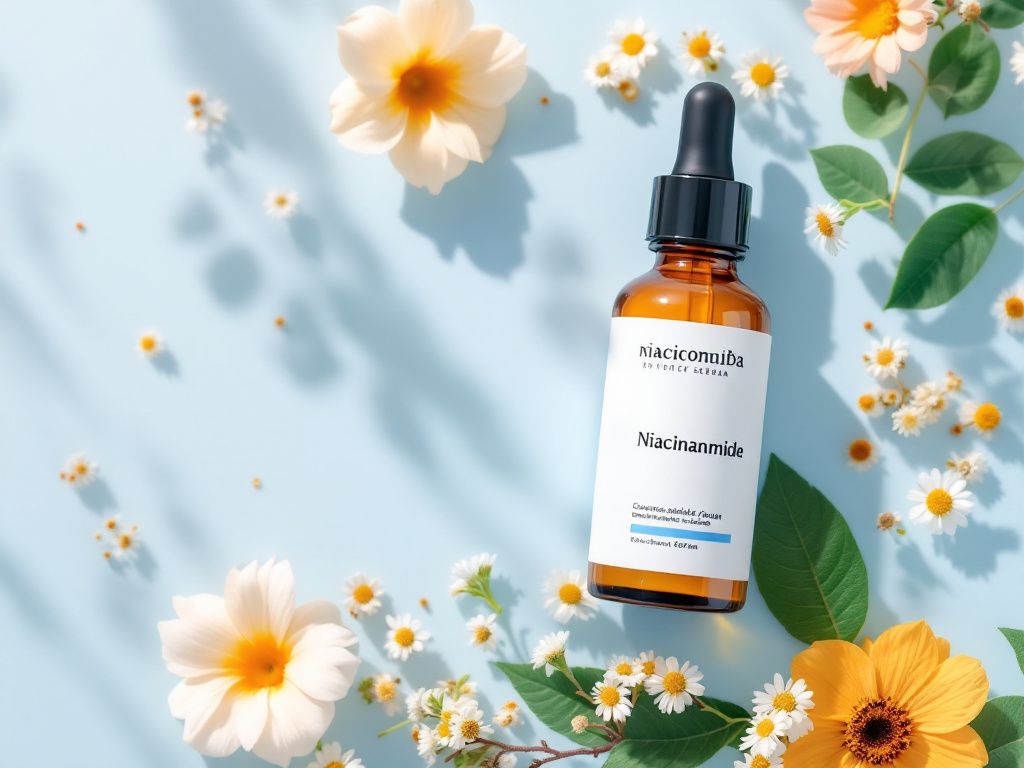


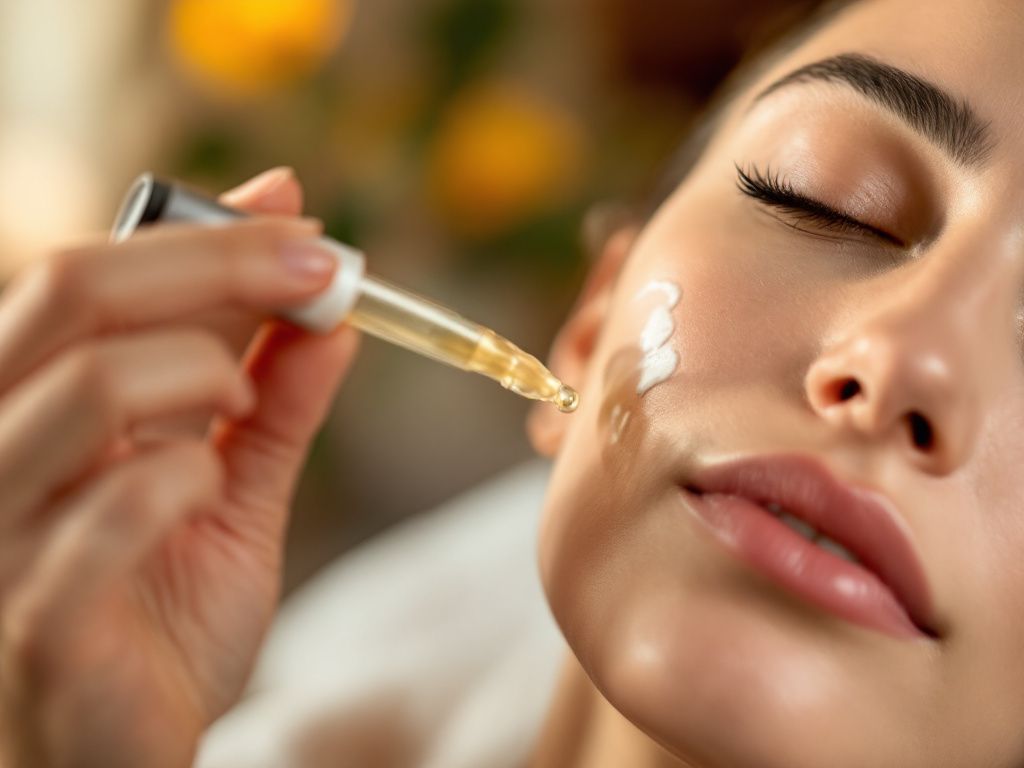


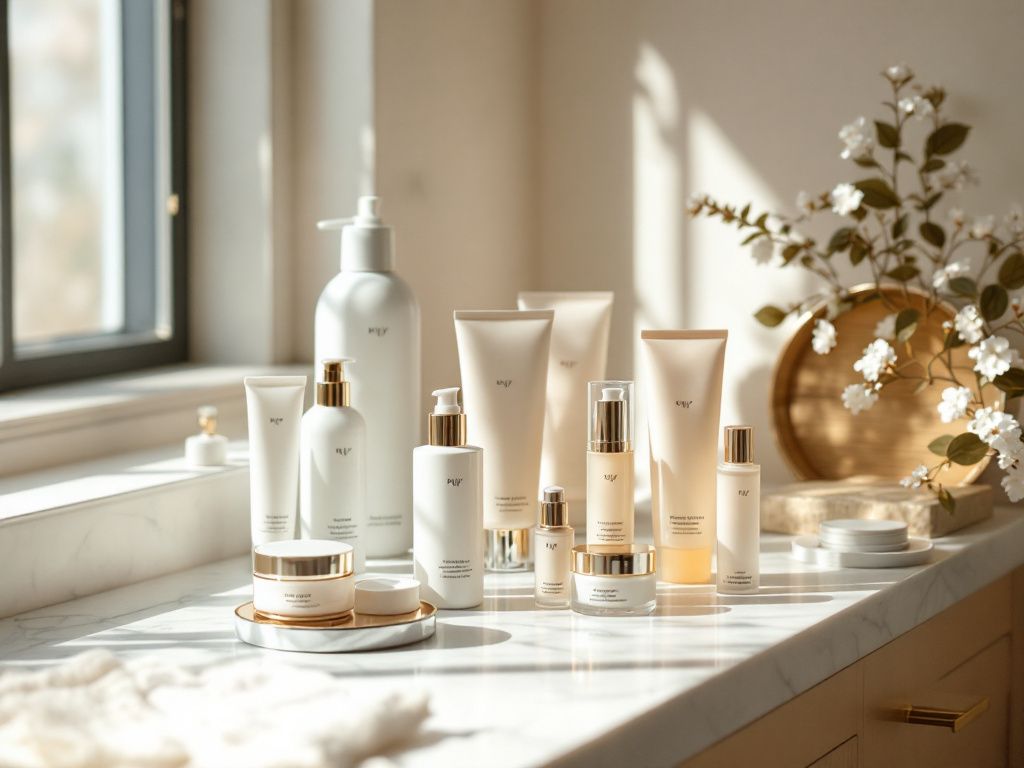


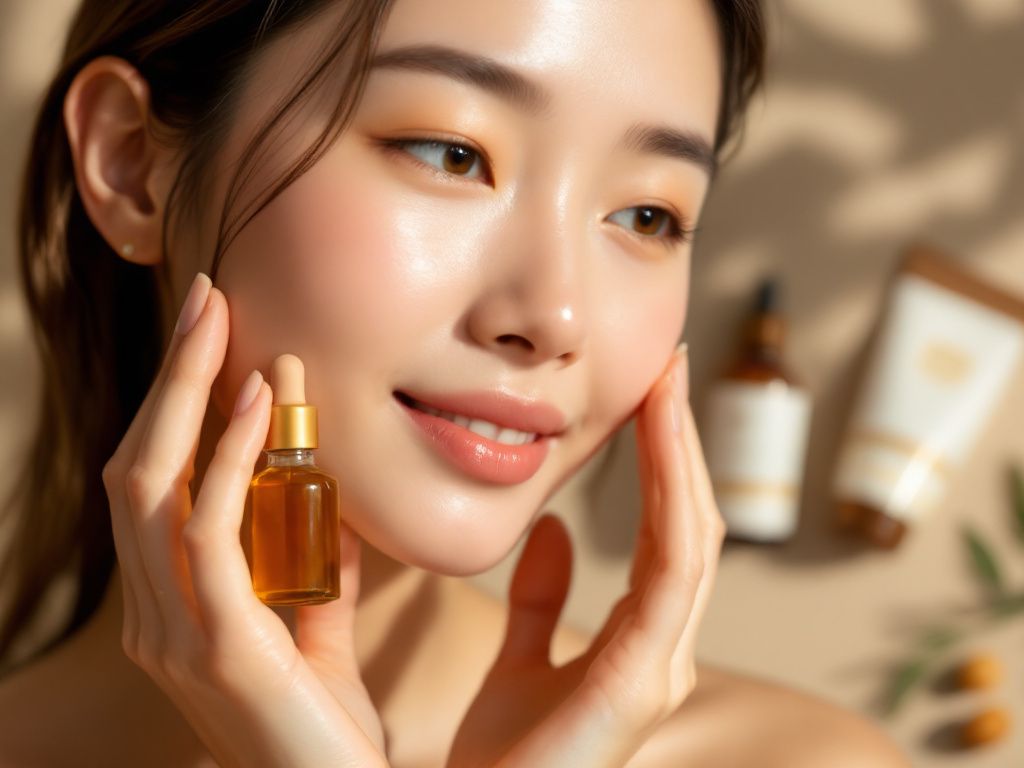


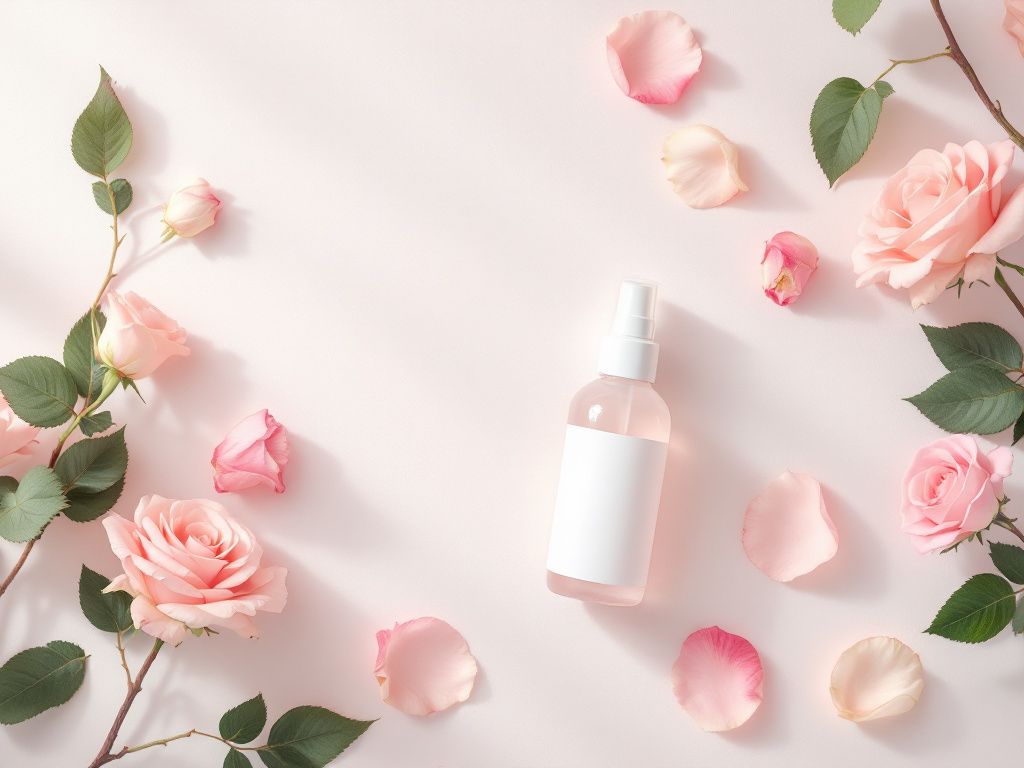


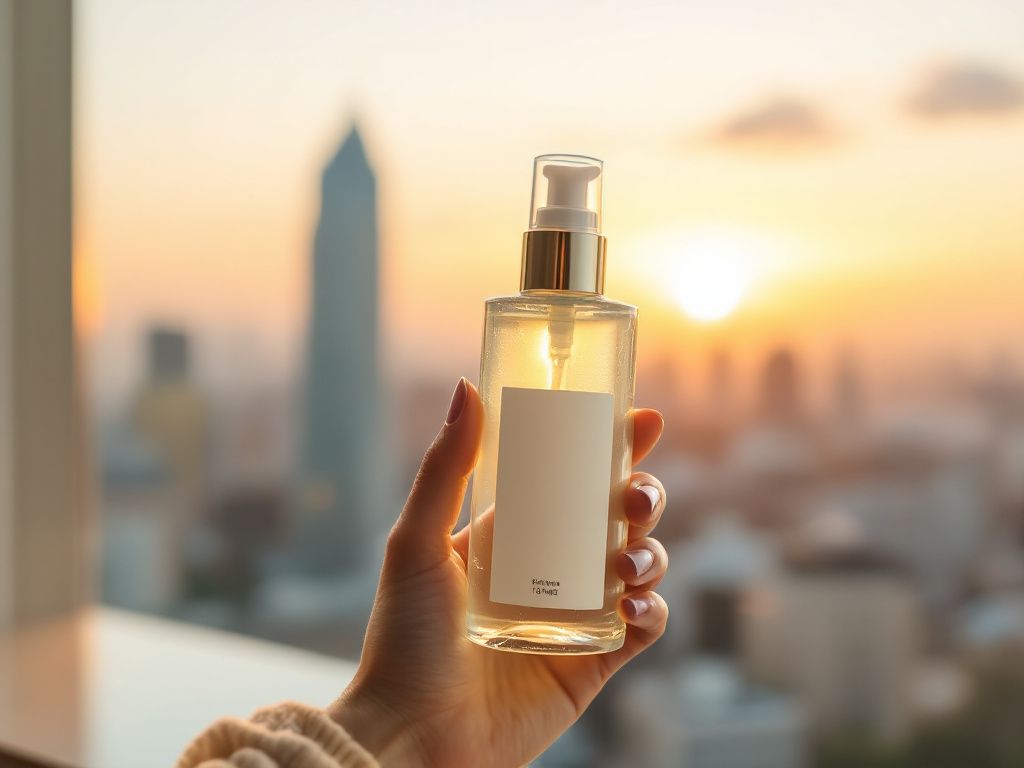


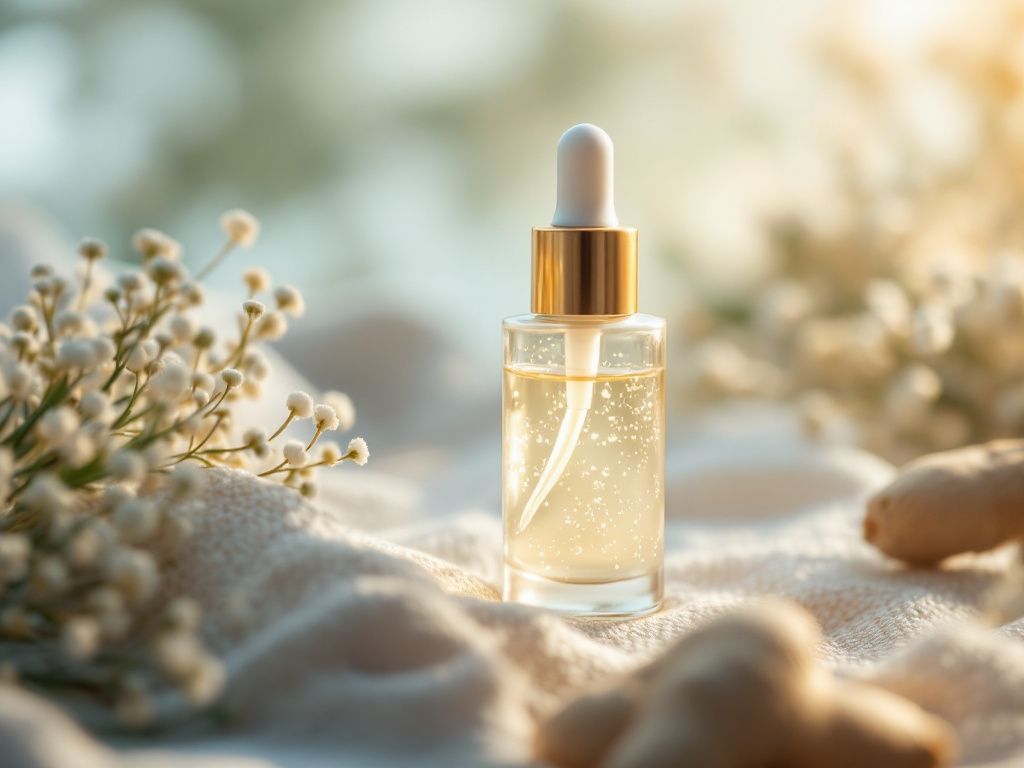


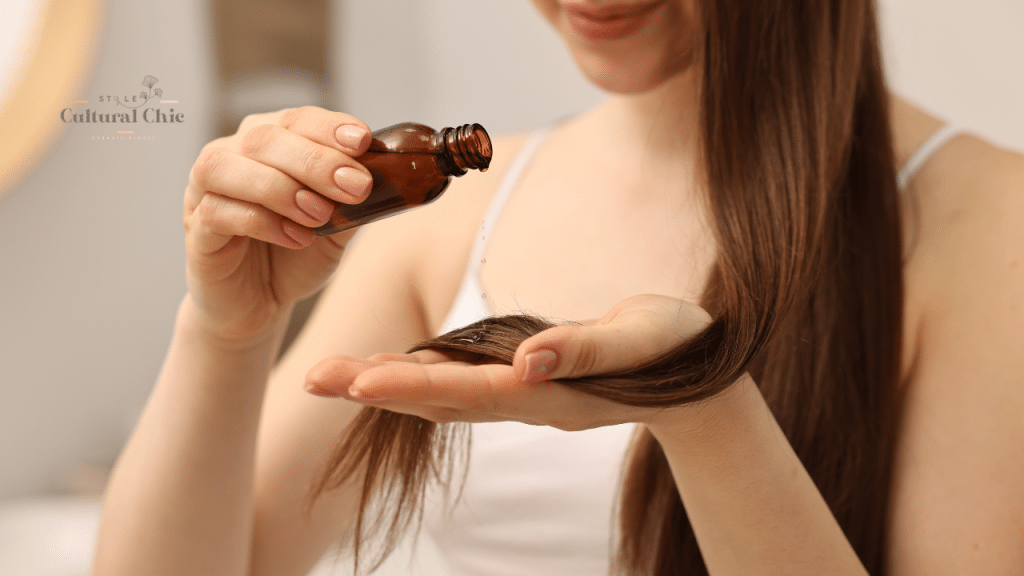
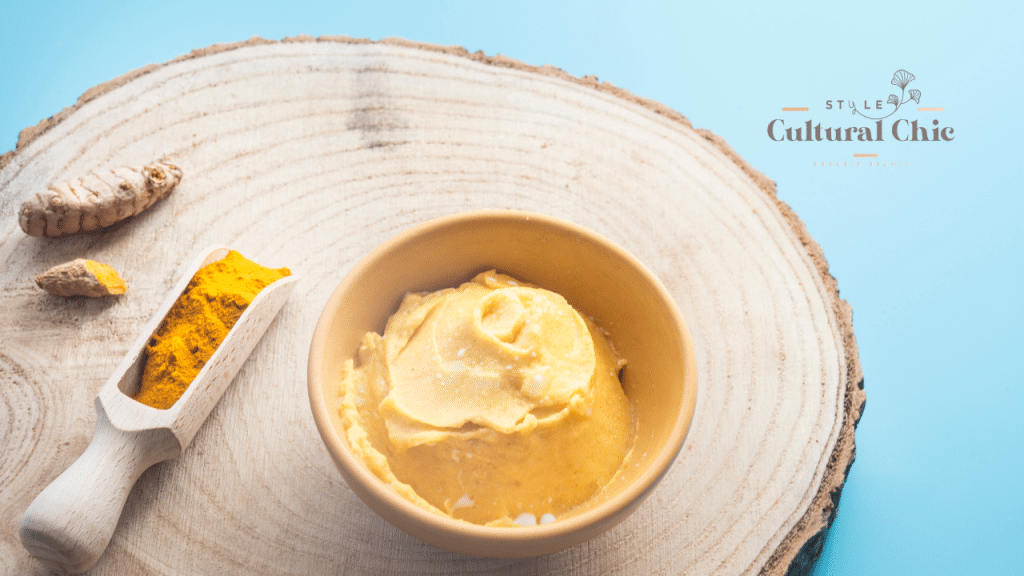
DIY Natural Korean-Inspired Face Serum Recipe
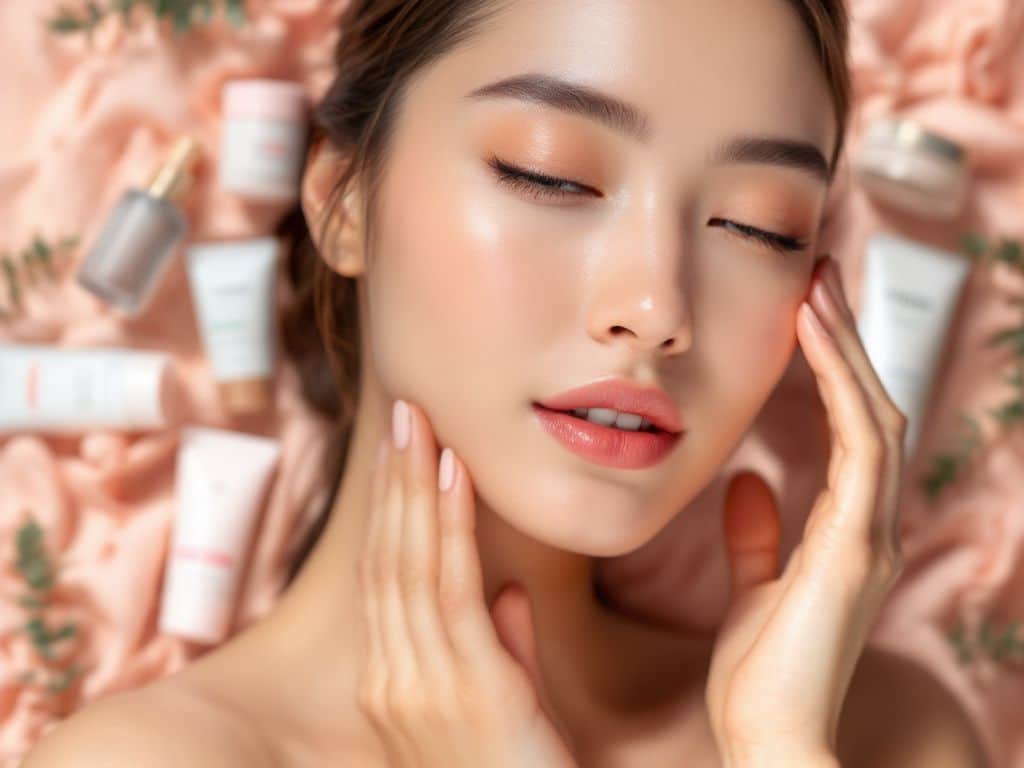
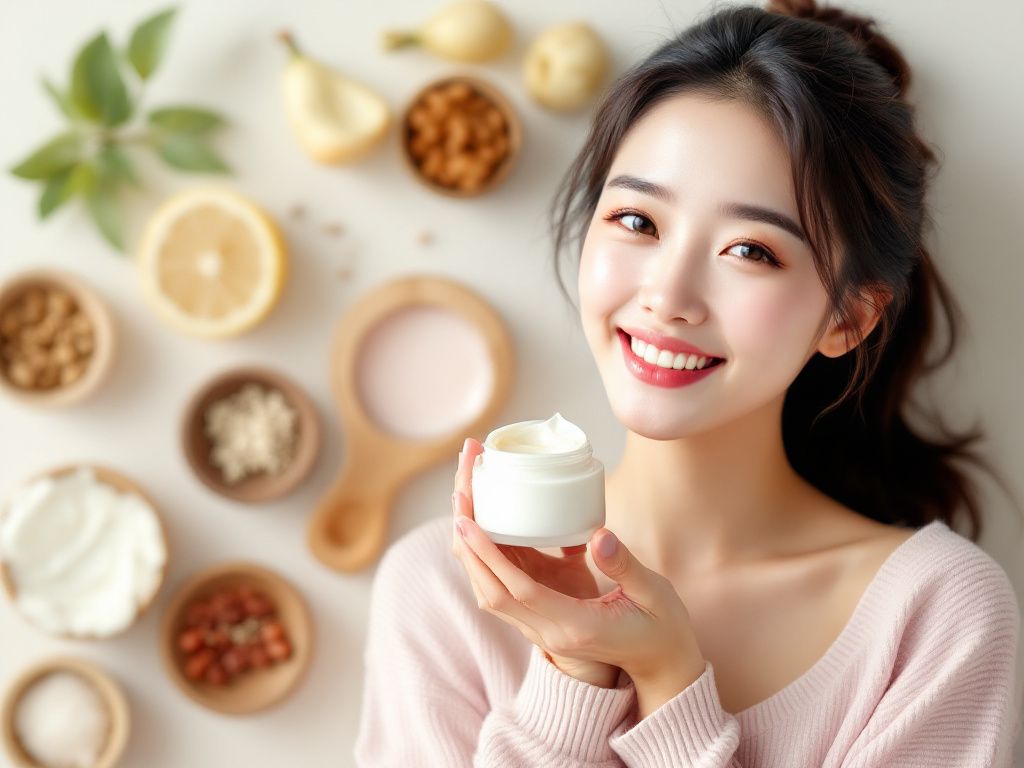
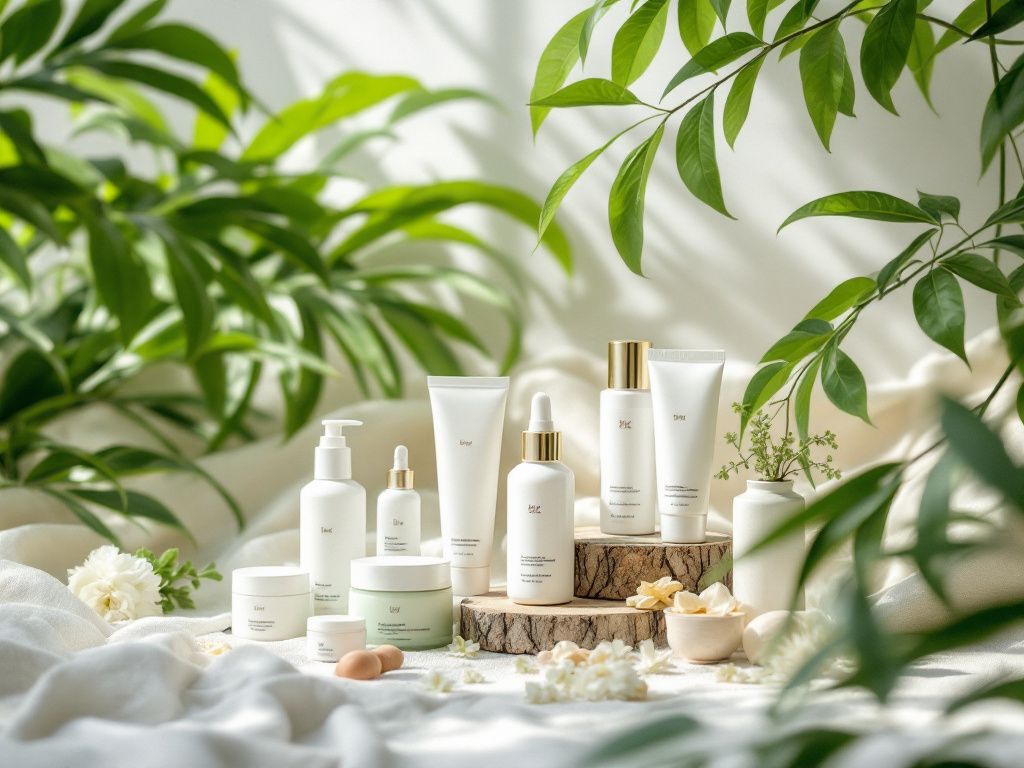
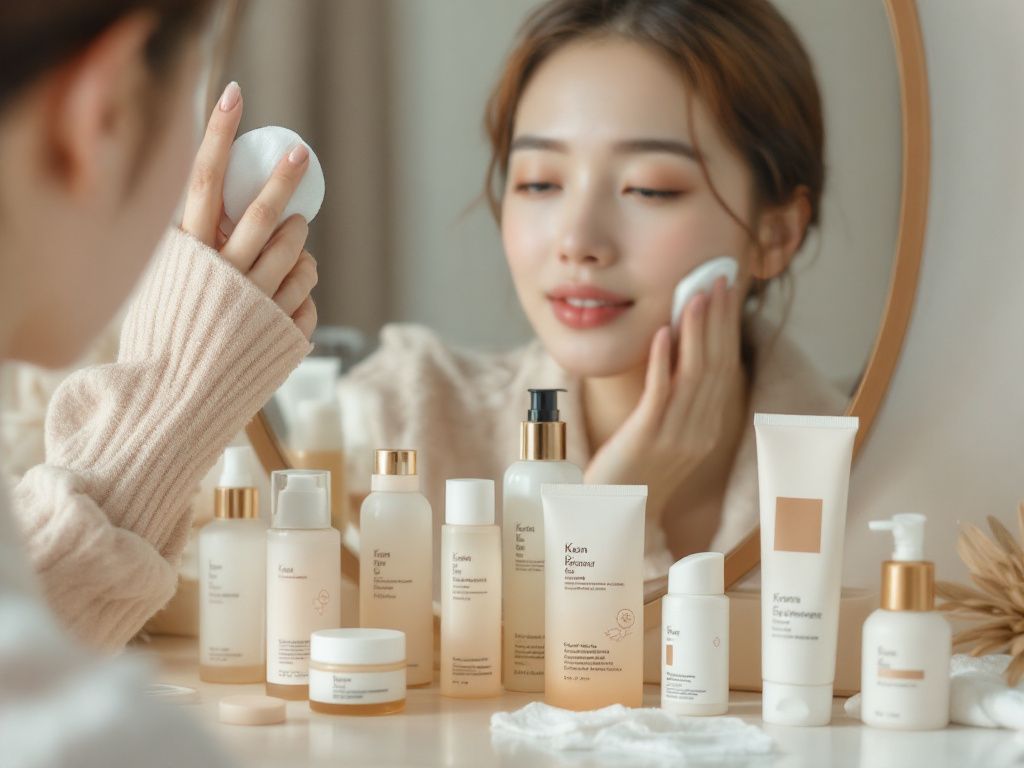
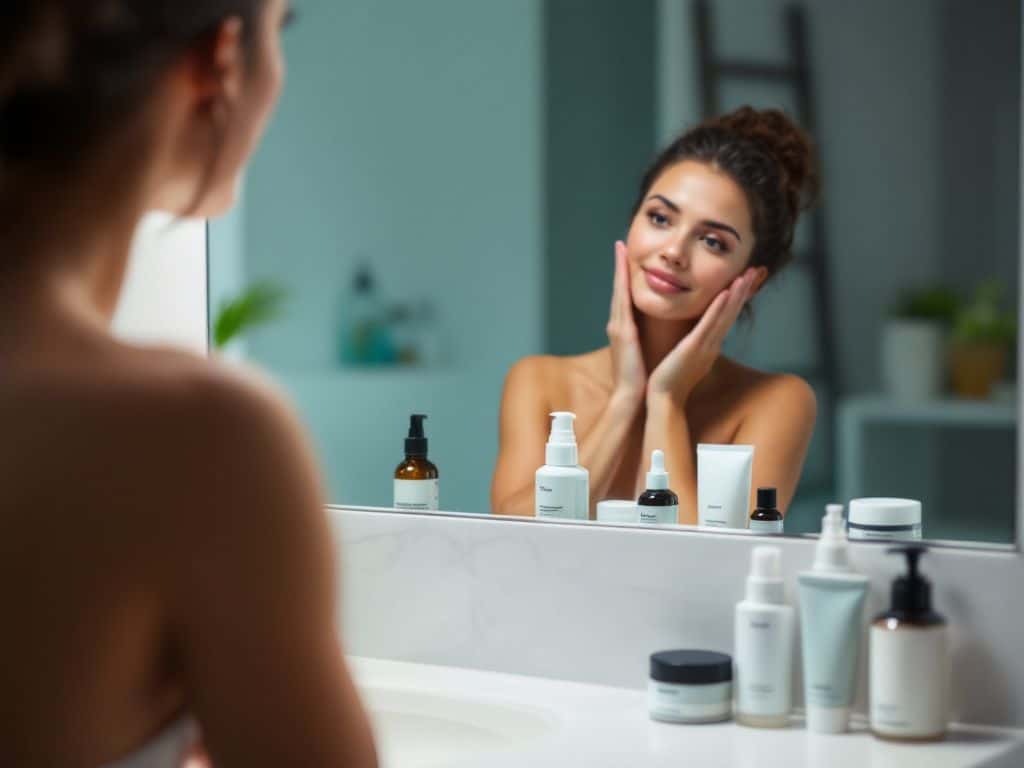
You’ve probably heard all about the wonders of Korean skincare, right? It’s celebrated for its nurturing approach, layering lightweight products, and achieving that coveted dewiness. But let’s talk real talk: it can get pricey, fast. So, what if I told you there’s a simple, affordable way to bring a bit of that Korean skincare magic into your home with a DIY natural face serum? Sounds intriguing, doesn’t it? Let’s dive in!
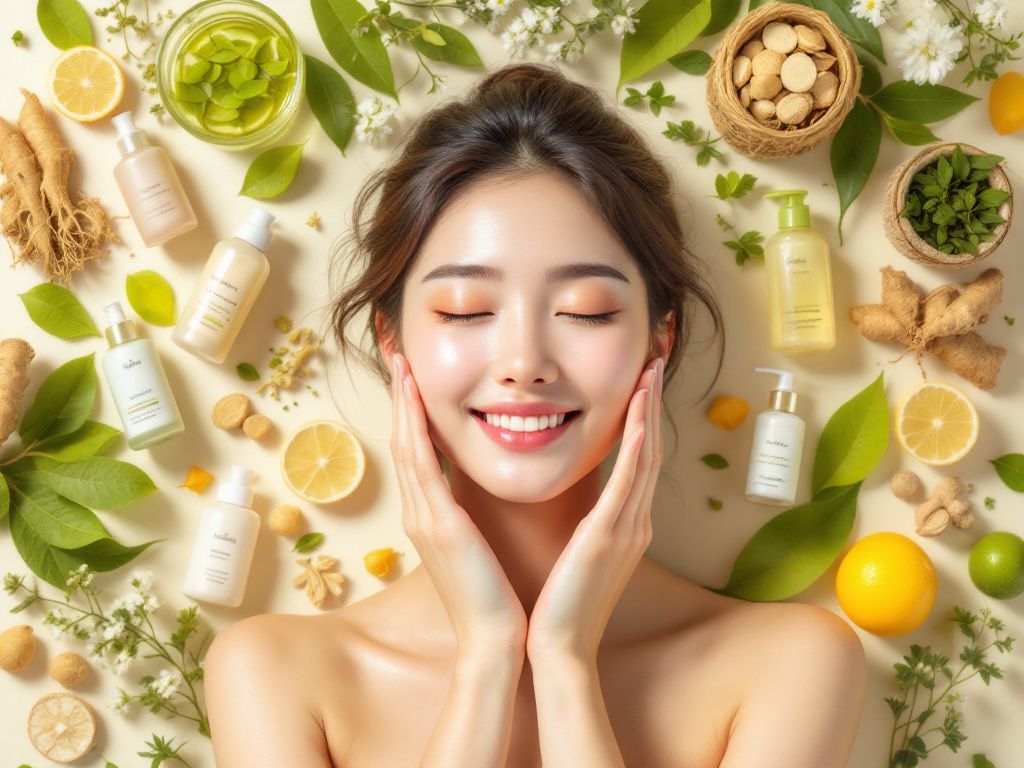
Why Go for a DIY Korean Skincare Serum?
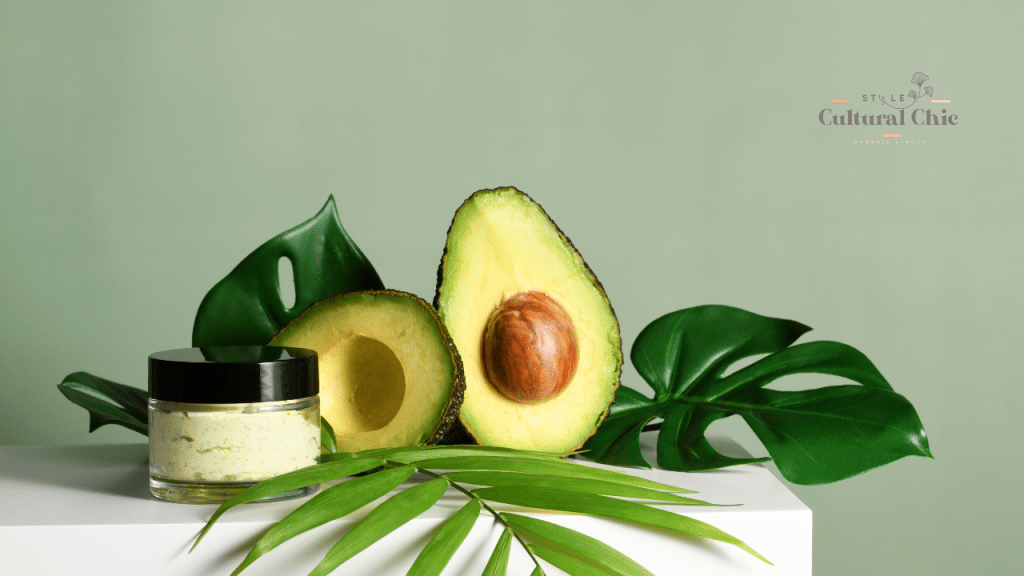
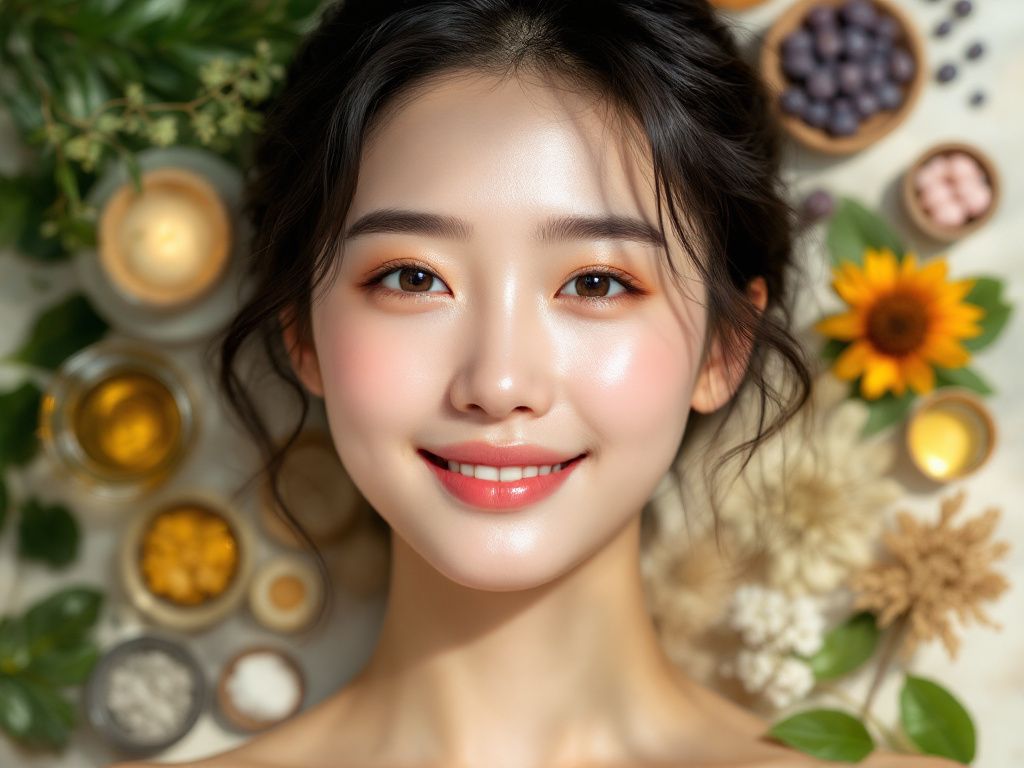
Before jumping into the how-to, let’s chat about the why. First off, natural skincare is booming, and with good reason. You’re cutting out fillers and focusing on pure, wholesome ingredients. This approach respects your skin’s natural balance and most times, it’s better for the environment too. Another win for DIY skincare is customizing your formula. You can decide on exactly which ingredients support your skin type and concerns, be it hydration, anti-aging, or calming redness.
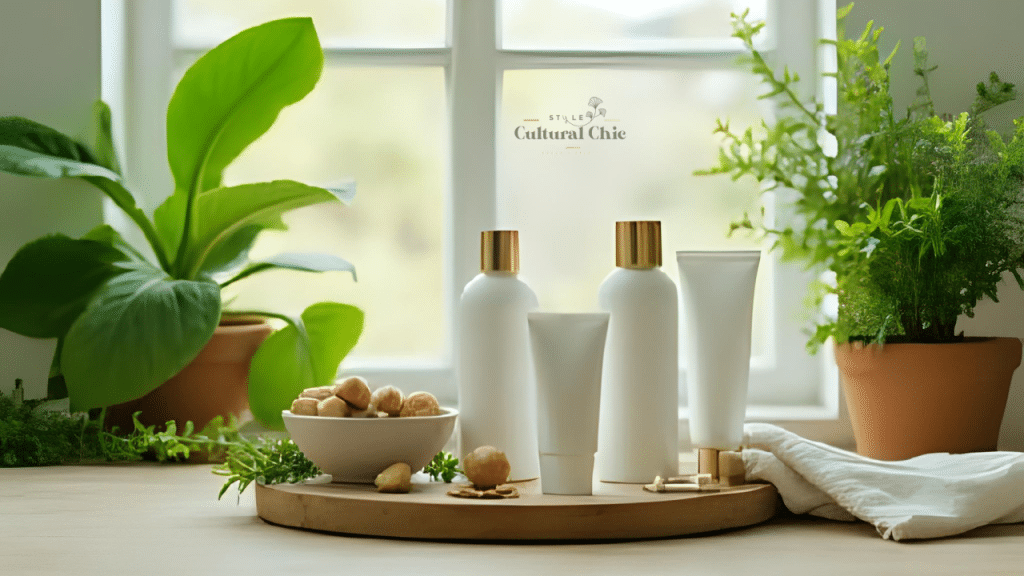
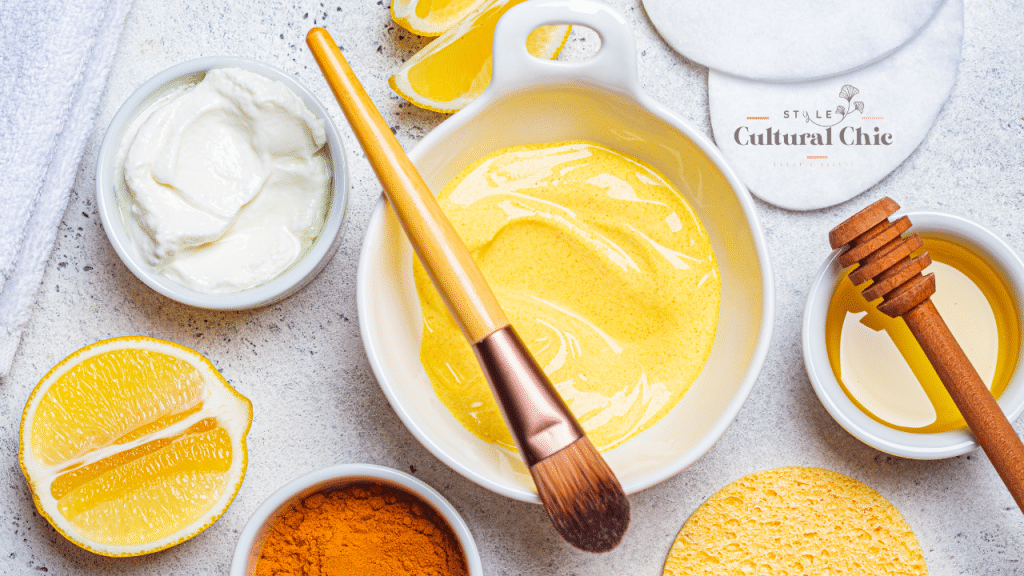
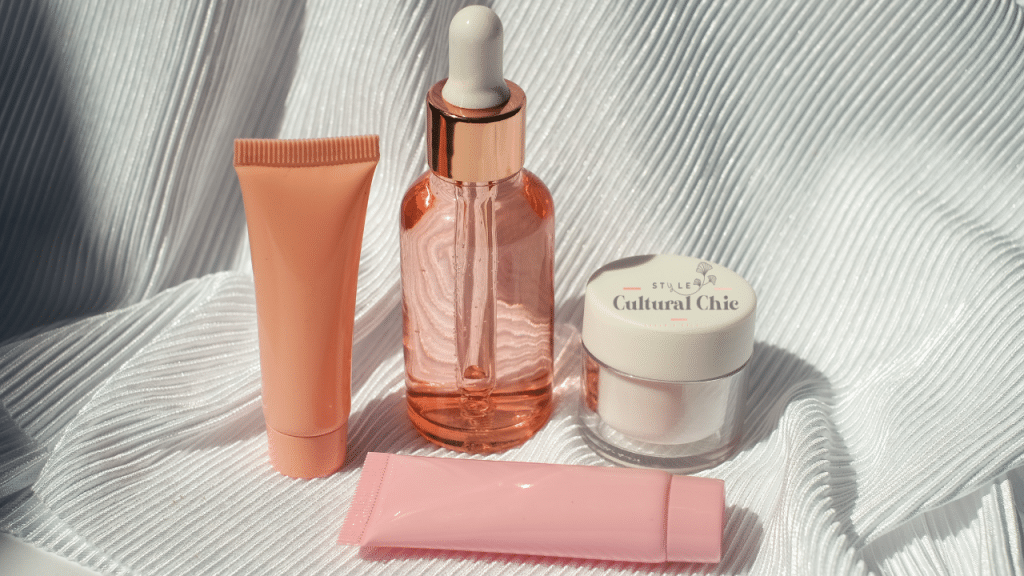
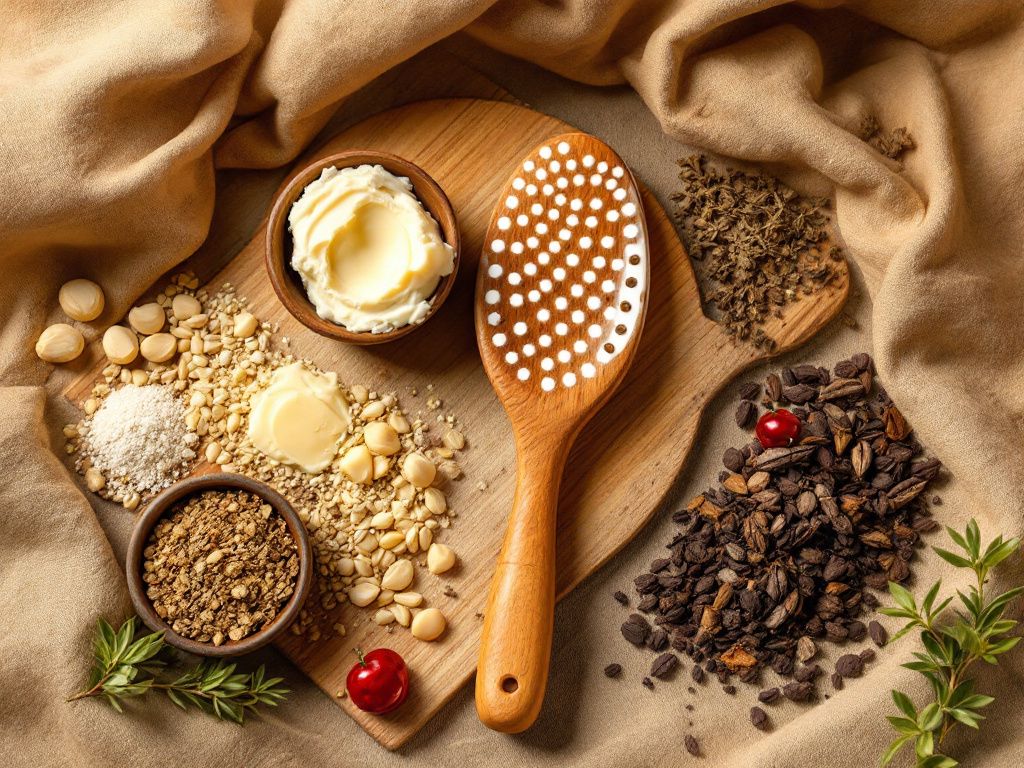
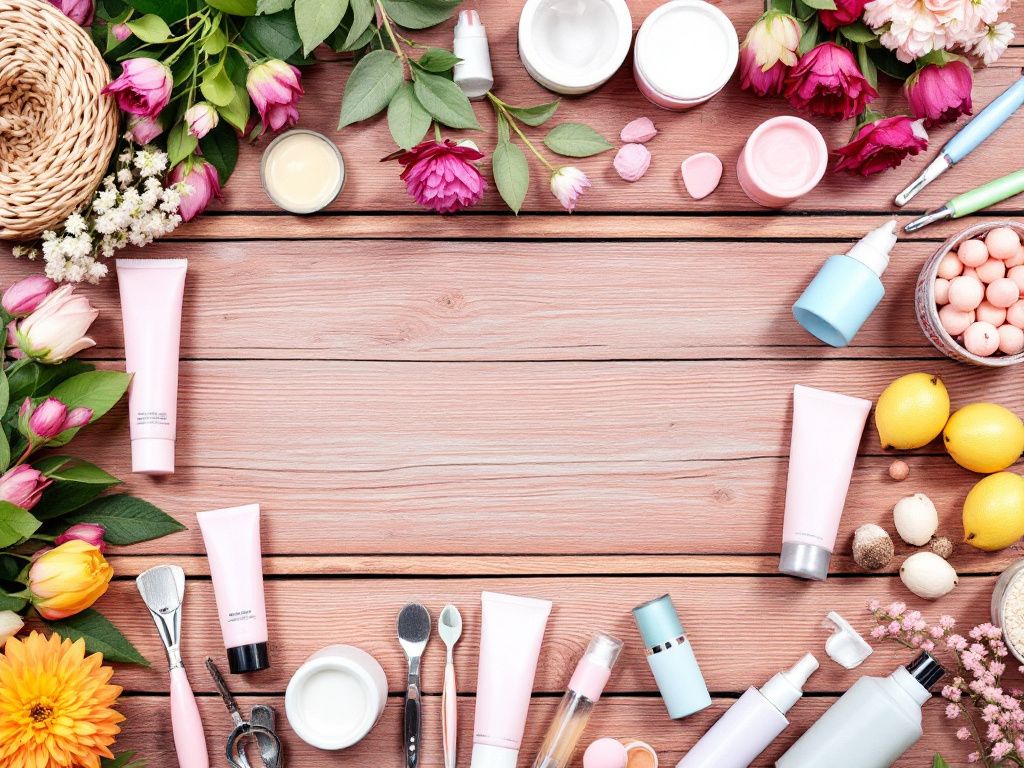
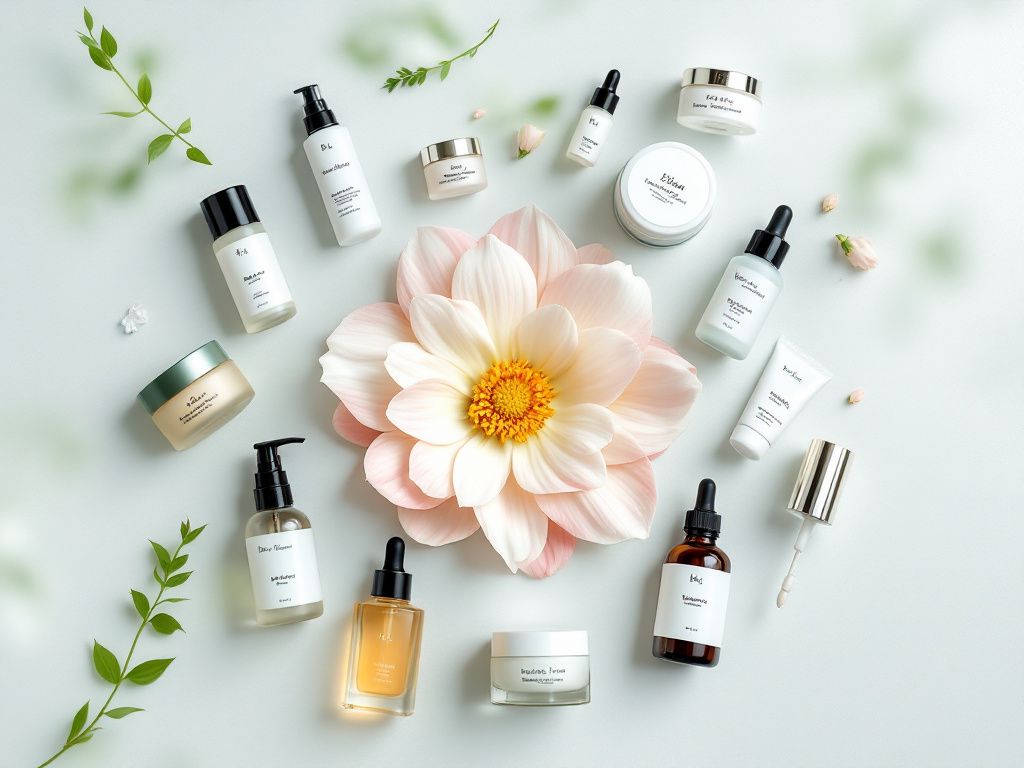
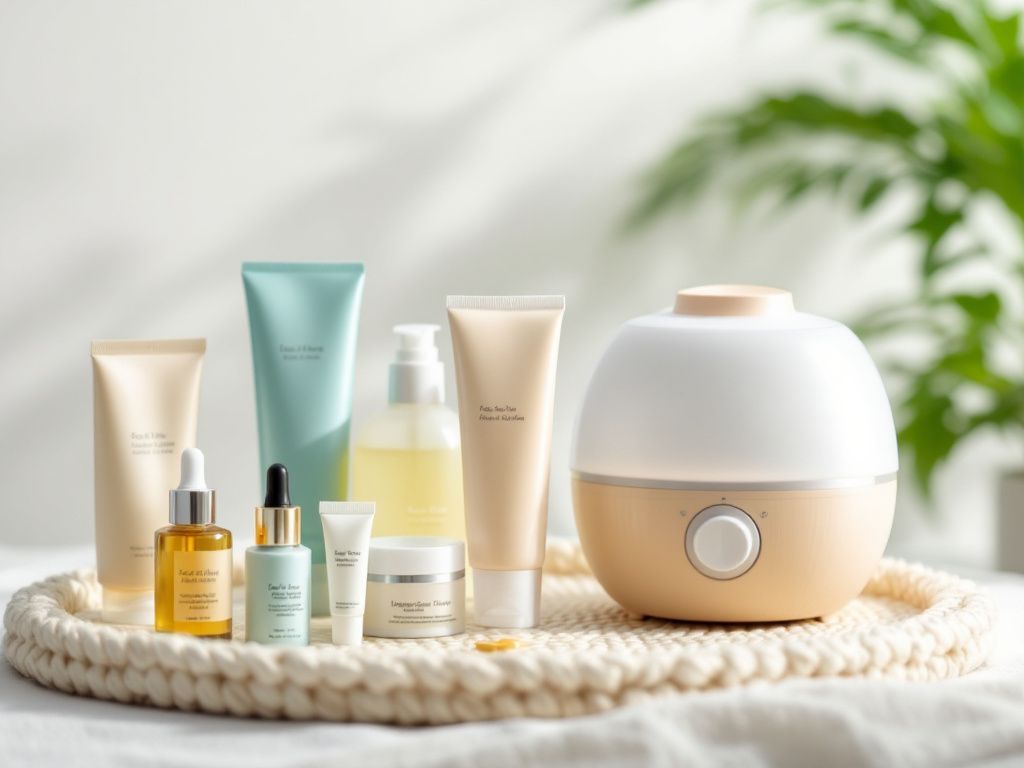
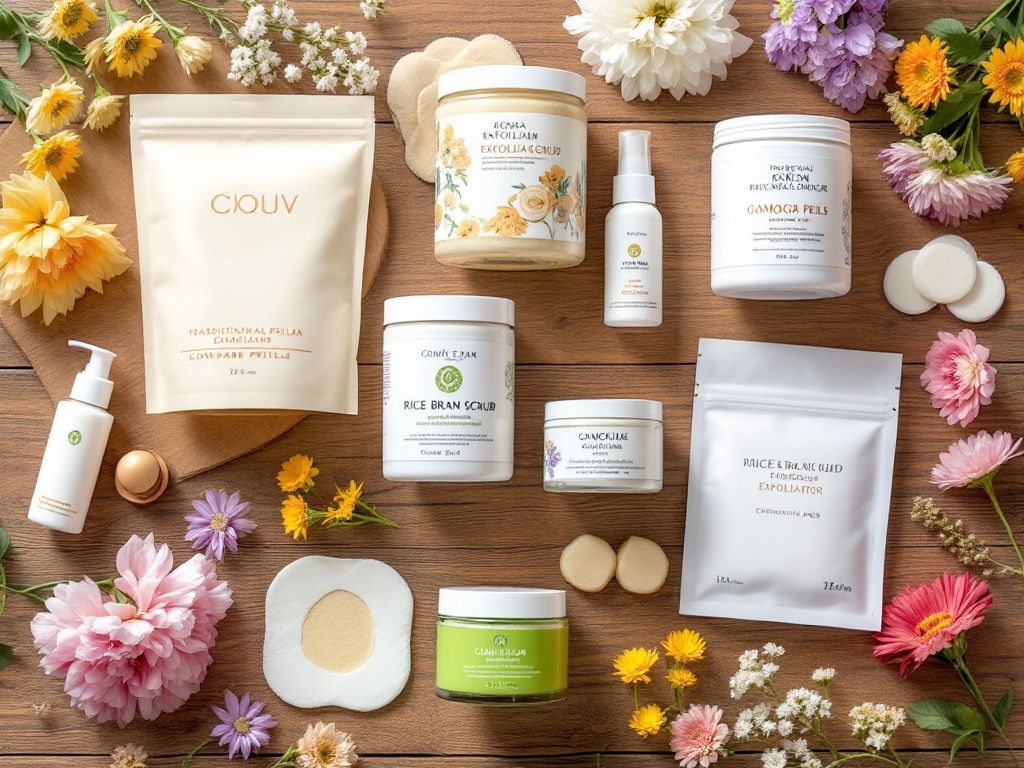
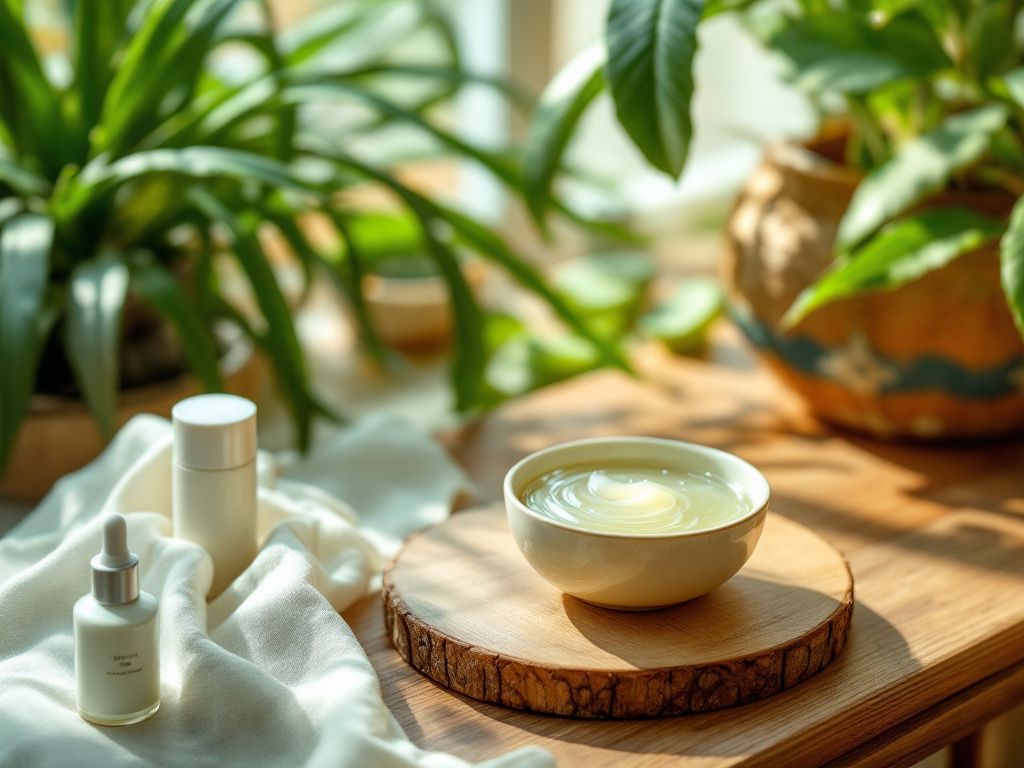
Gathering Your Ingredients
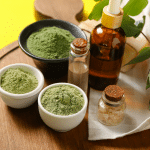
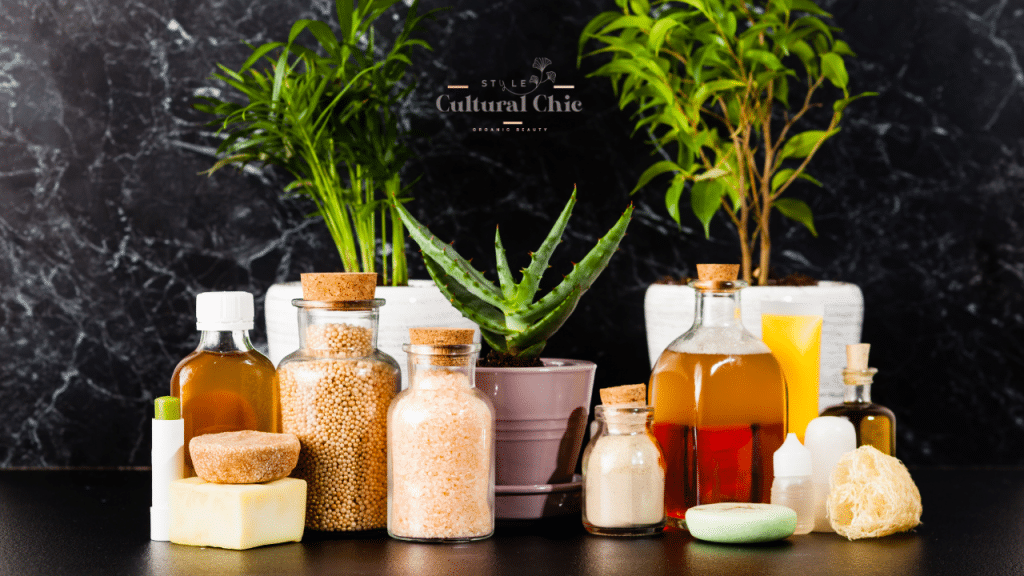
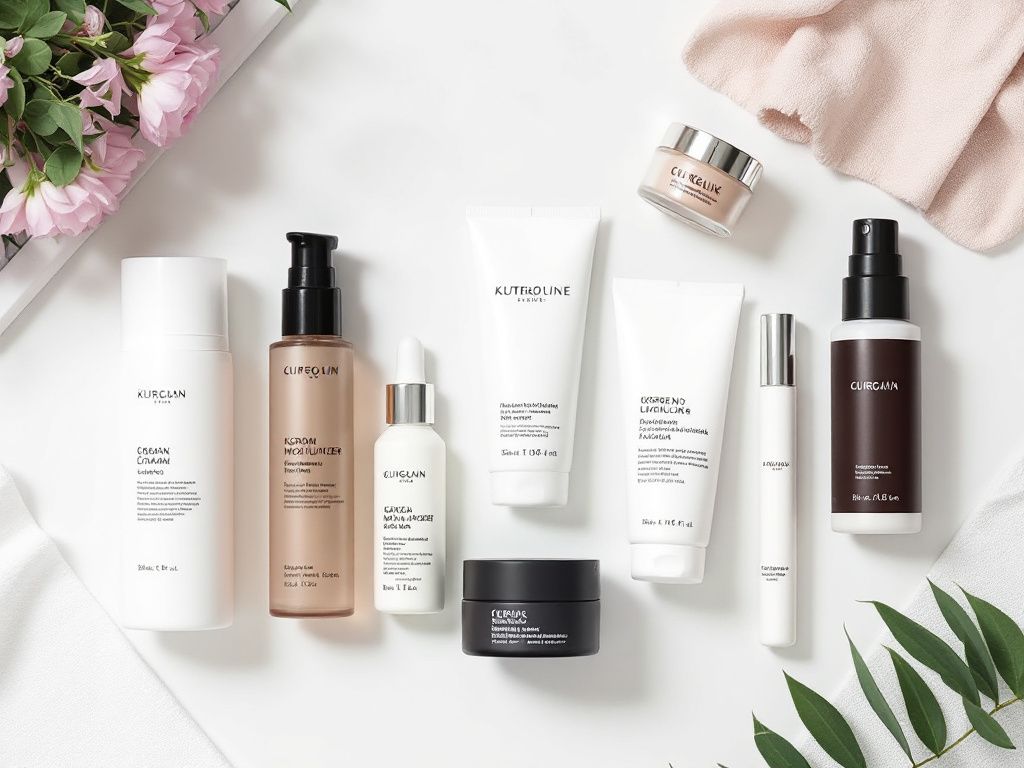
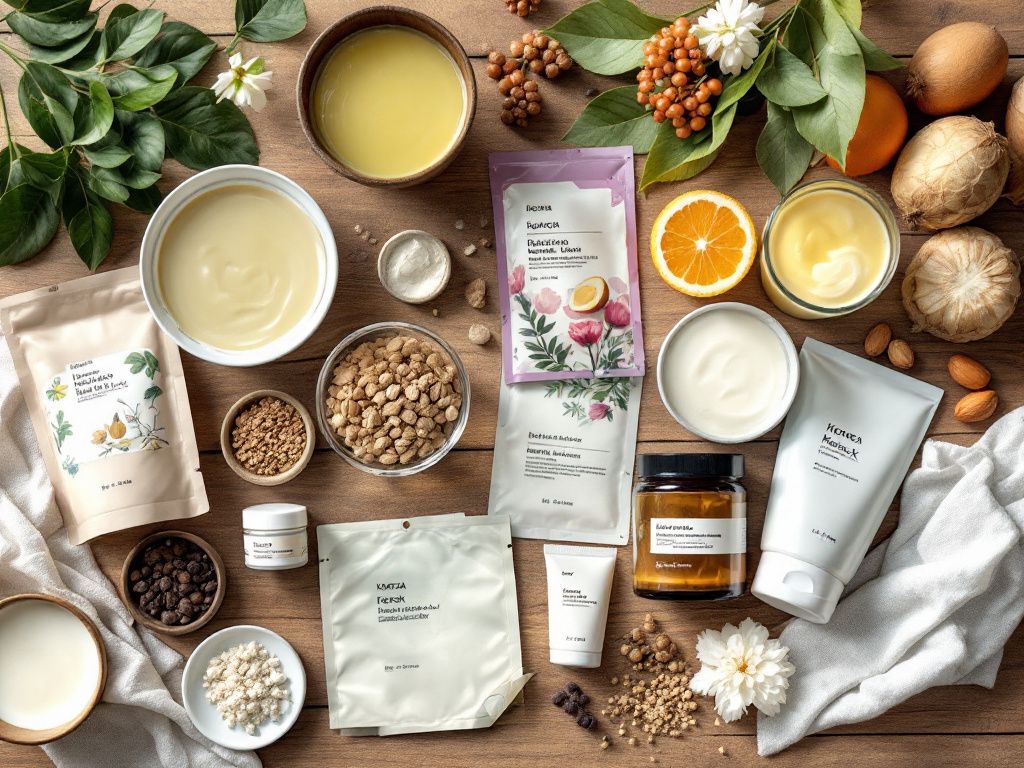
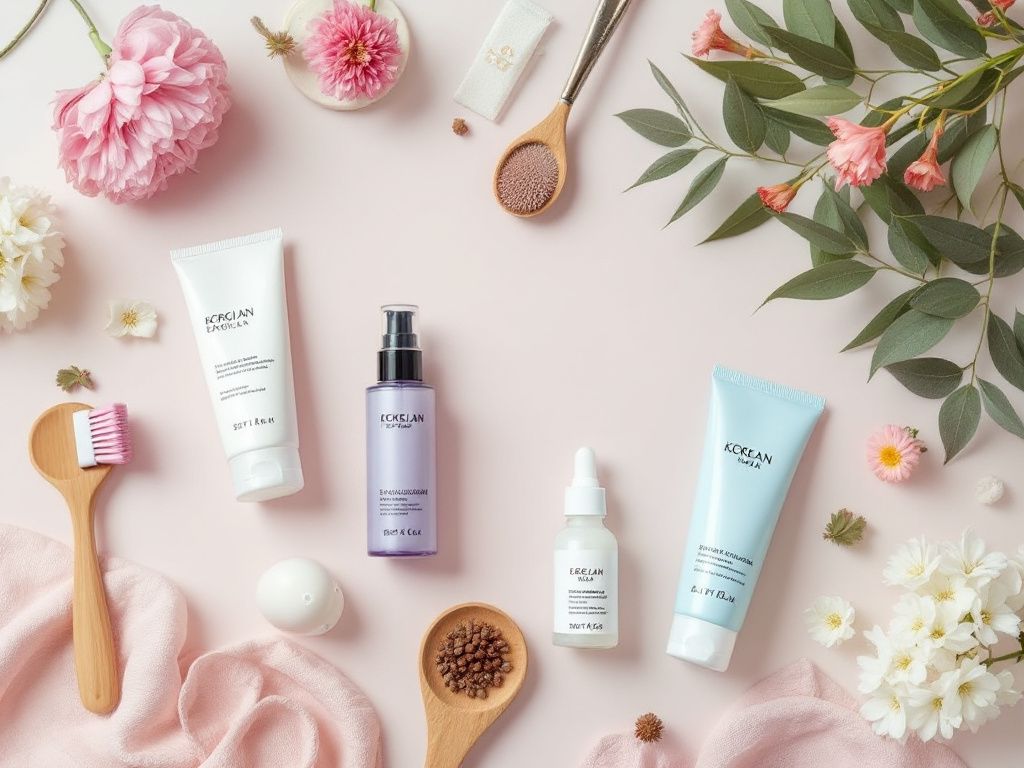
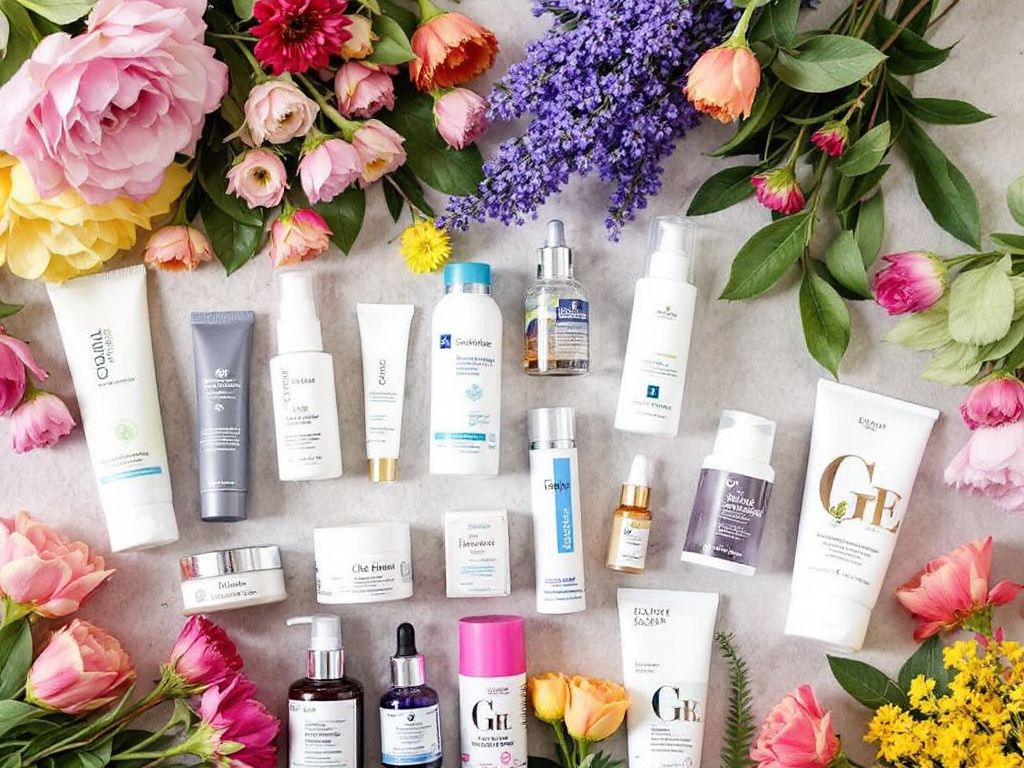
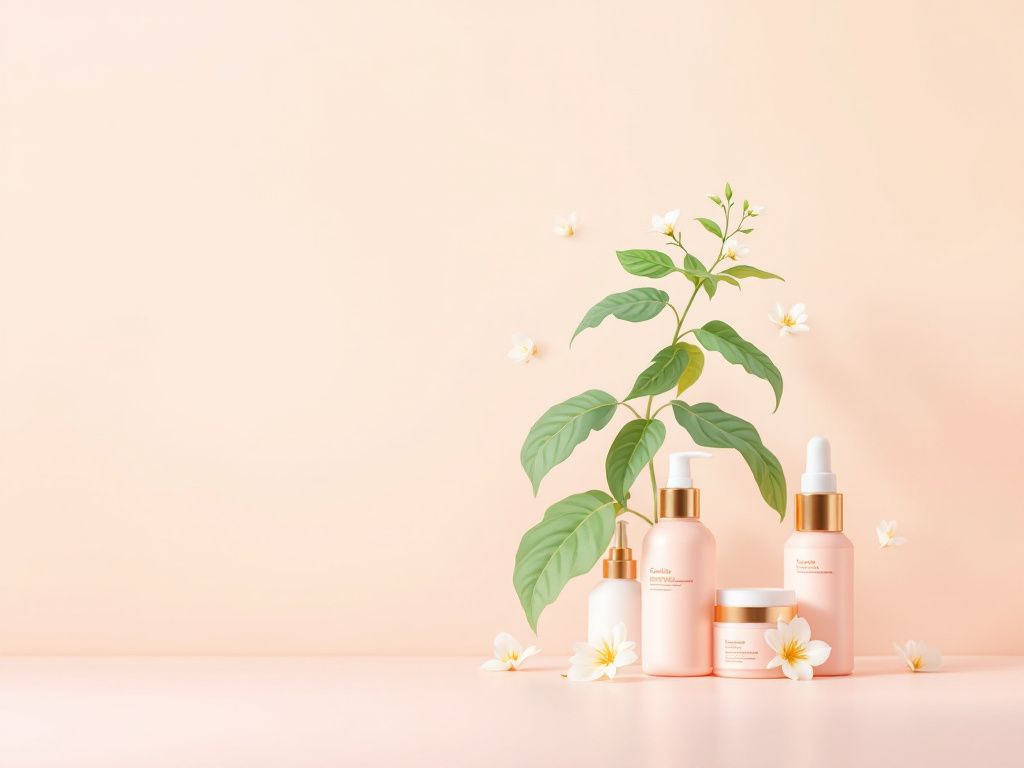
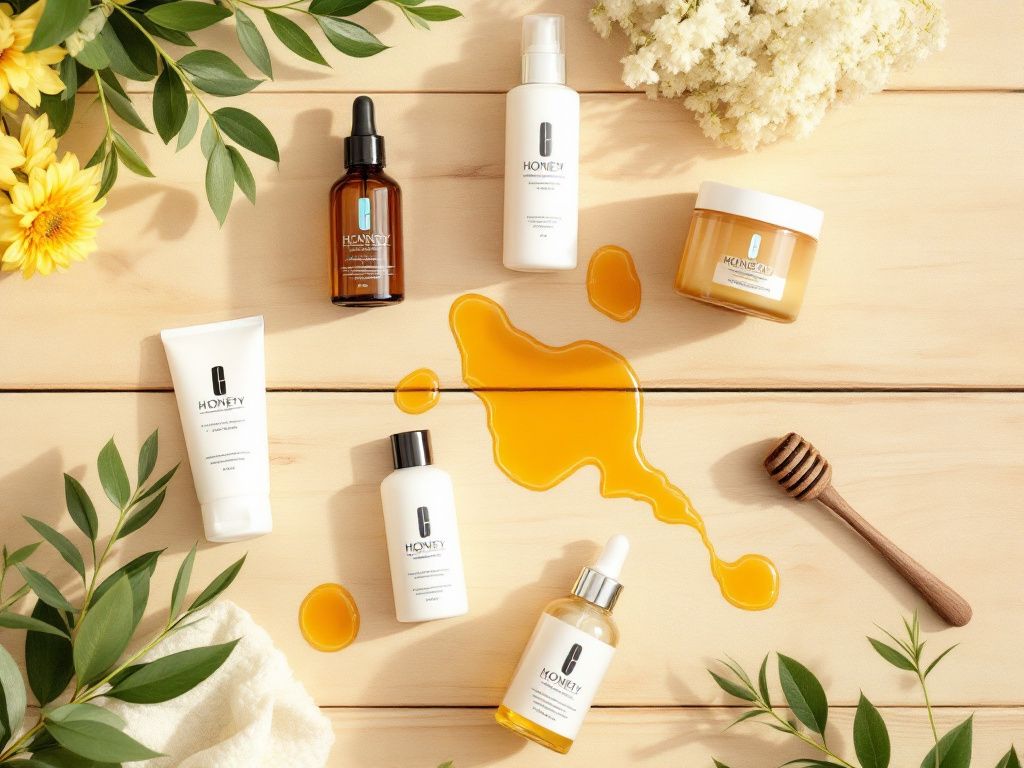
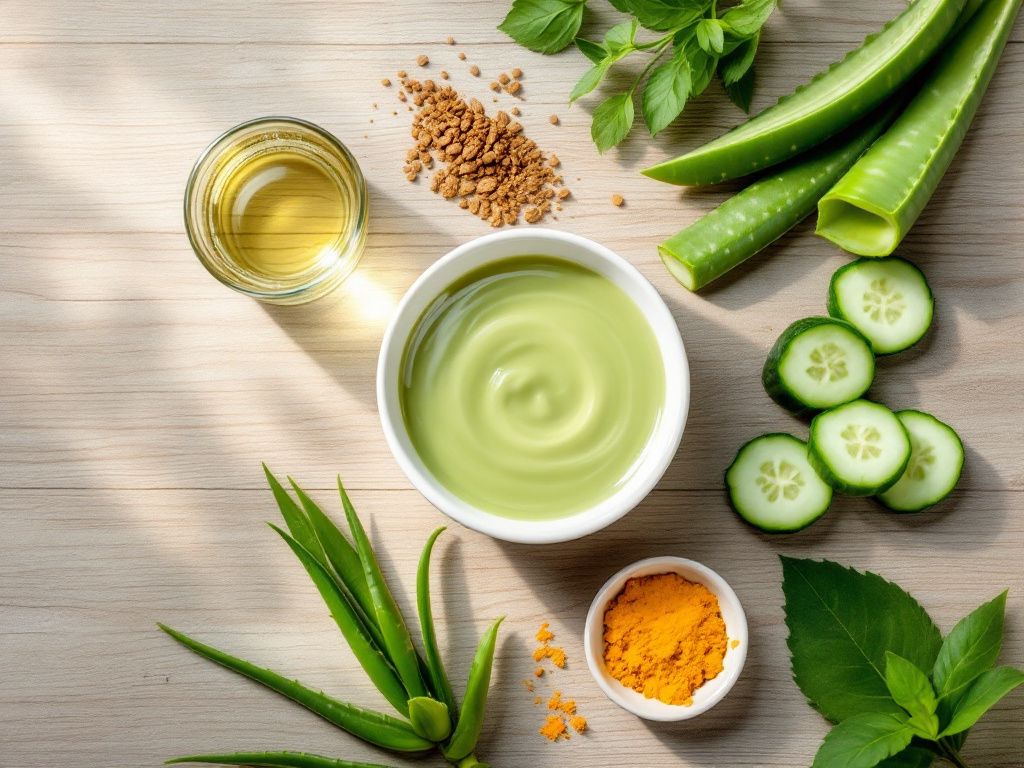
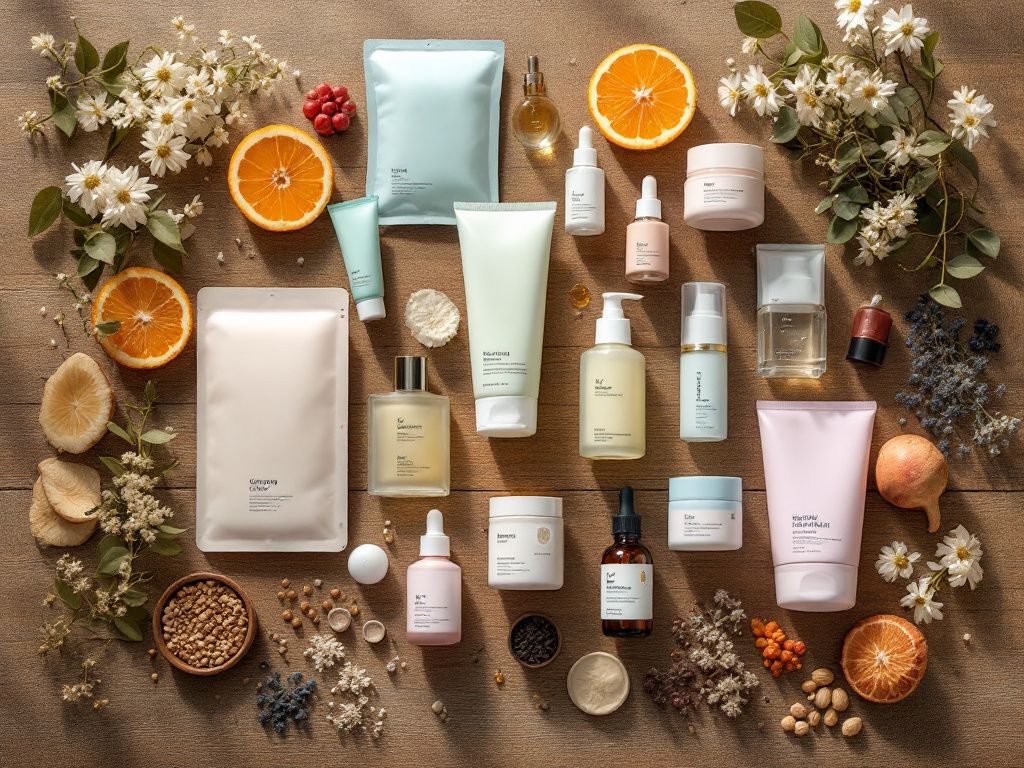
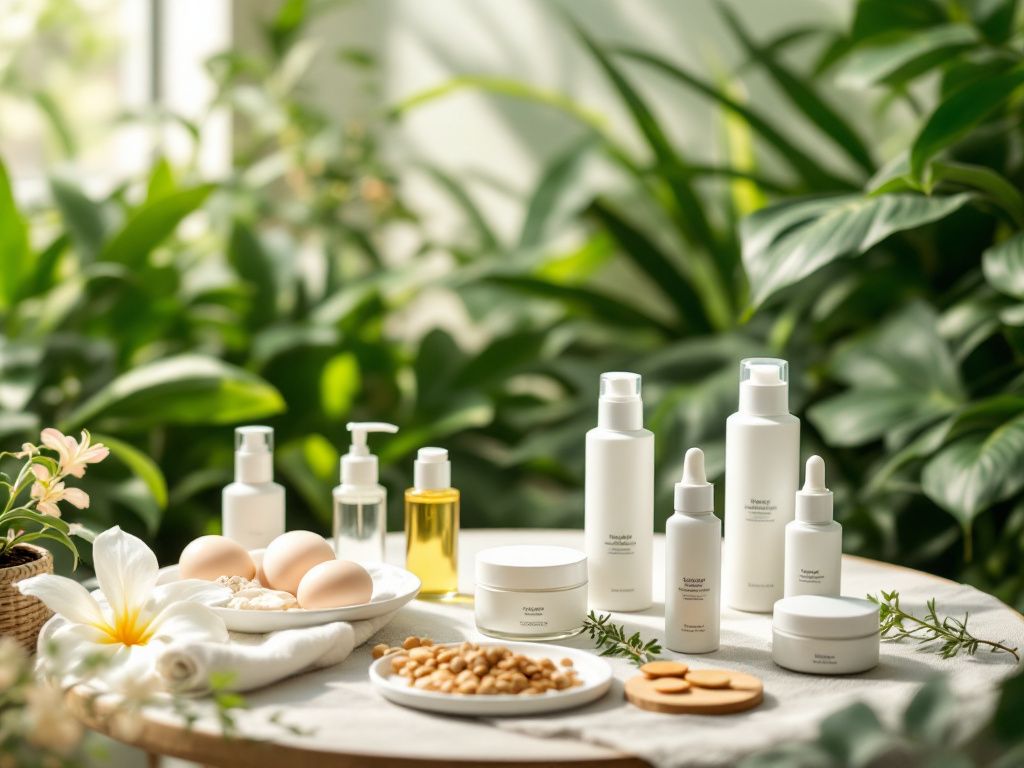
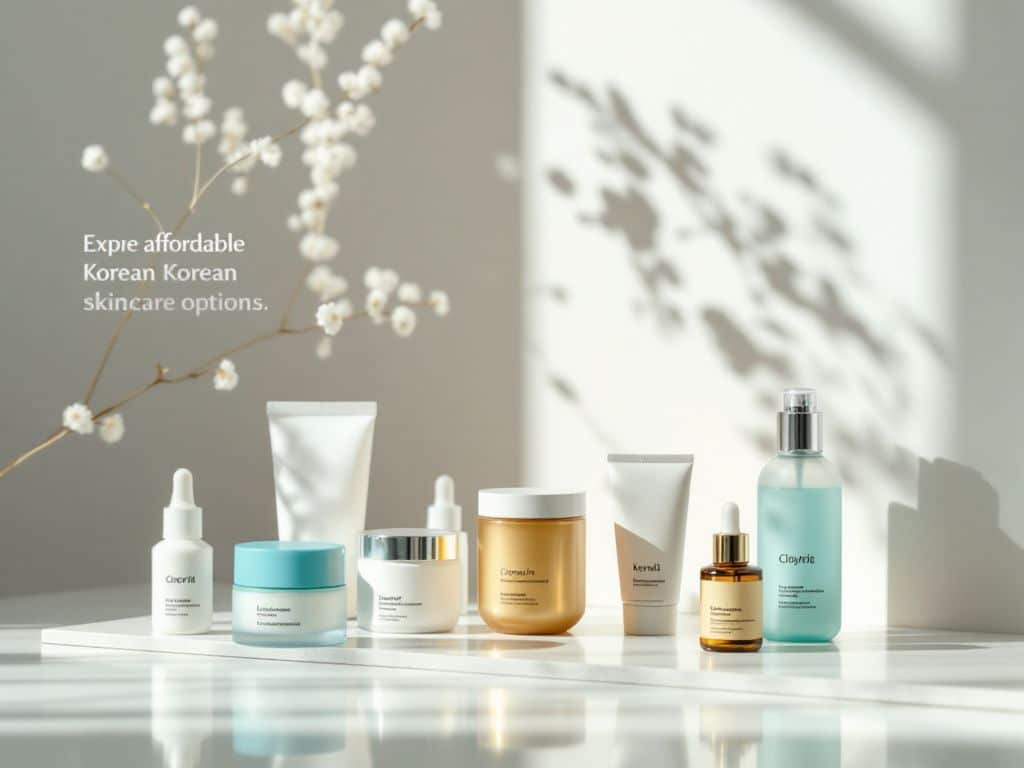
To make your own Korean-inspired face serum, you’ll need to source a few key ingredients that are beloved in natural skin care. Worry not; these are fairly easy to find online or at health stores.
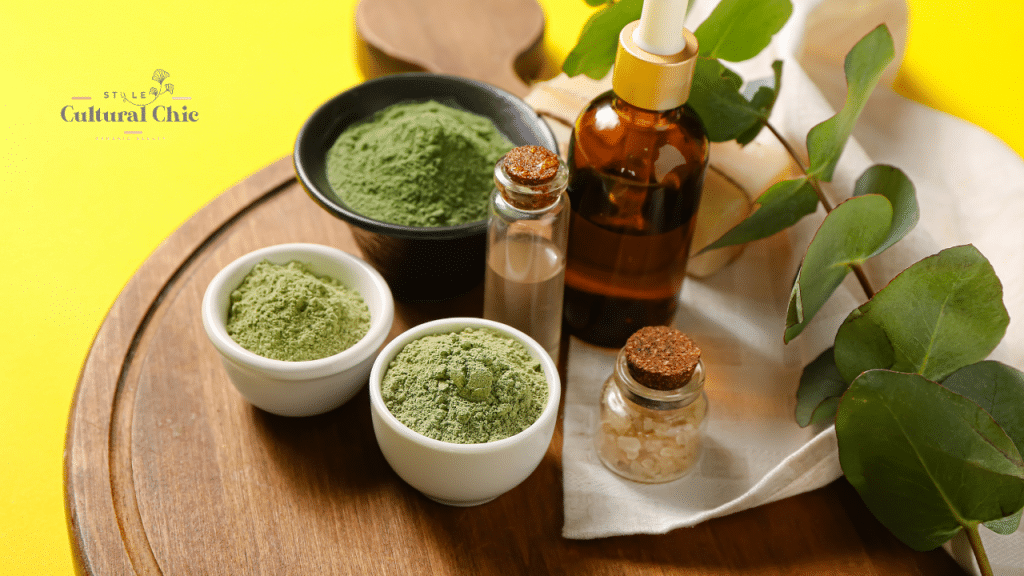
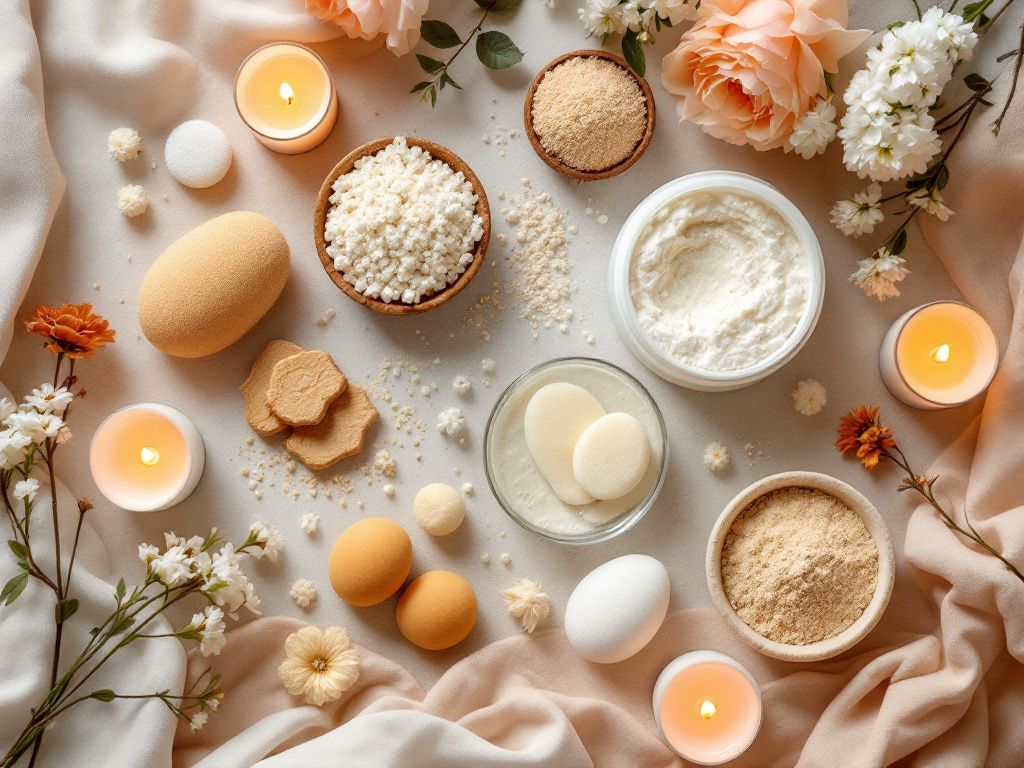
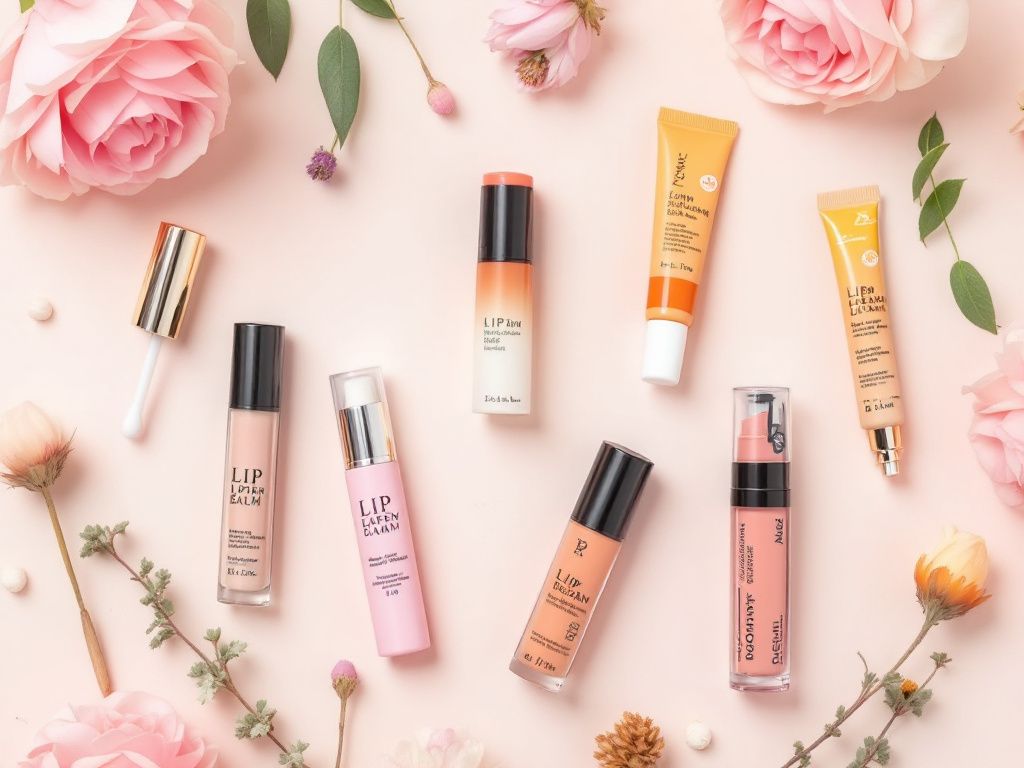
Essential Ingredients
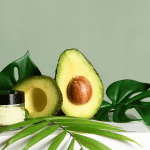
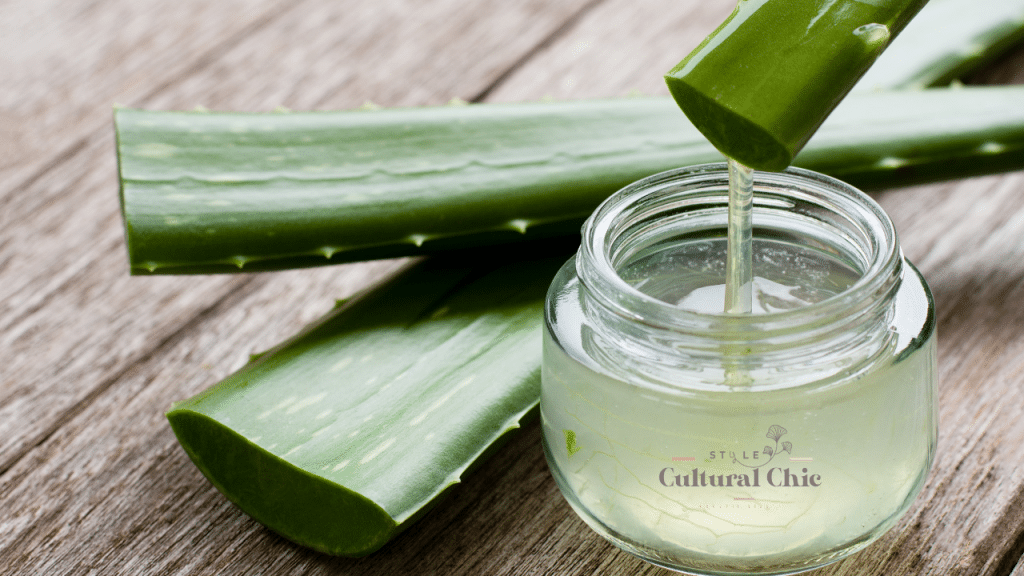
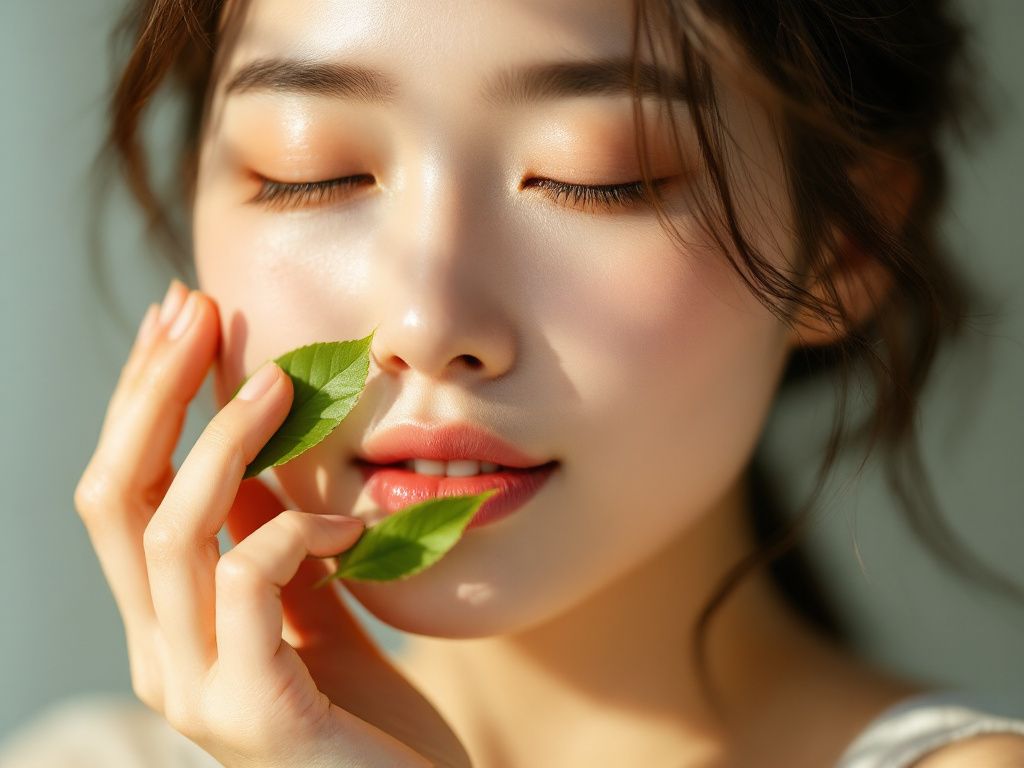
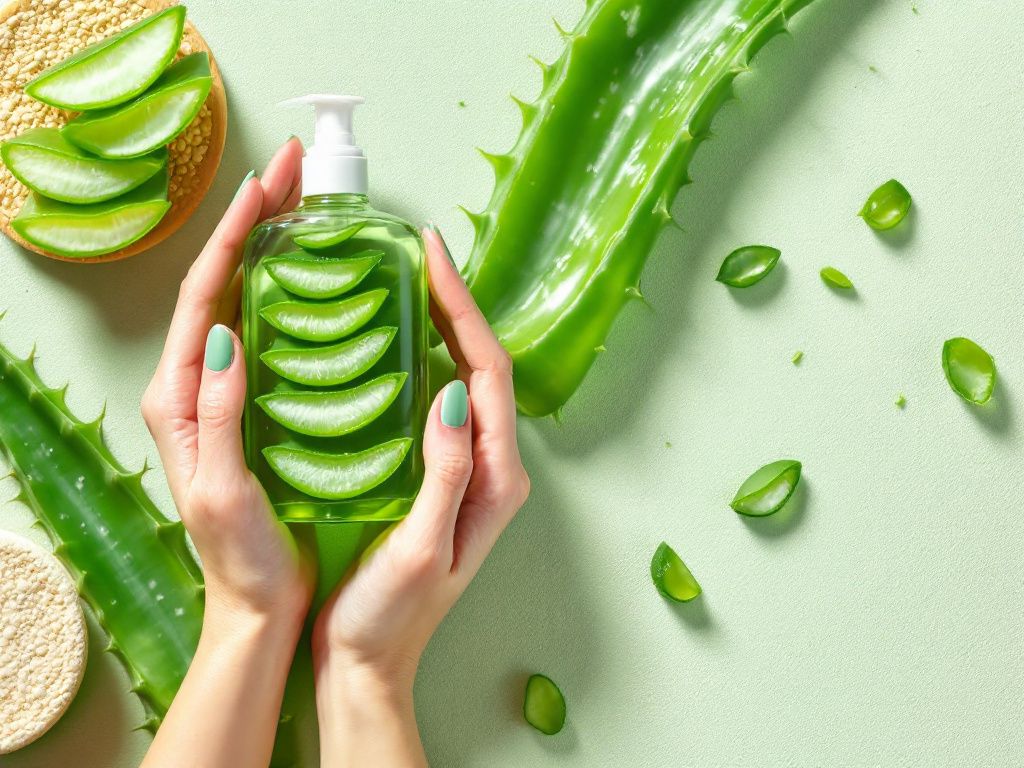
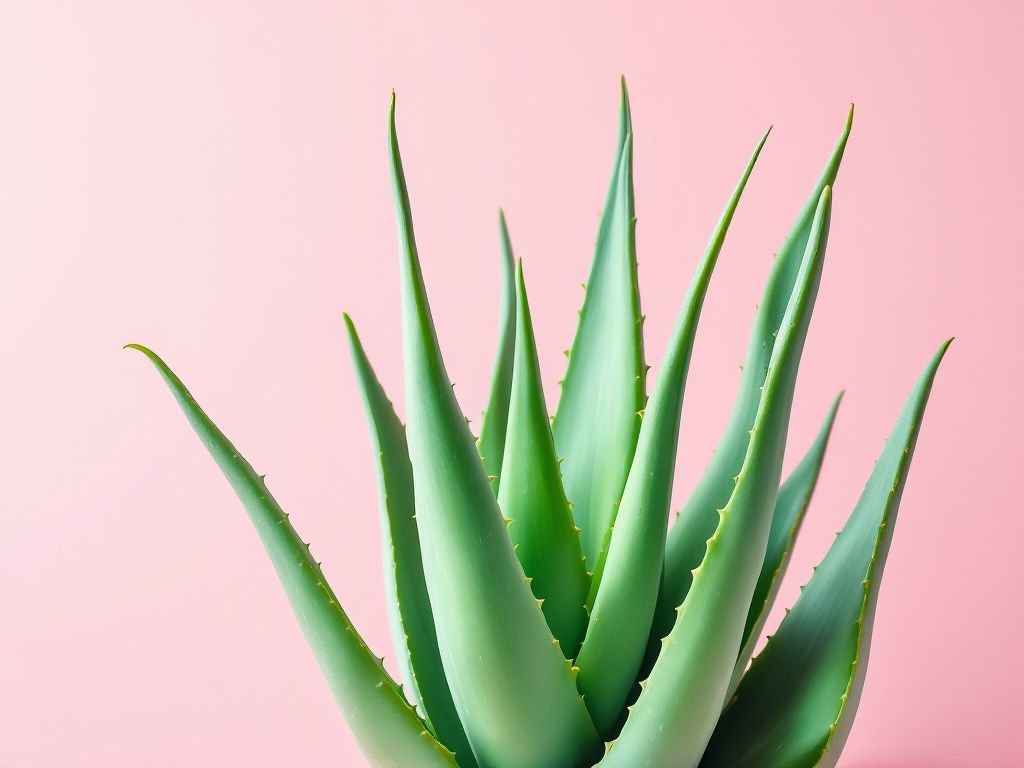
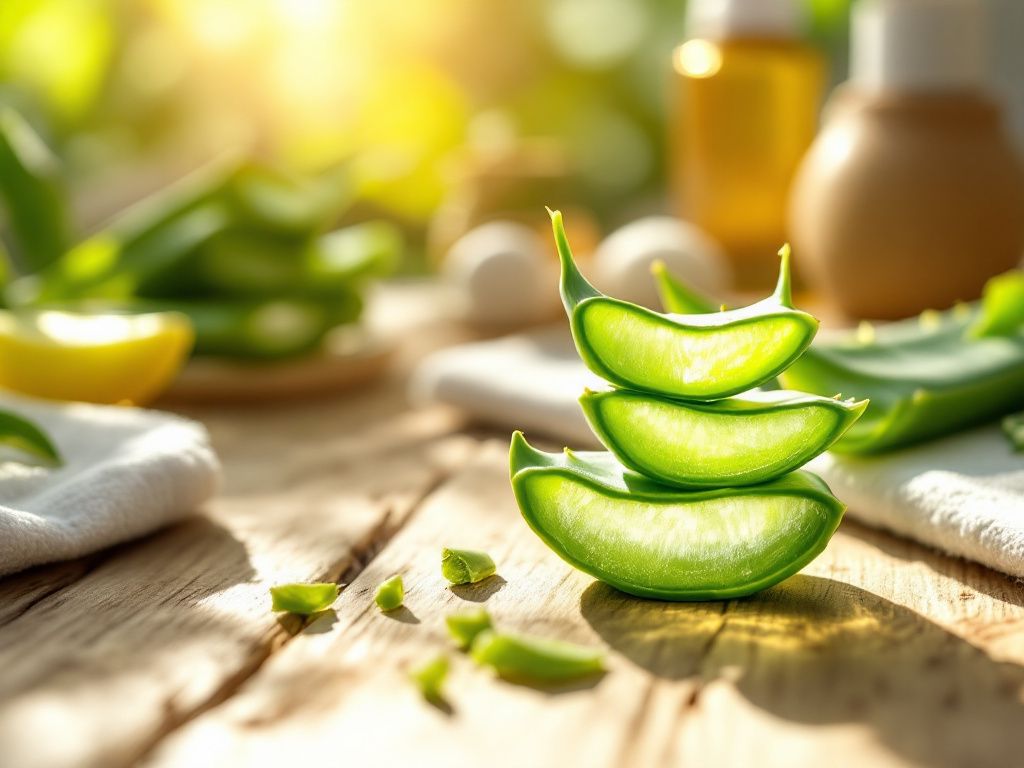
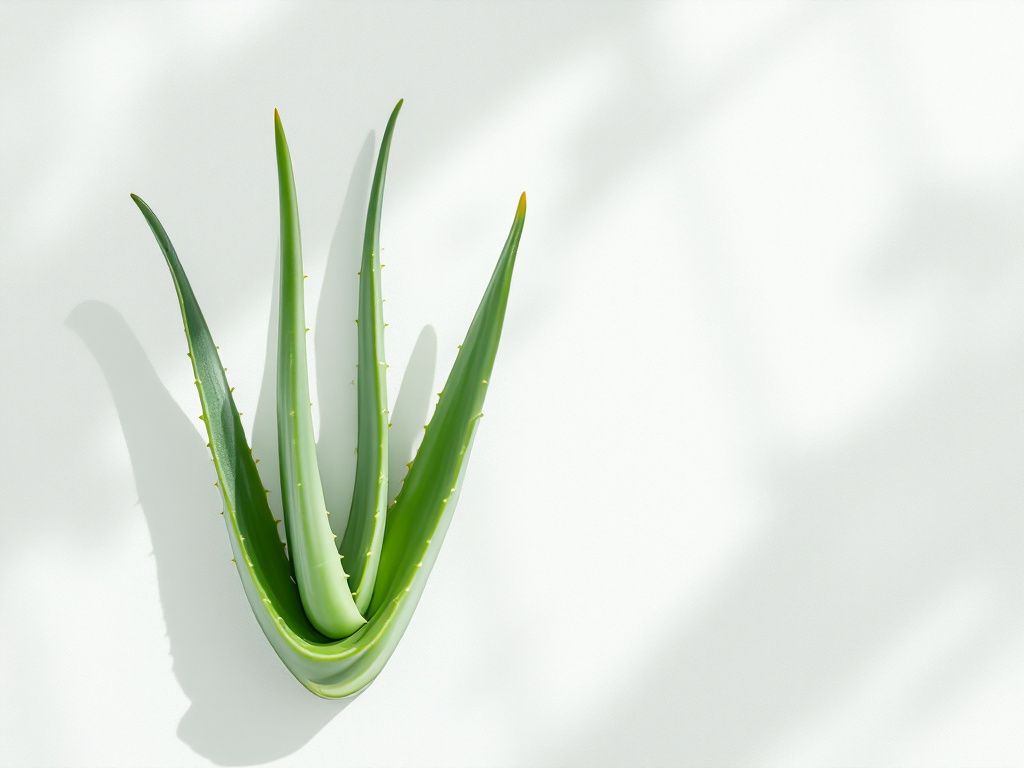
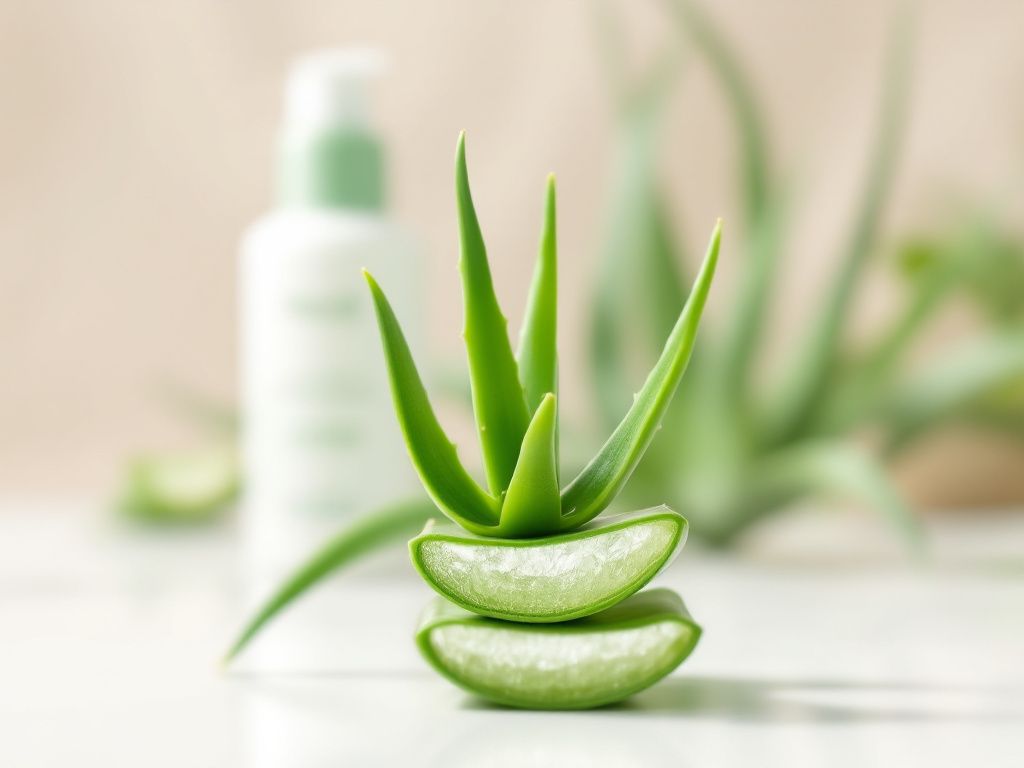
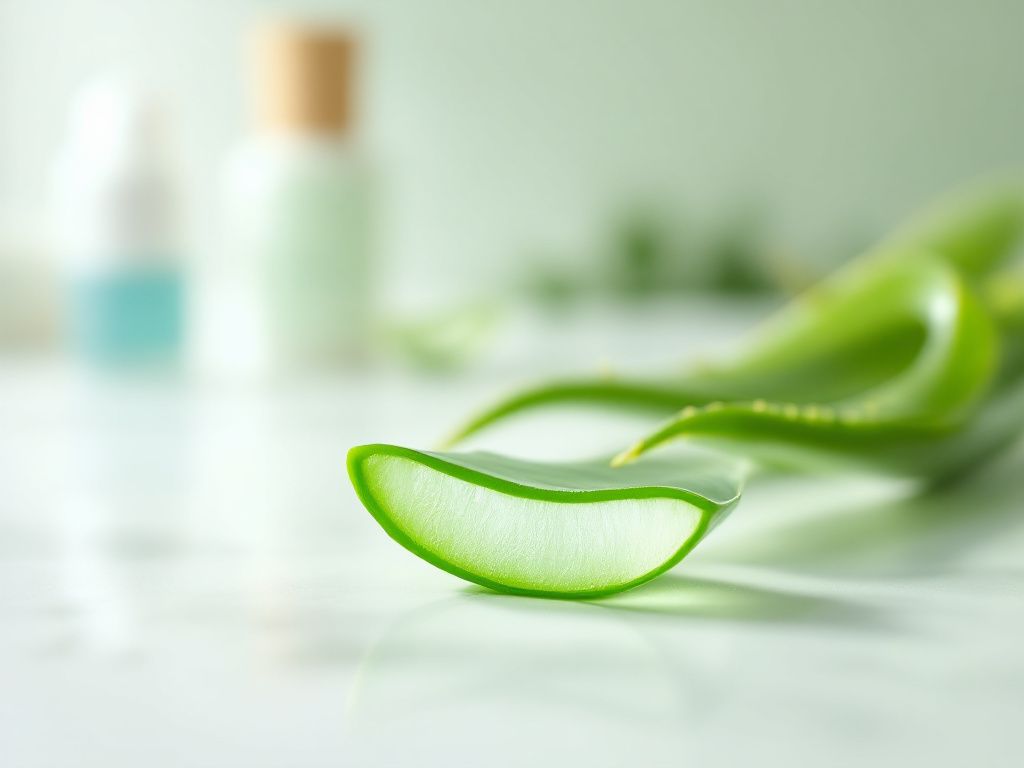
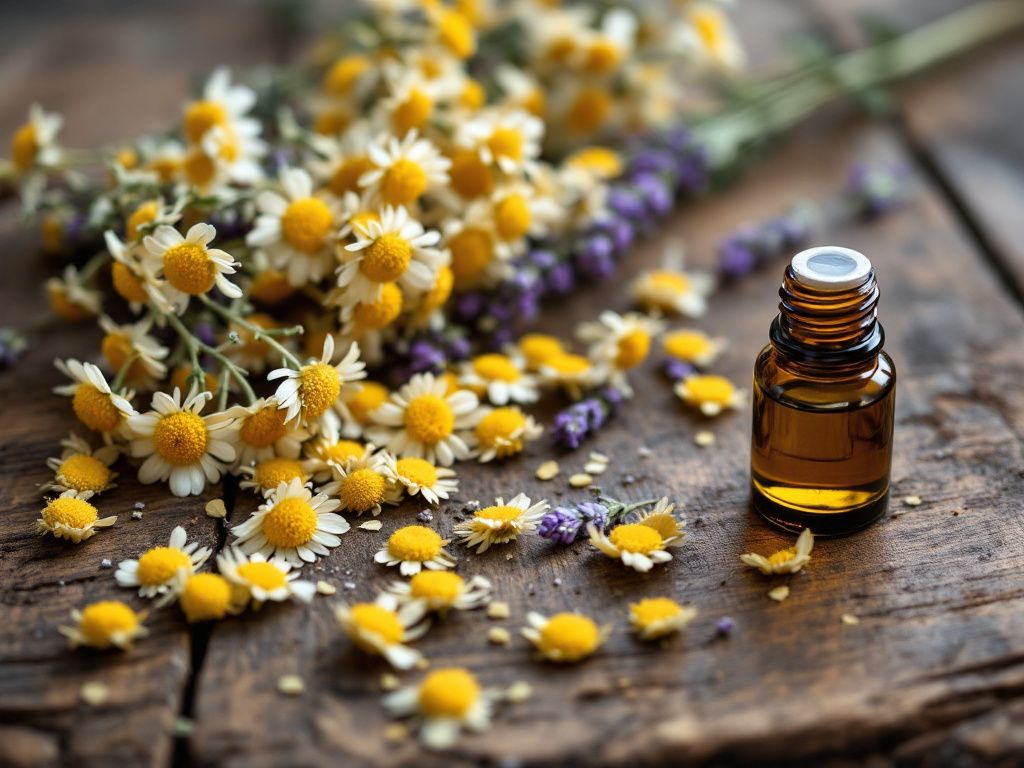
- Aloe Vera Gel: A cornerstone of natural skin care, aloe vera is hydrating and has soothing properties. It lays the groundwork for your serum, giving it a light, easy-to-apply texture.
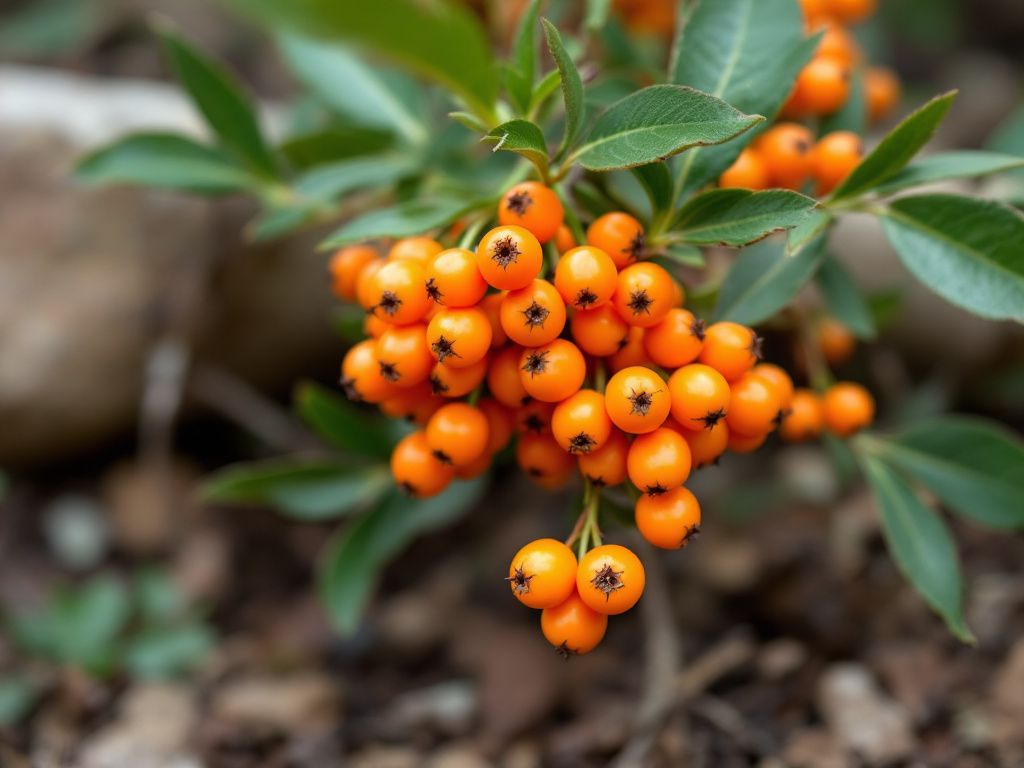
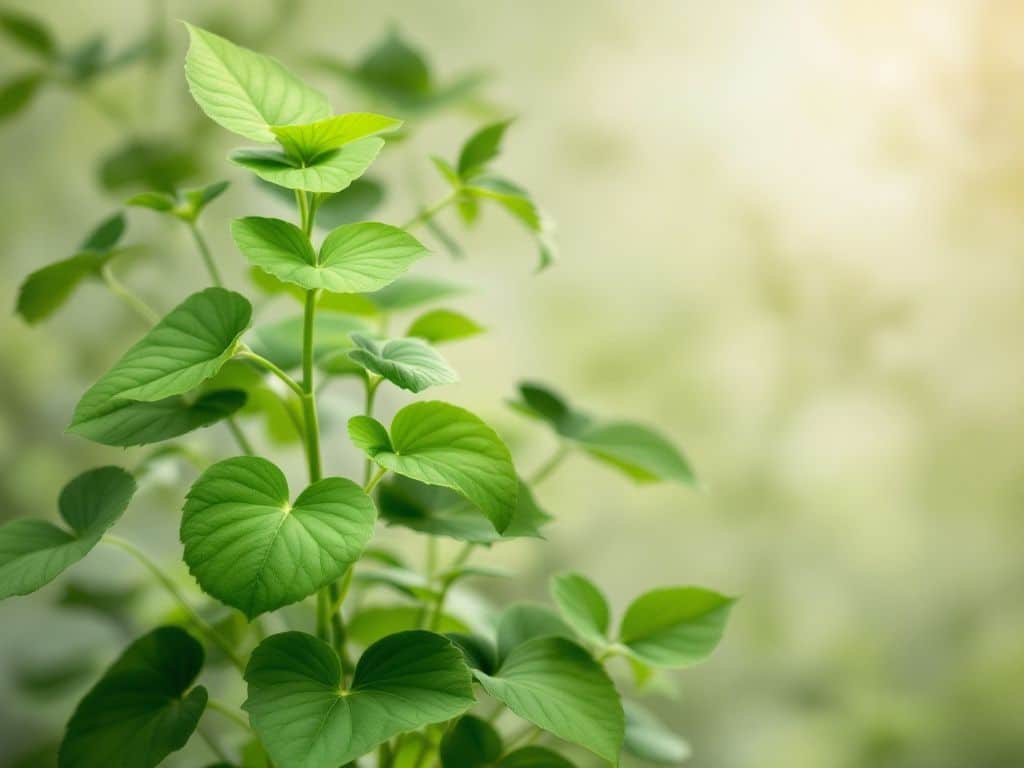
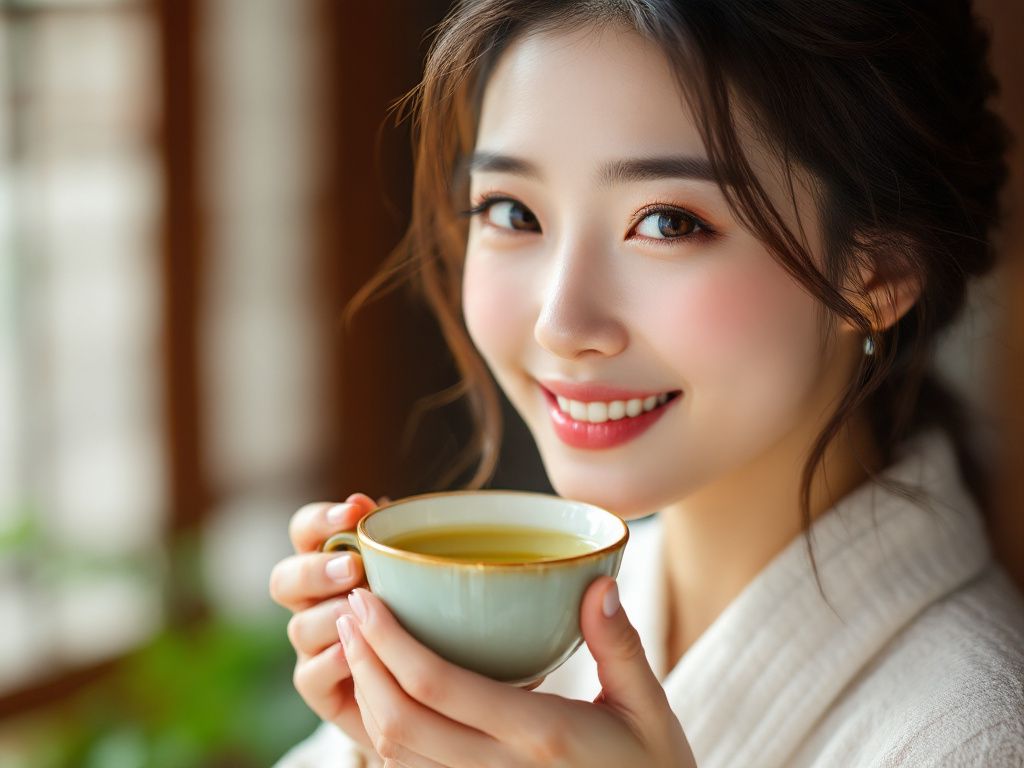
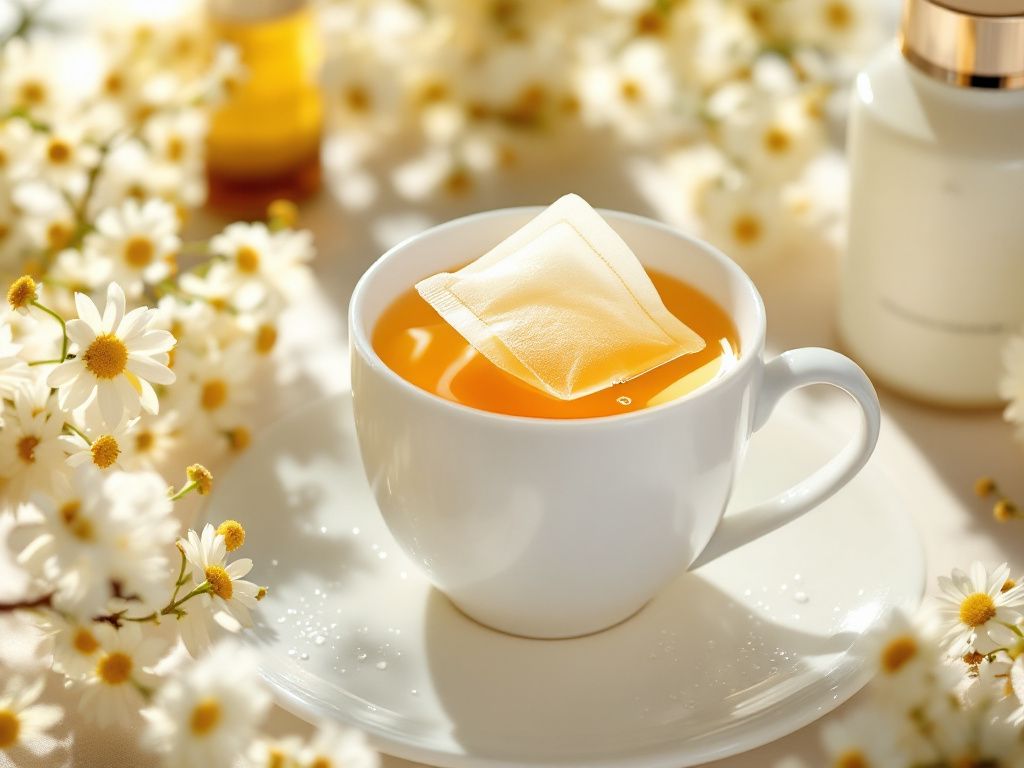
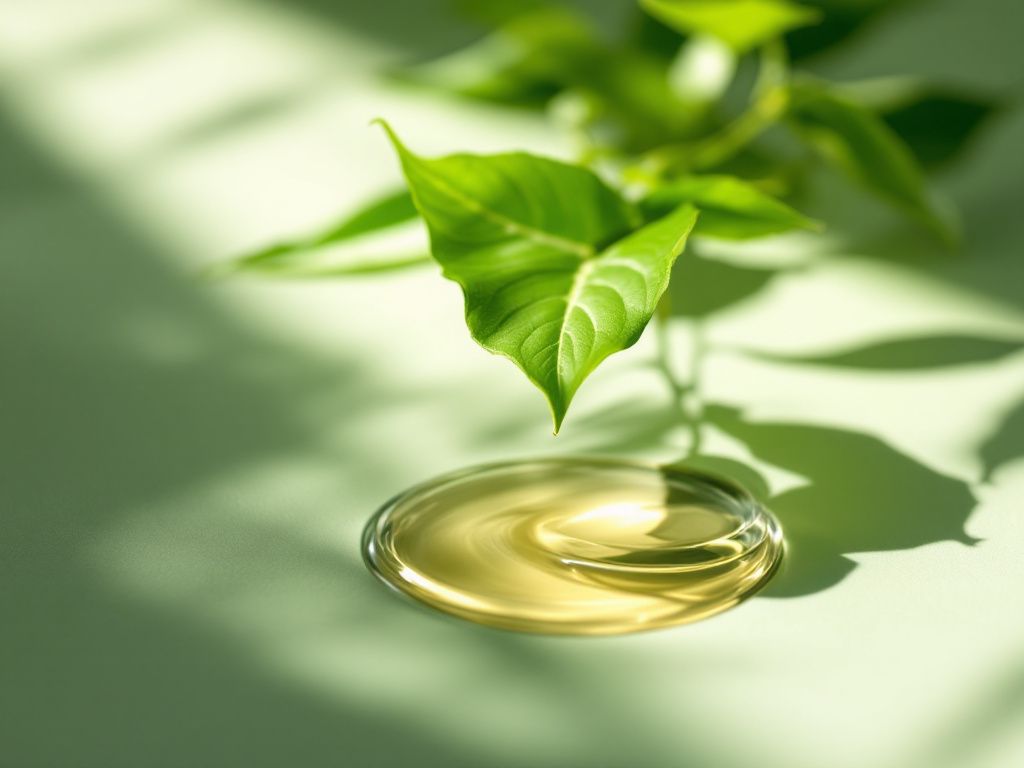
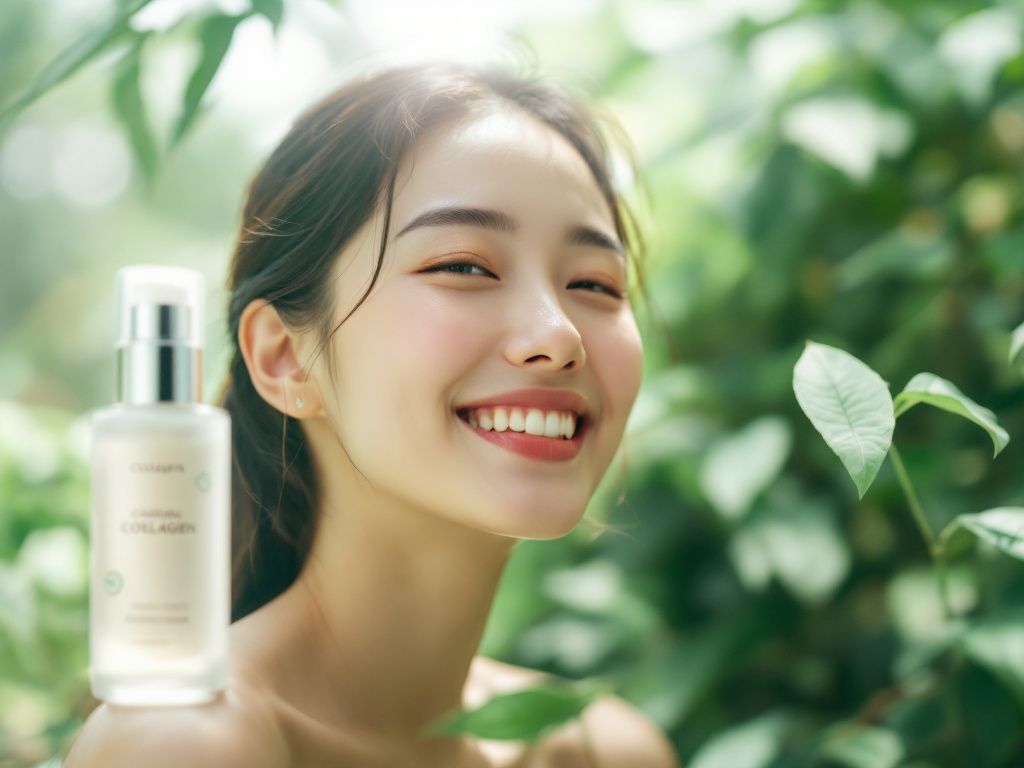
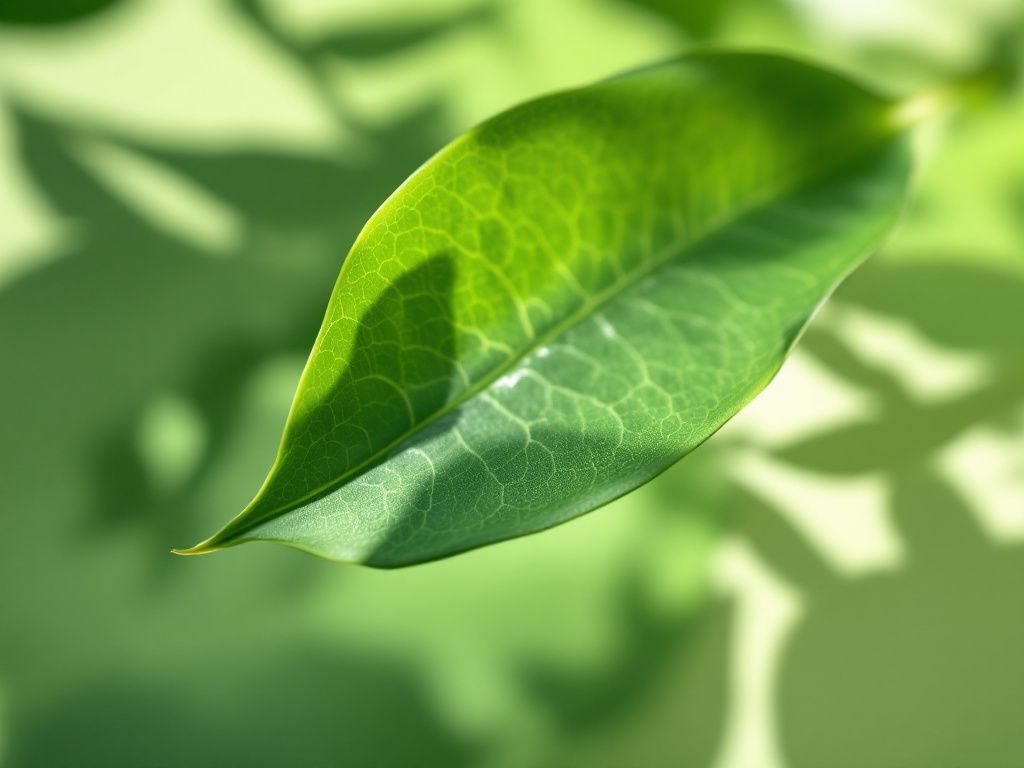
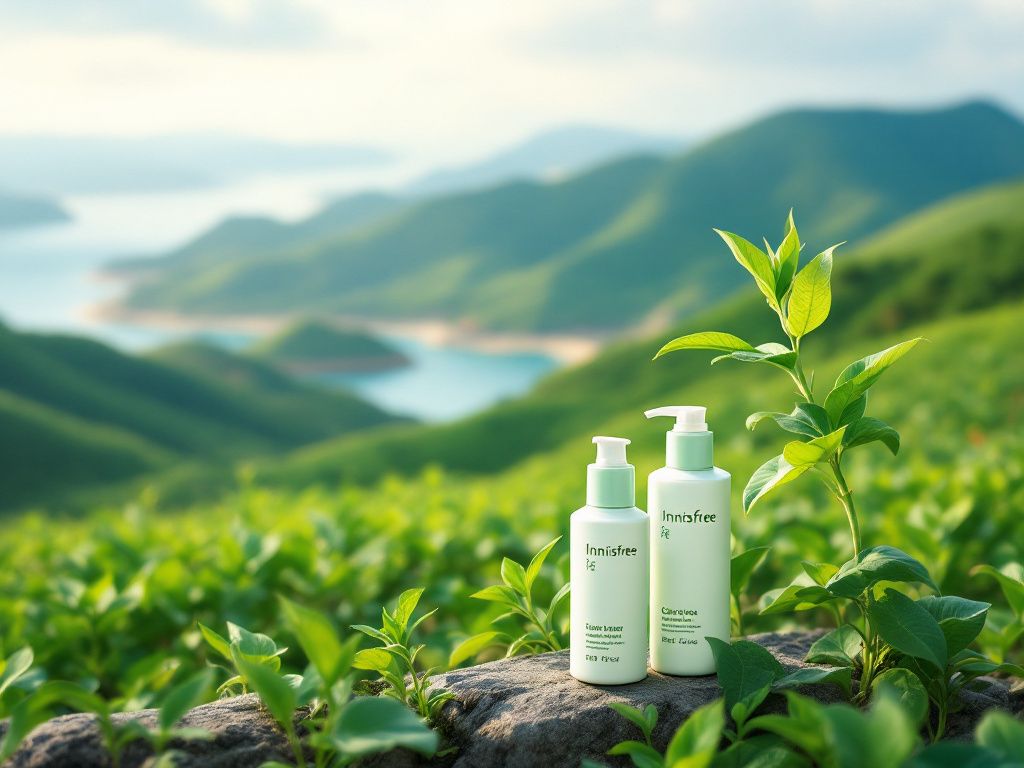
- Green Tea Extract: Known for its anti-inflammatory and antioxidant properties, this is key in Korean skincare for calming redness and boosting skin health.
- Hyaluronic Acid: Don’t skip this one! It’s the secret sauce to plump, well-hydrated skin. It holds up to 1000 times its weight in water, making it a hydration powerhouse.
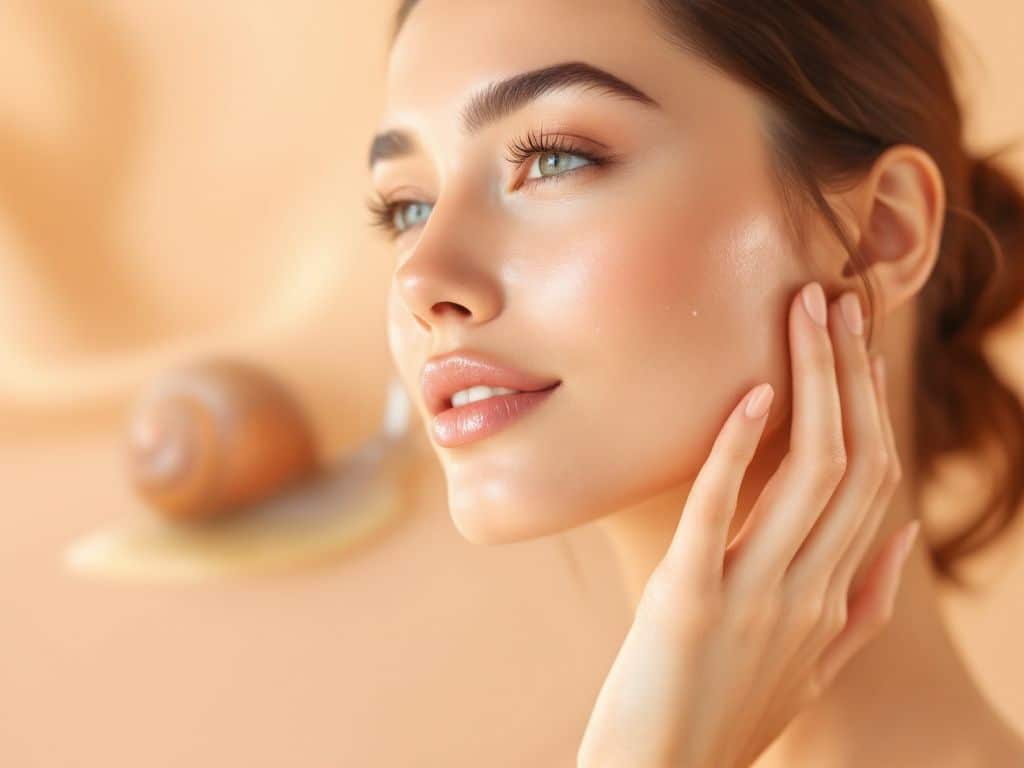
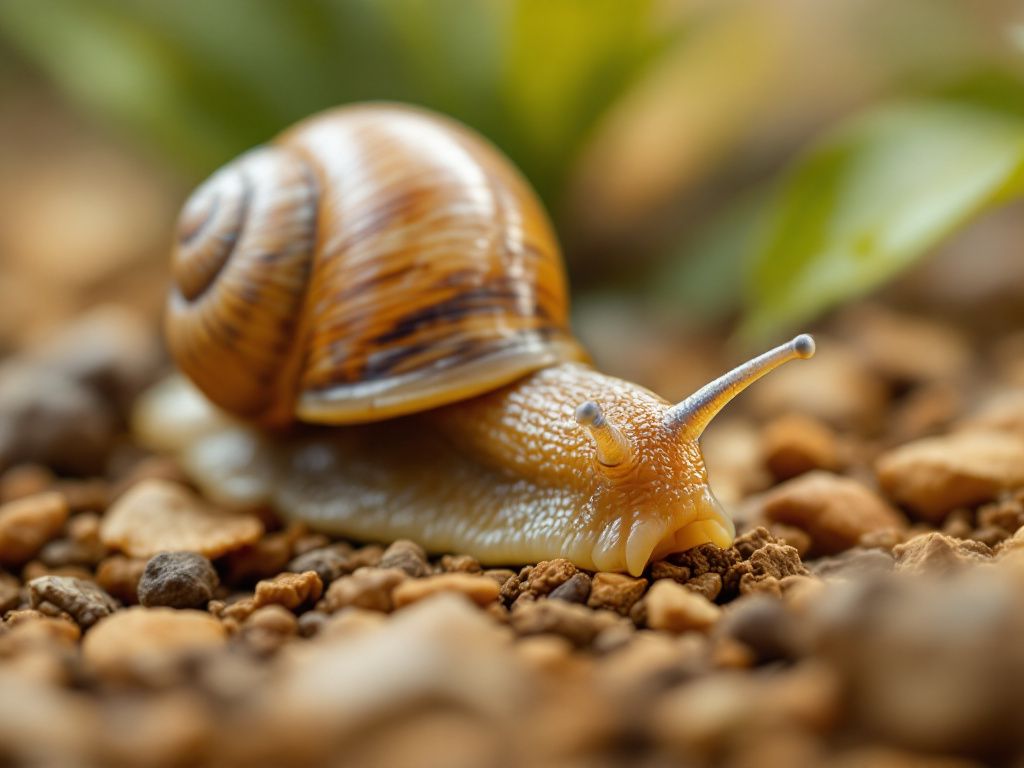
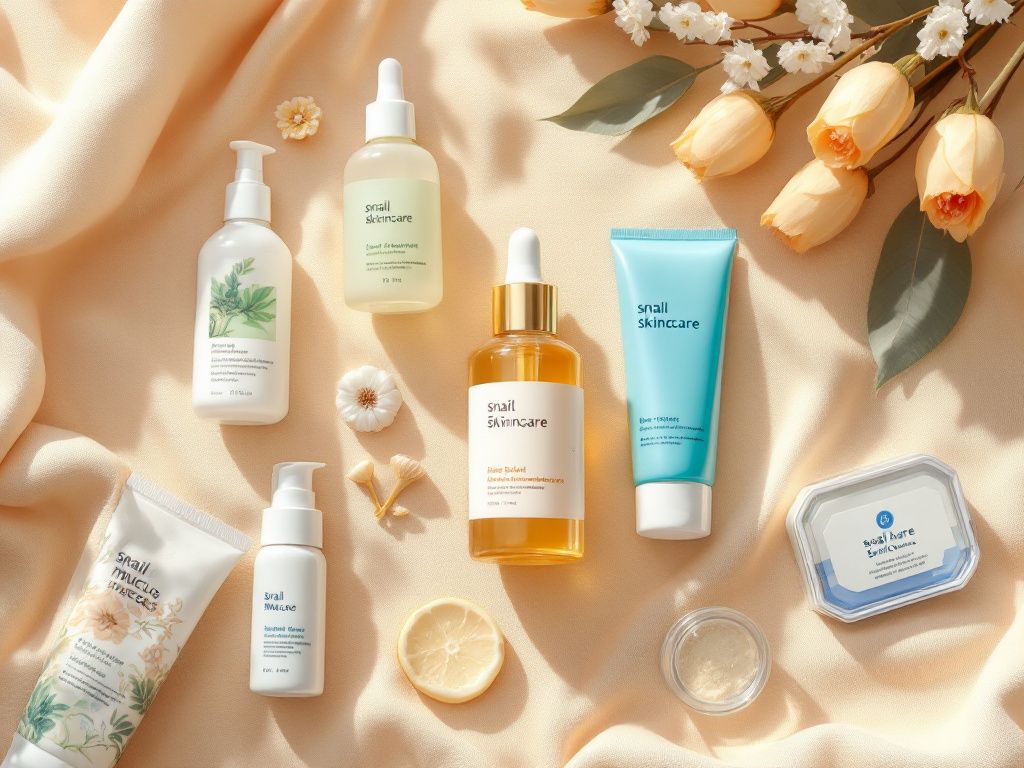
- Snail Mucin: This one might surprise you, but it’s a popular ingredient in Korean face serums for its ability to heal and maintain healthy skin texture. If you’re looking for that glass skin effect, this is your buddy.
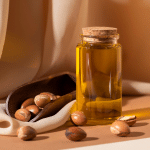
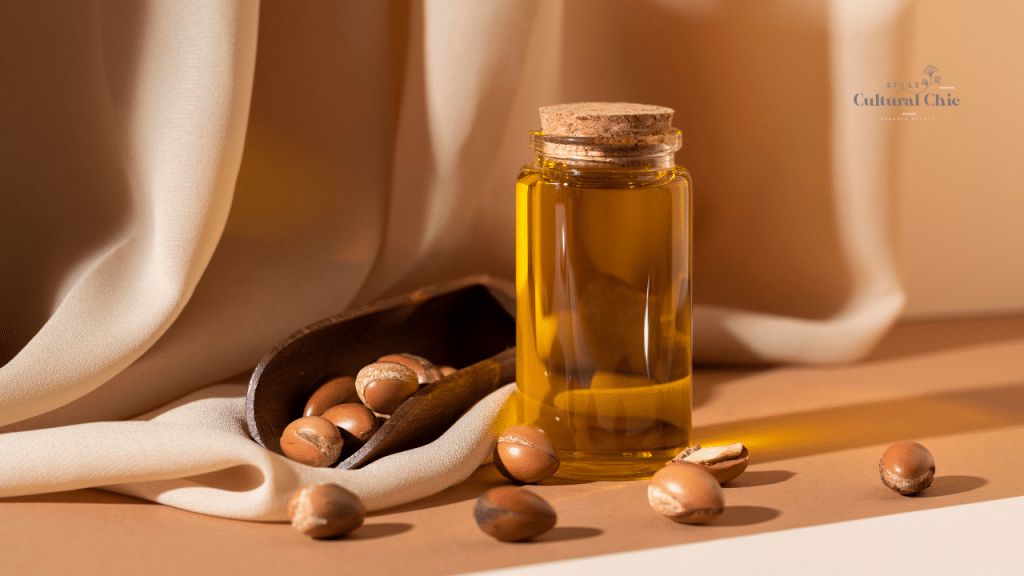
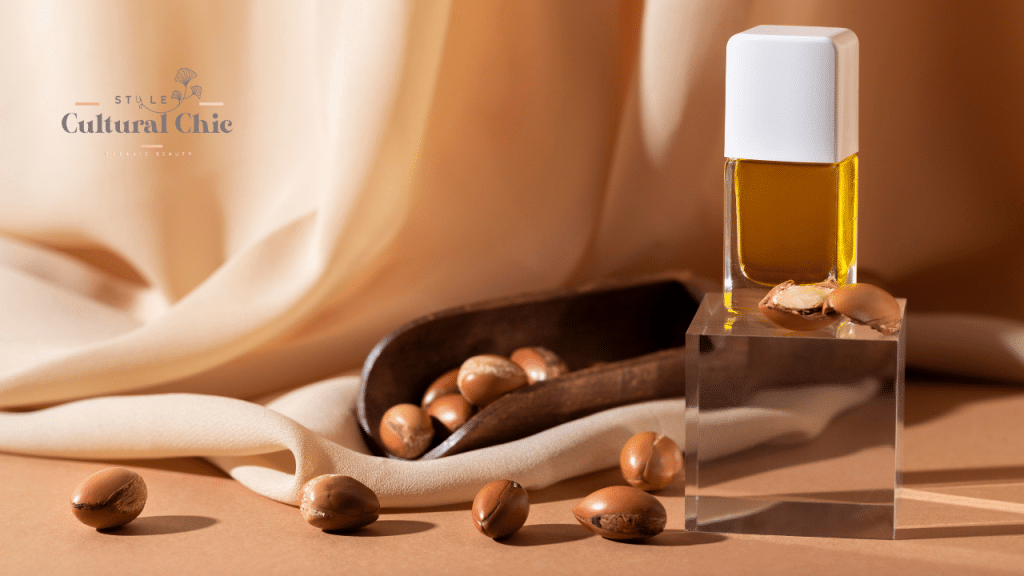
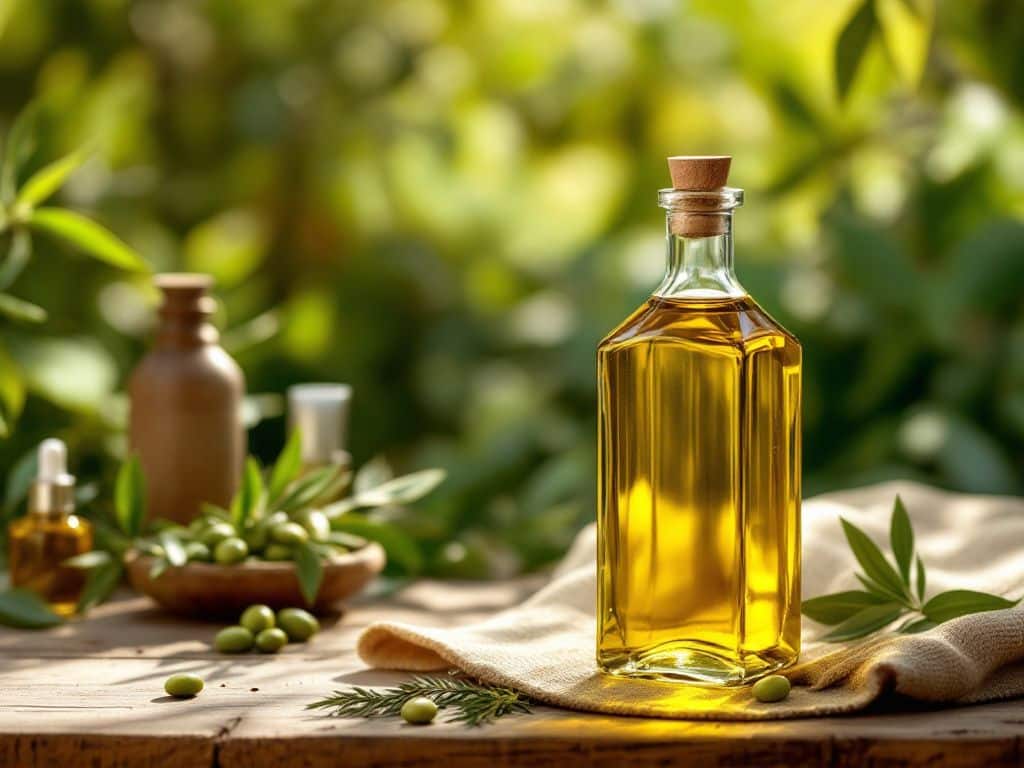
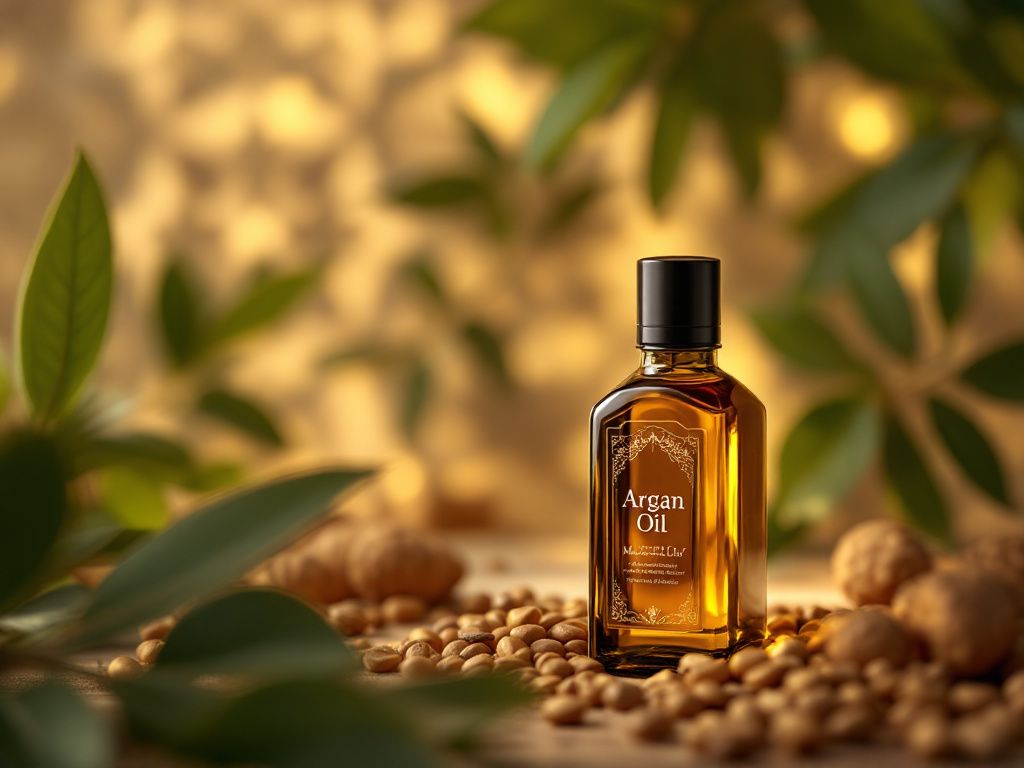
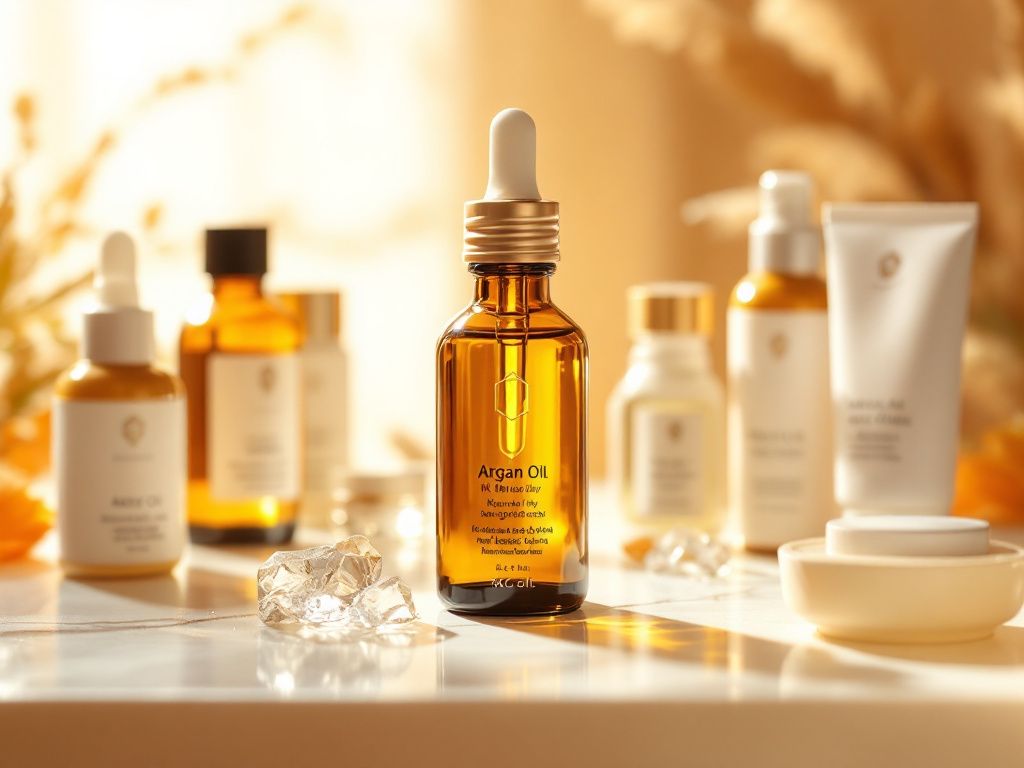
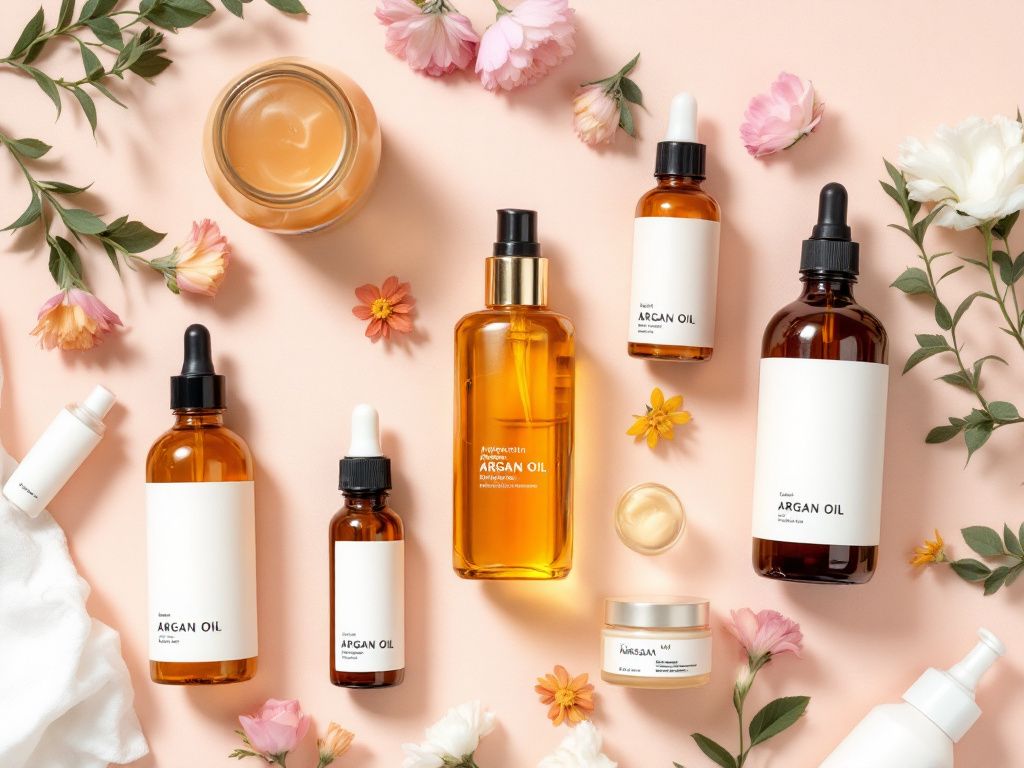
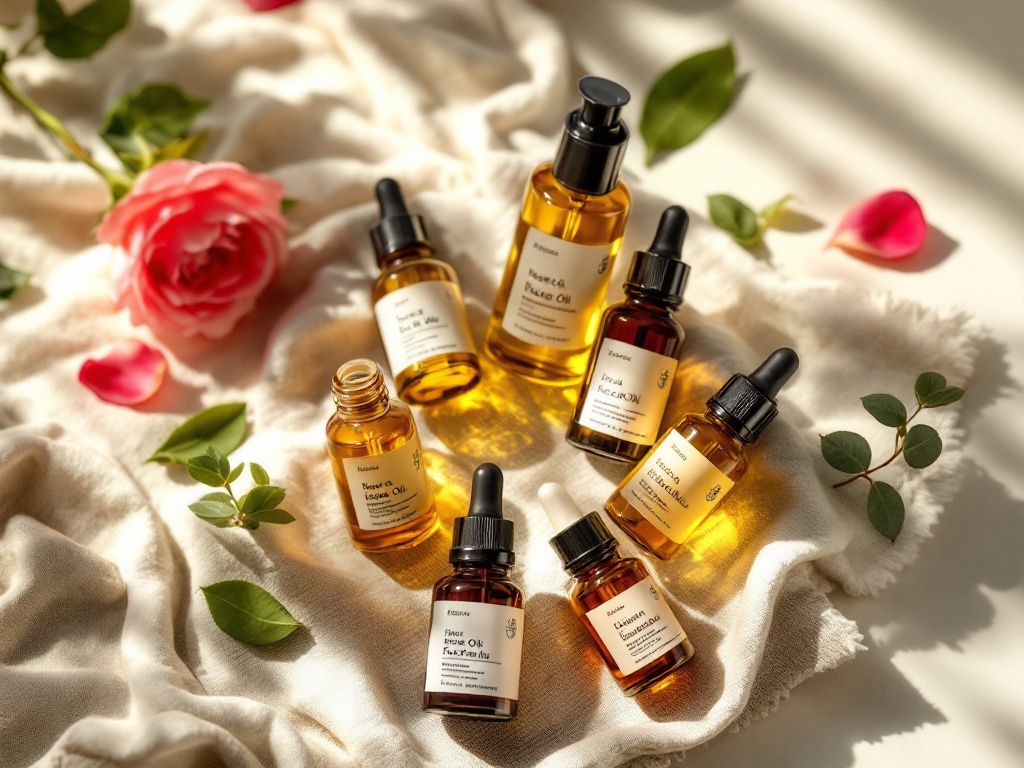
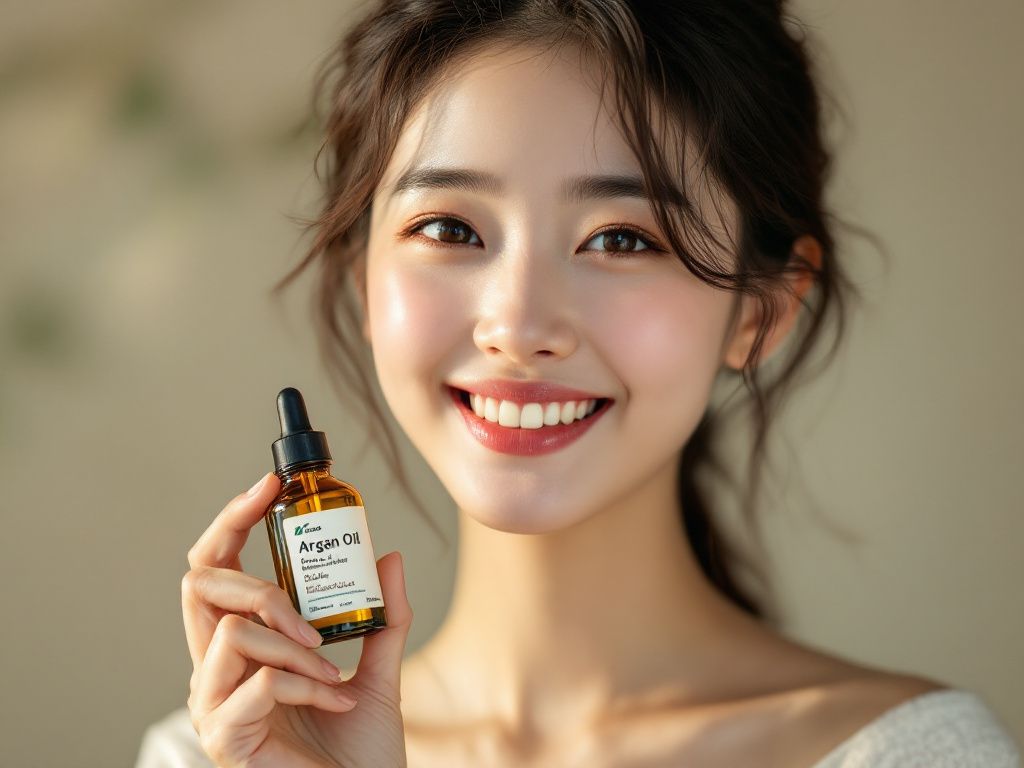
- 5. **Carrier Oil (e.g., Jojoba Oil): Acts as a vessel for the serum while nourishing and healing your skin. Plus, jojoba closely mimics the skin’s natural oils, making it less likely to clog pores.
- 6. **Essential Oil (e.g., Lavender or Tea Tree): Optional but fantastic for adding a calming scent and maybe an extra skin care benefit. Tea tree is excellent for acne-prone skin, while lavender is soothing.
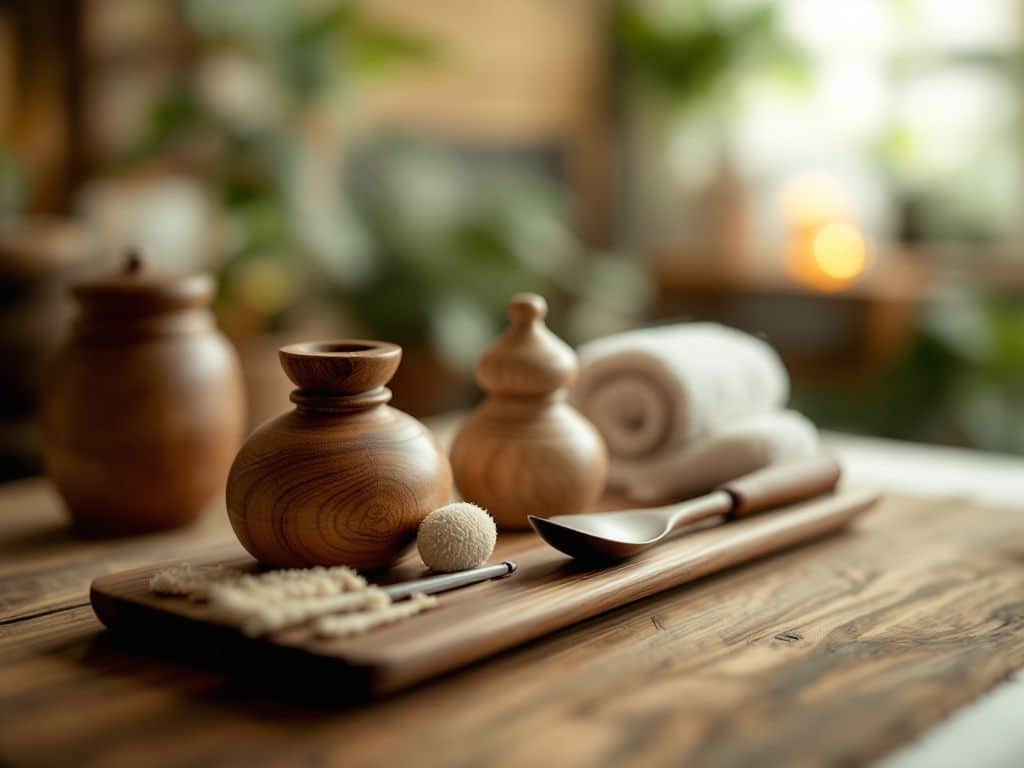
Gathering the Tools

- A small, dark glass bottle with a dropper (prevents degradation from sunlight)
- A glass or ceramic bowl for mixing
- A whisk or hand blender to thoroughly mix your concoction
- Measuring spoons to get proportions just right
Step-by-Step Guide to Crafting Your Serum
Step by step guides, right? They just make life easier. So, let’s break it down.
Step 1: Base Preparation
In your mixing bowl, combine 2 tablespoons of aloe vera gel, 1 tablespoon of green tea extract, and 1 teaspoon of hyaluronic acid. Mix these until smooth. You’re forming the base of your serum—a lightweight gel that’s the foundation of Korean skincare.
Step 2: Add Snail Mucin
Add in 1 tablespoon of snail mucin to the mix. It might wig you out a bit at first (I get it), but trust me, this is where the magic lies. Mix it gently into your base, ensuring it’s evenly distributed.
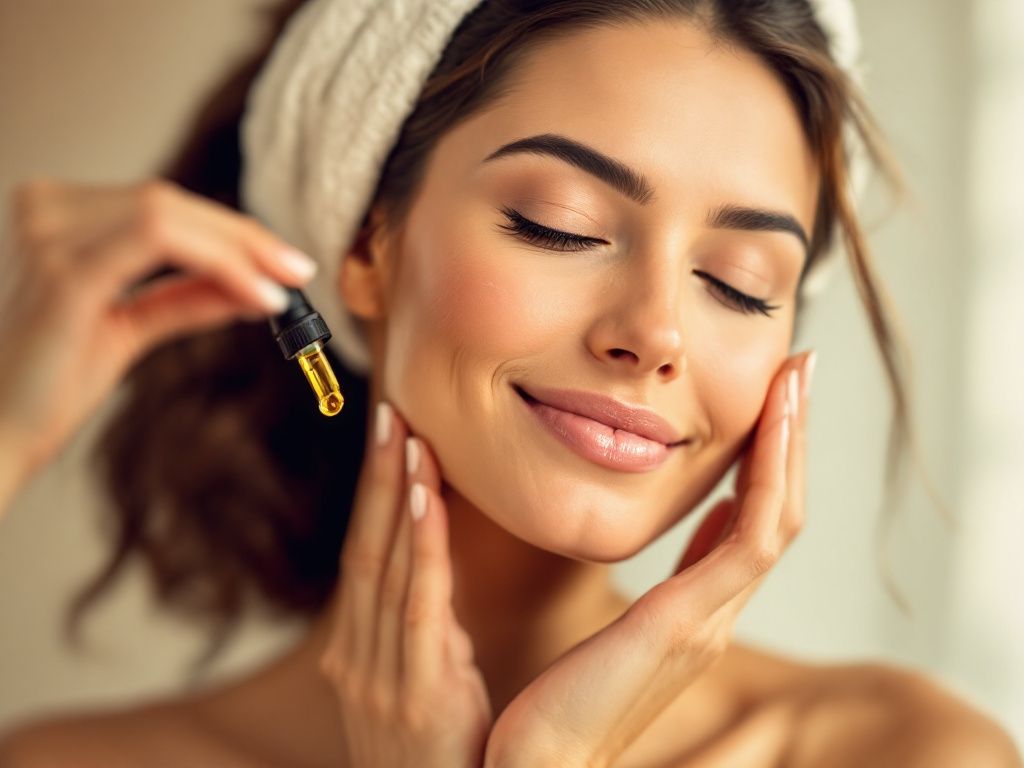
Step 3: Oil Infusion Time

Pour in 1 teaspoon of jojoba oil and combine it with the base. This gives your serum a nourishing boost, ensuring it’s not only hydrating but also locking in moisture. Then, if you’re into essential oils, add about 5 drops of your chosen one—go easy though, a little goes a long way.
Step 4: Final Whisk
Whisk all the ingredients together (or use a hand blender for a fluffier texture). The mixture should be even, with no clumps, resembling a silky gel. The final texture is key in imitation of Korean skincare serums.
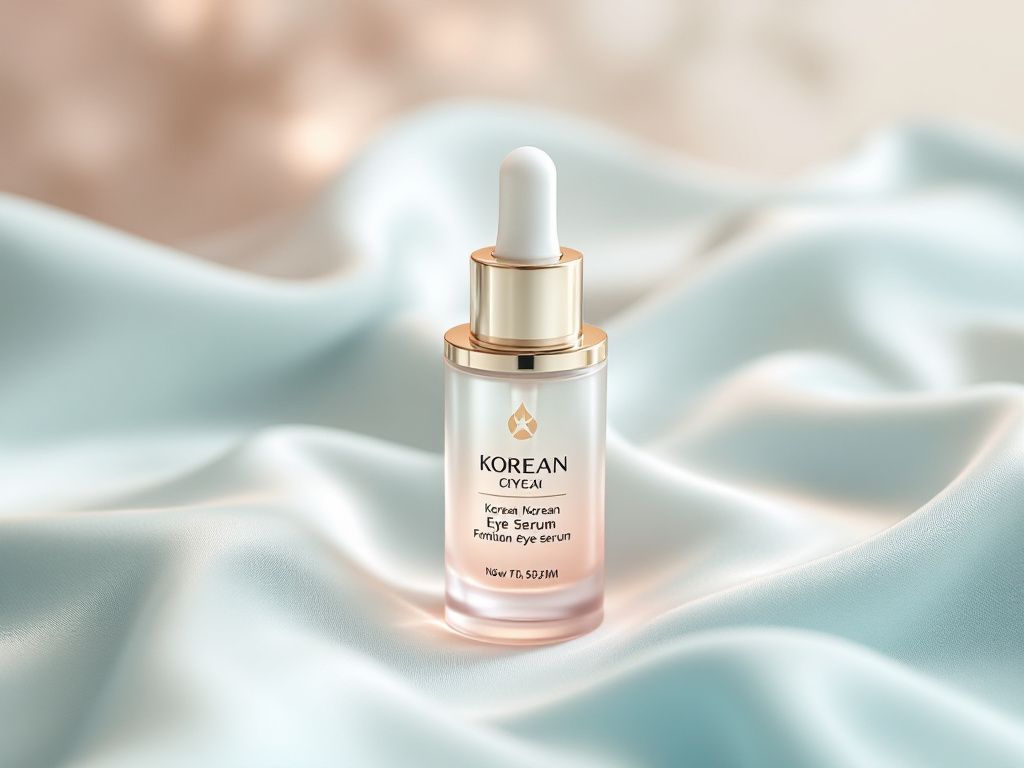
Step 5: Transfer to Bottle
Pour your ready-to-use serum into the dropper bottle. Make sure it’s clean and dry before use to prevent bacteria growth. Seal it tight and store in a cool, dark place.
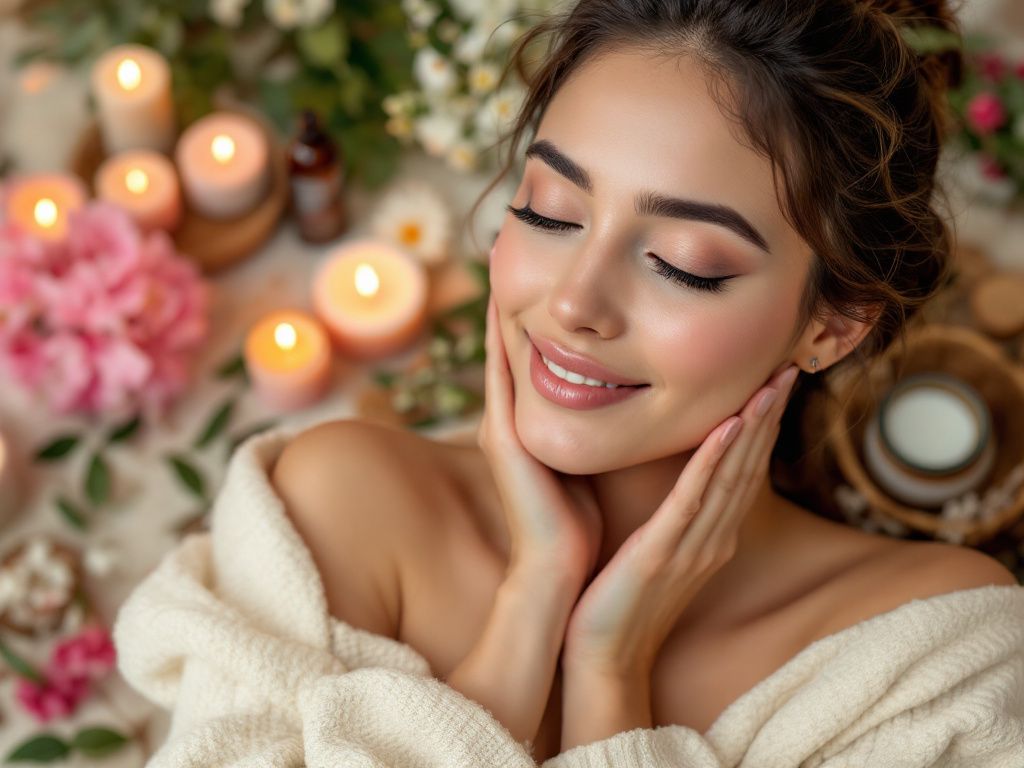
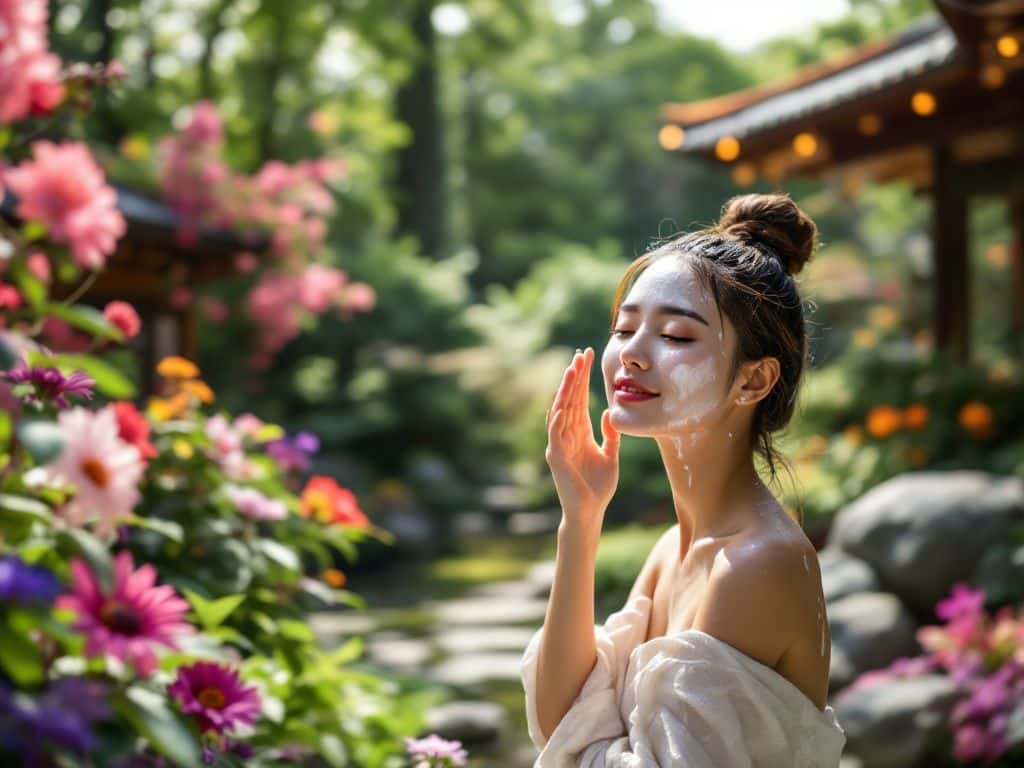
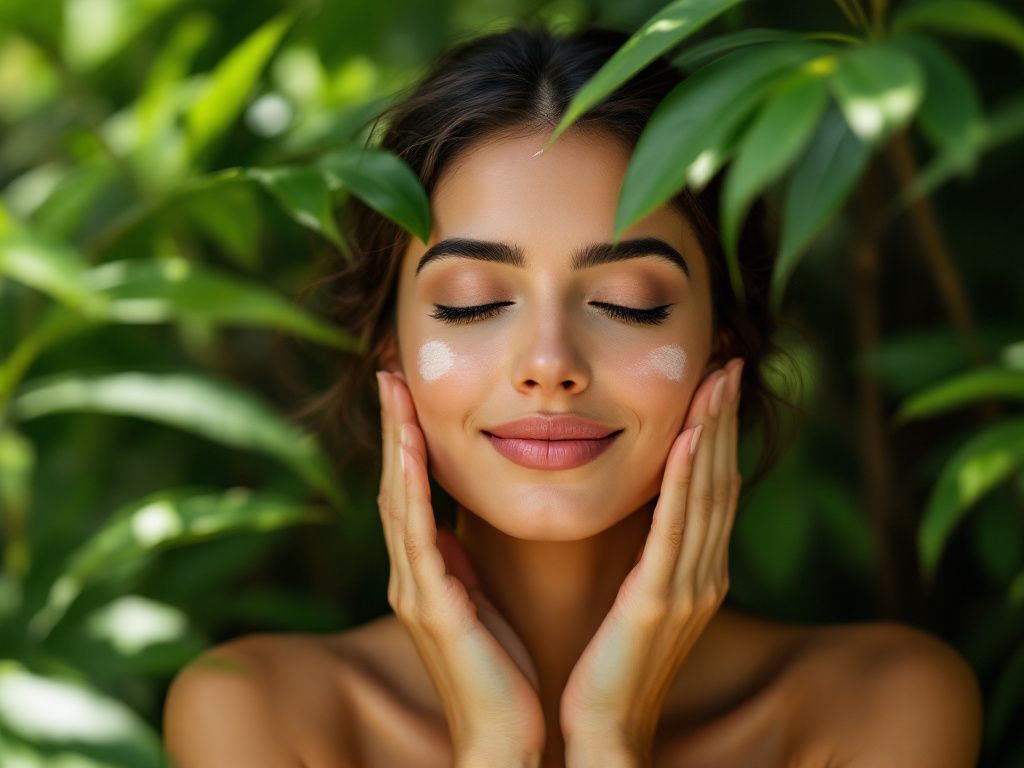
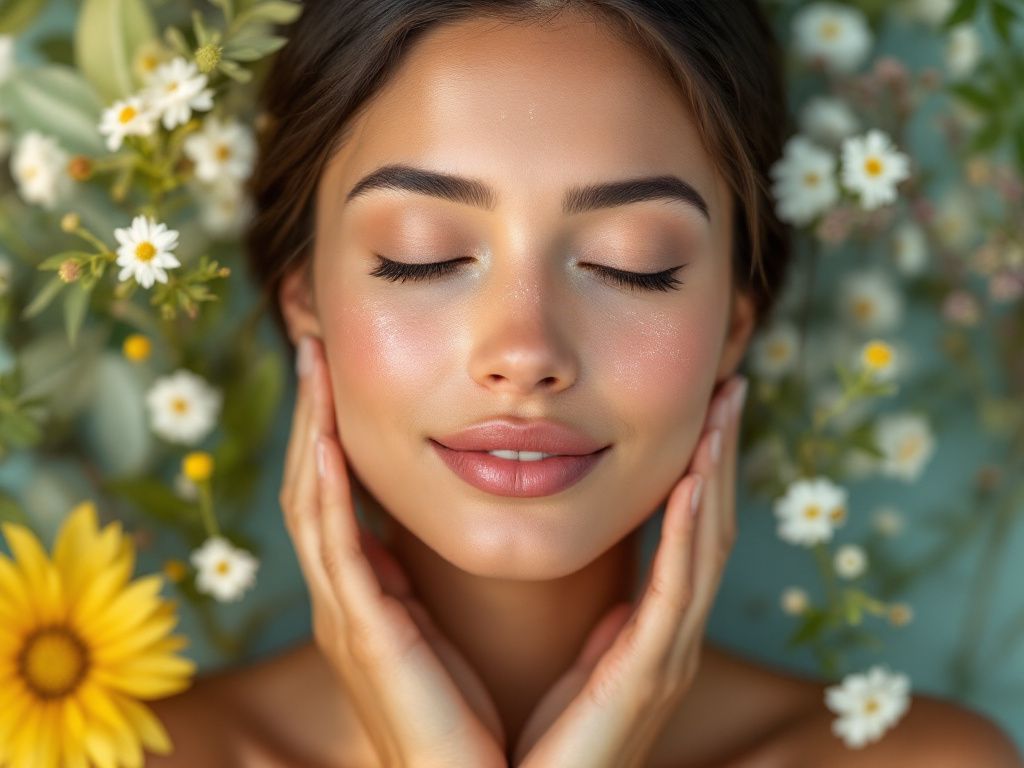
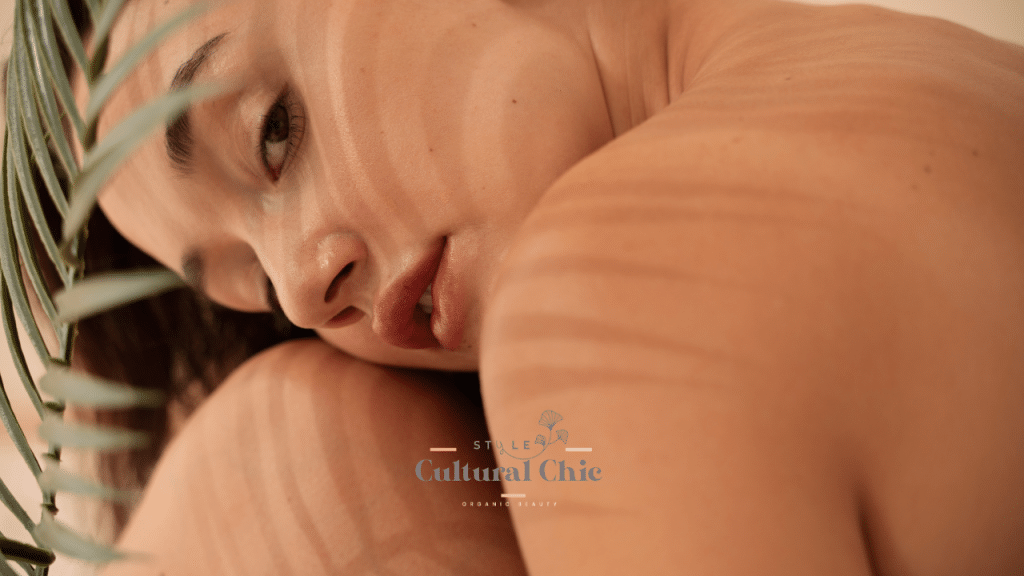
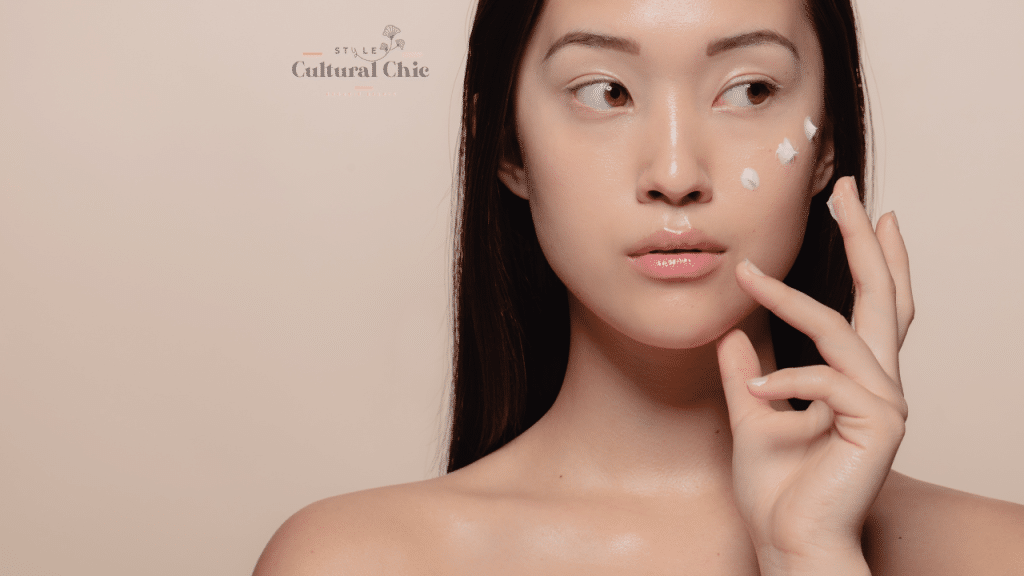
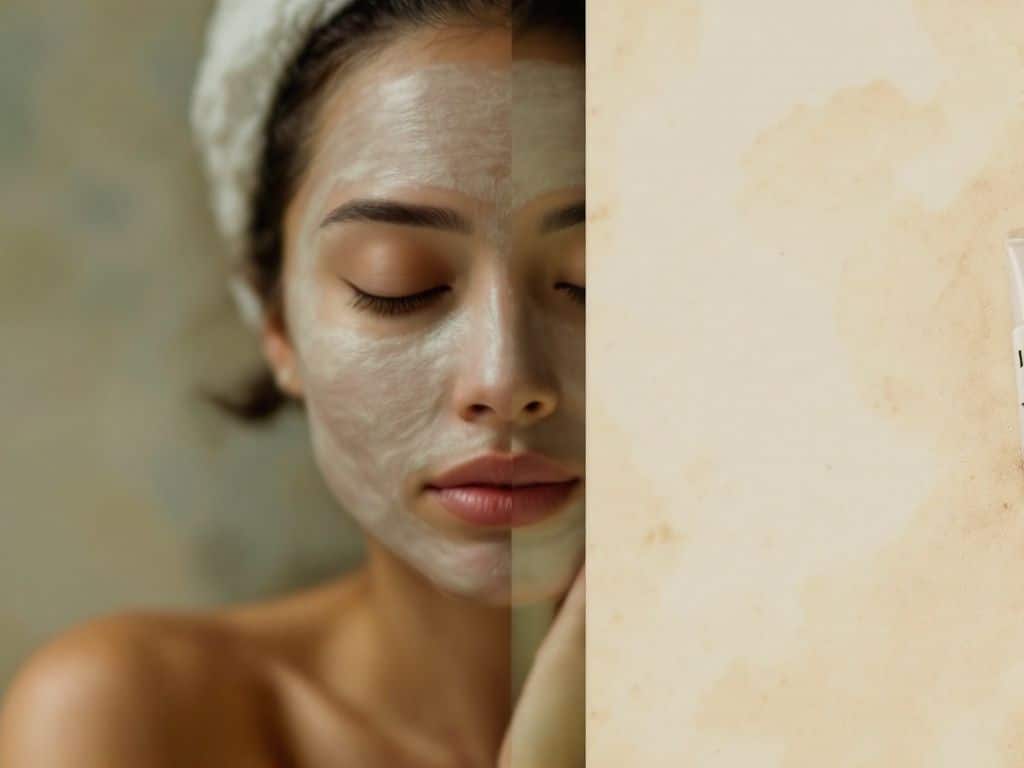
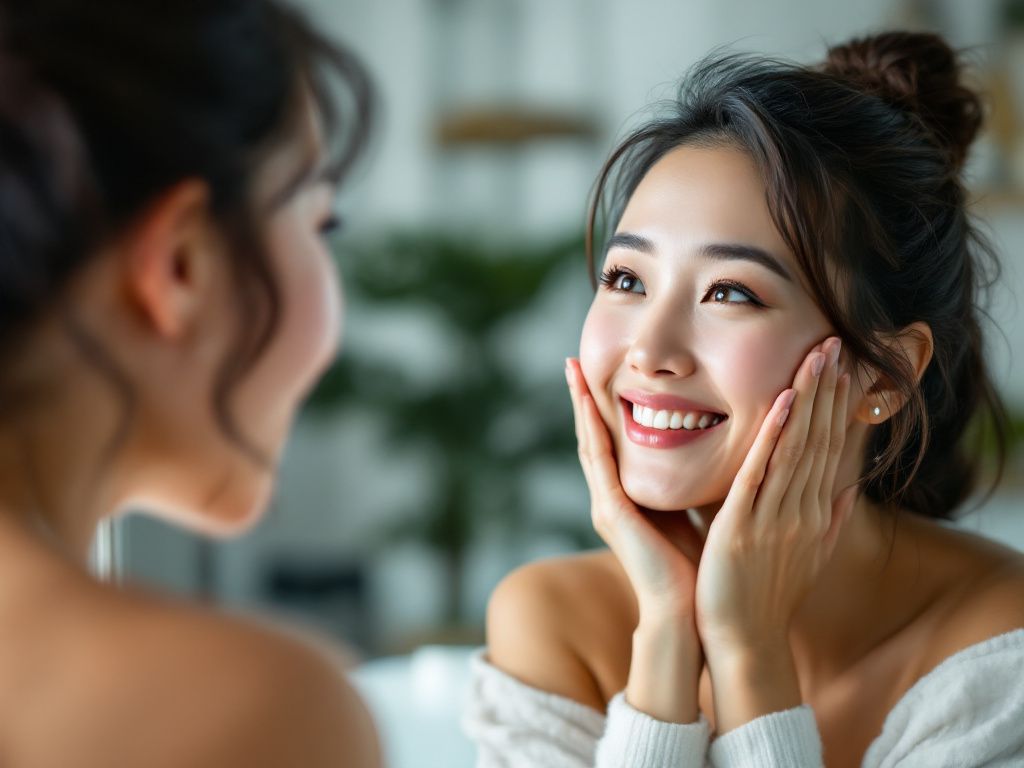
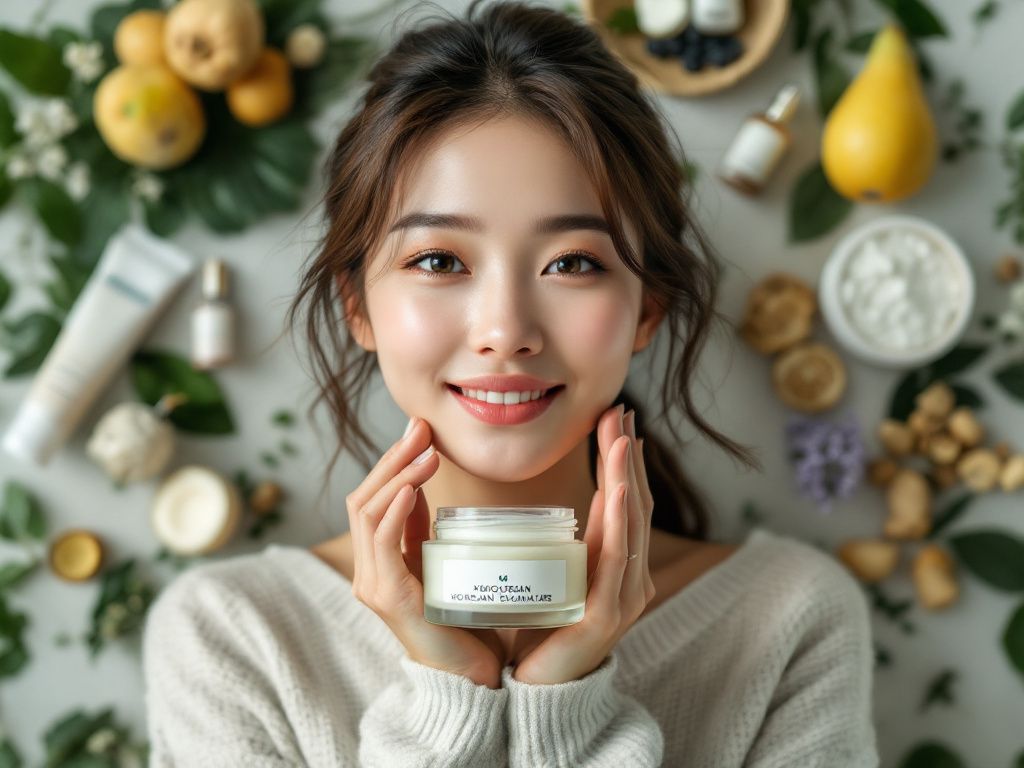
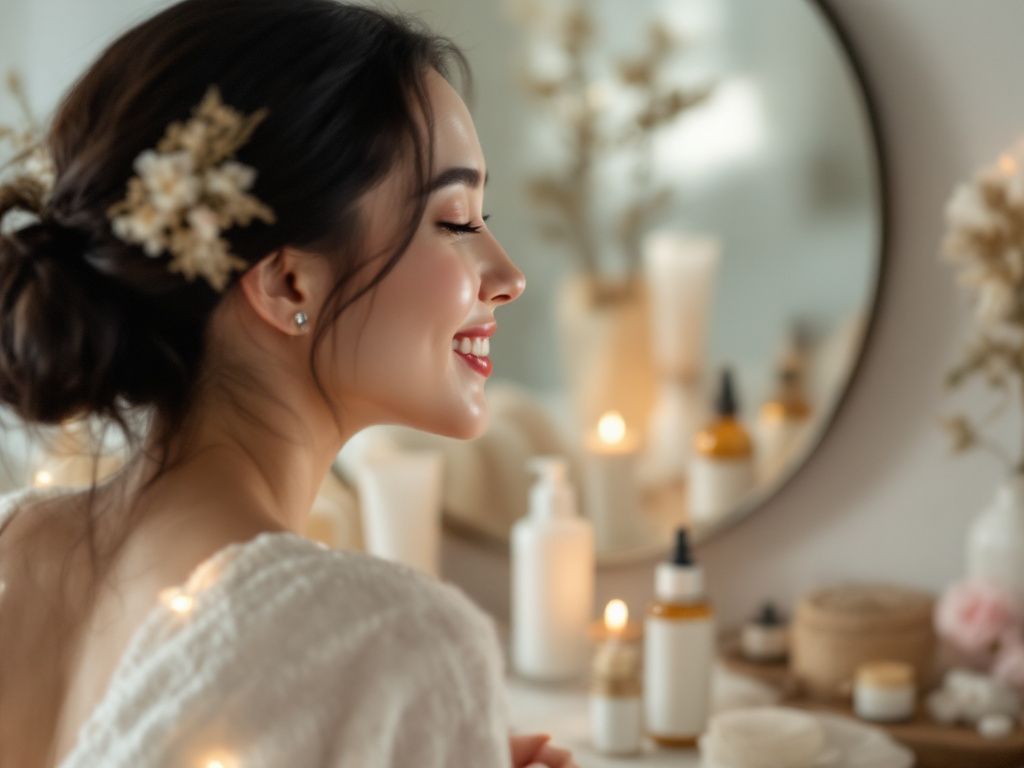
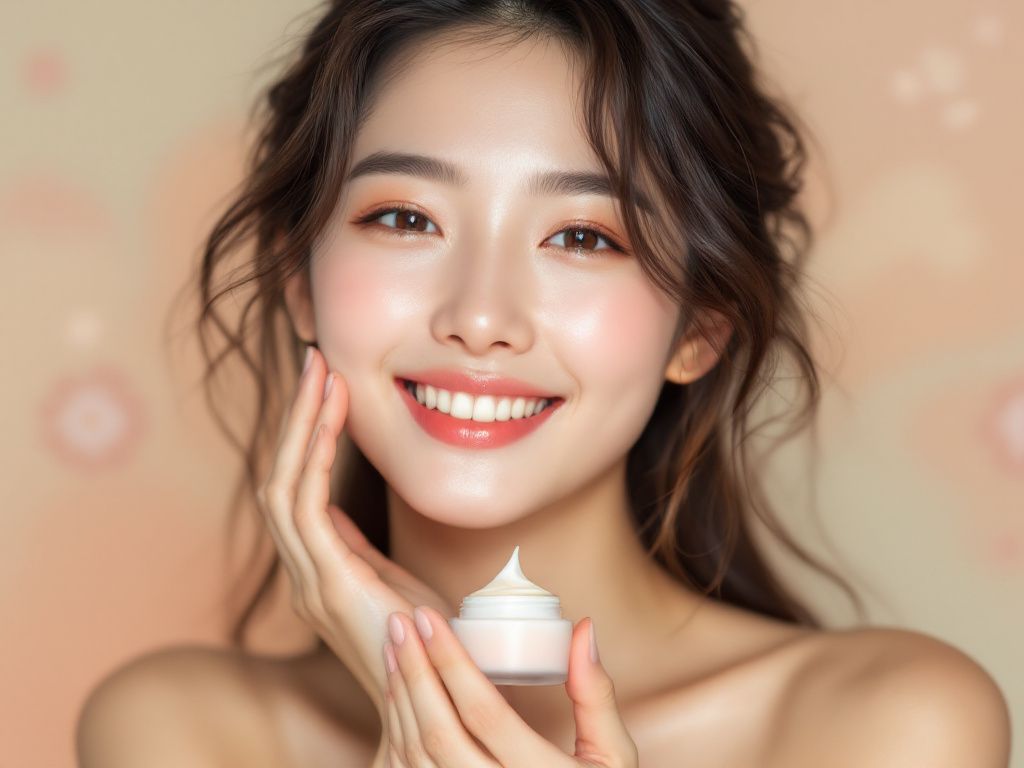
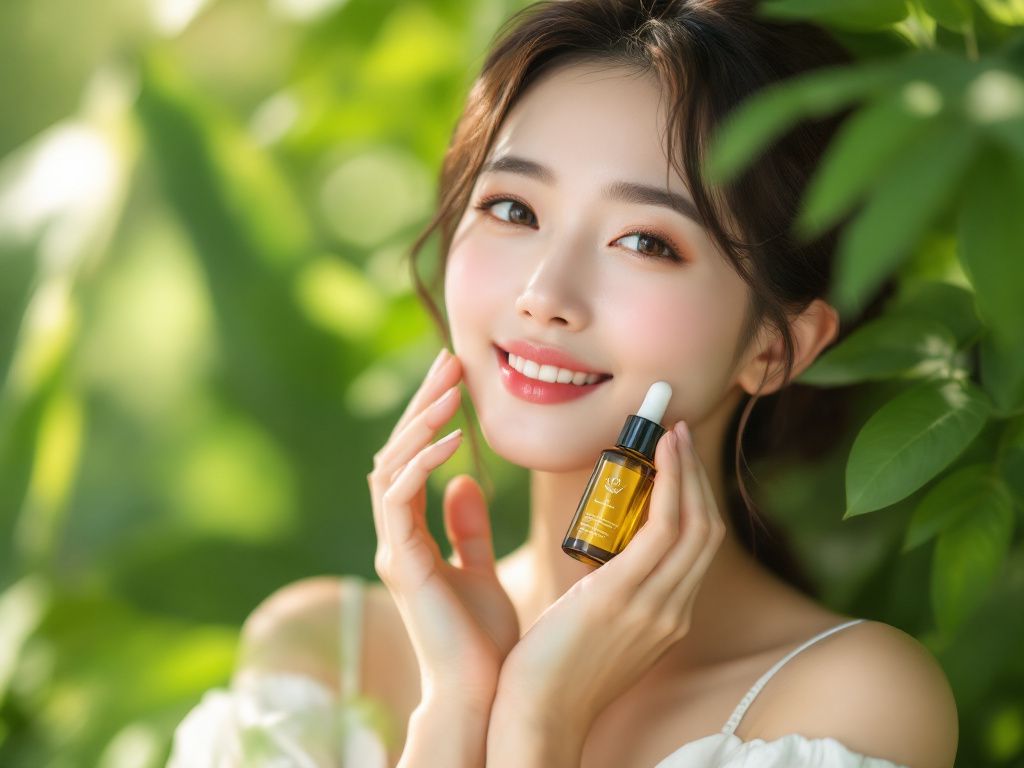
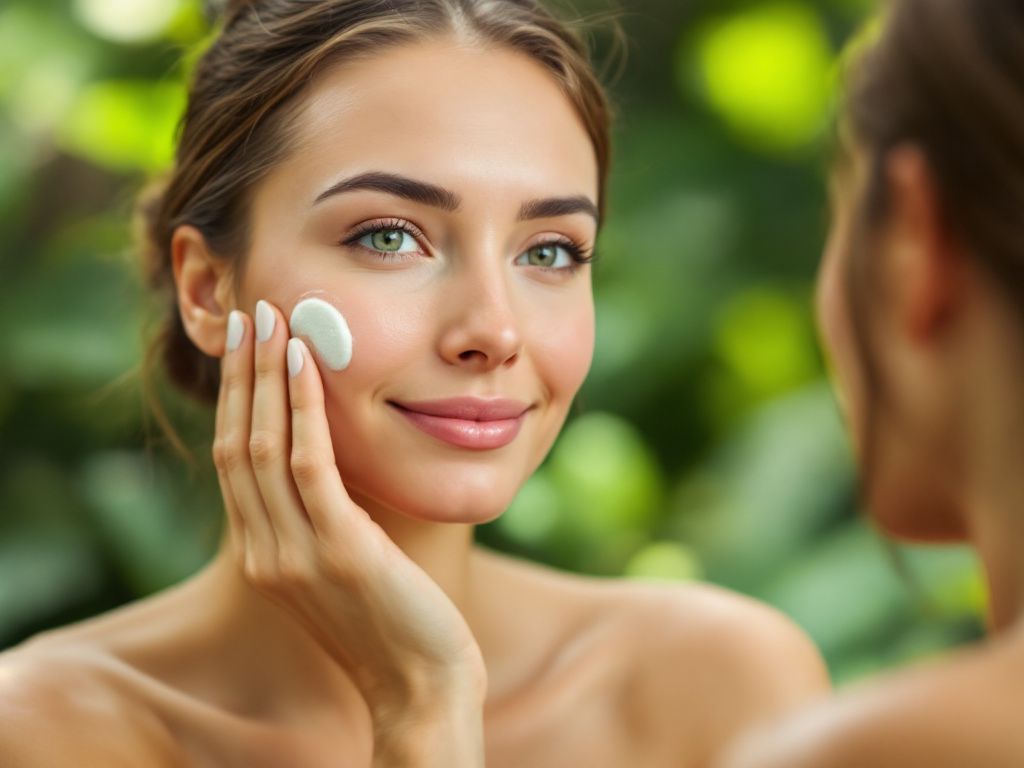
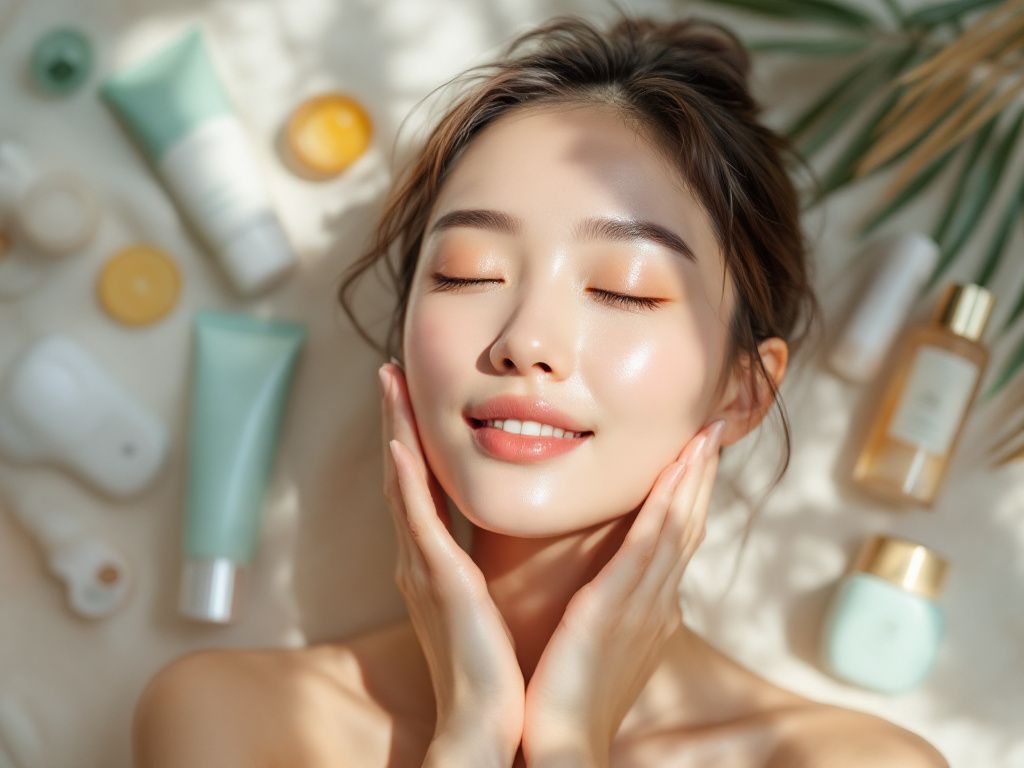
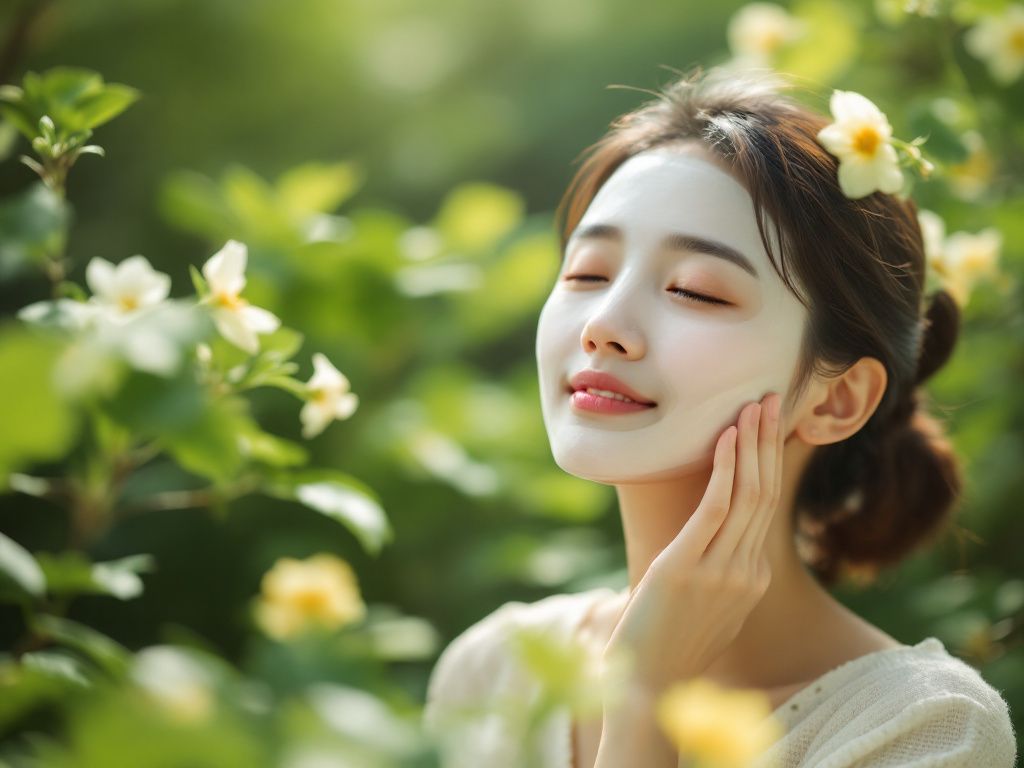
How to Use Your Homemade Serum
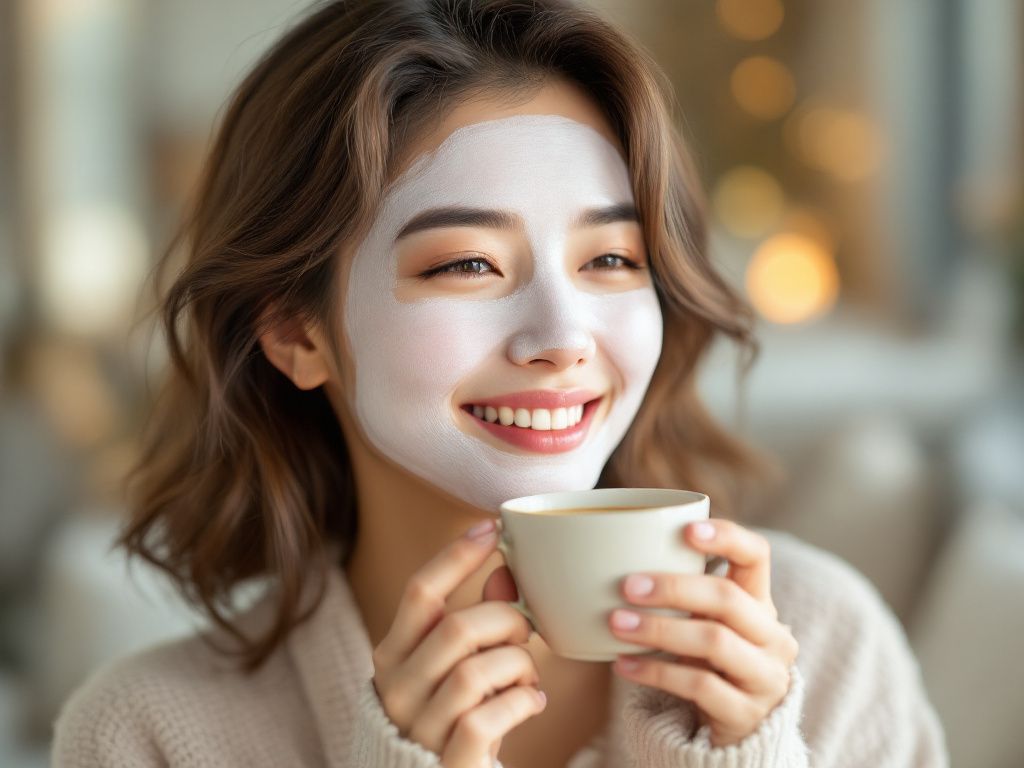
Alright, your serum’s ready—now what? Part of Korean skincare’s charm is its ritual nature. Embrace that zen-like process around your routine:
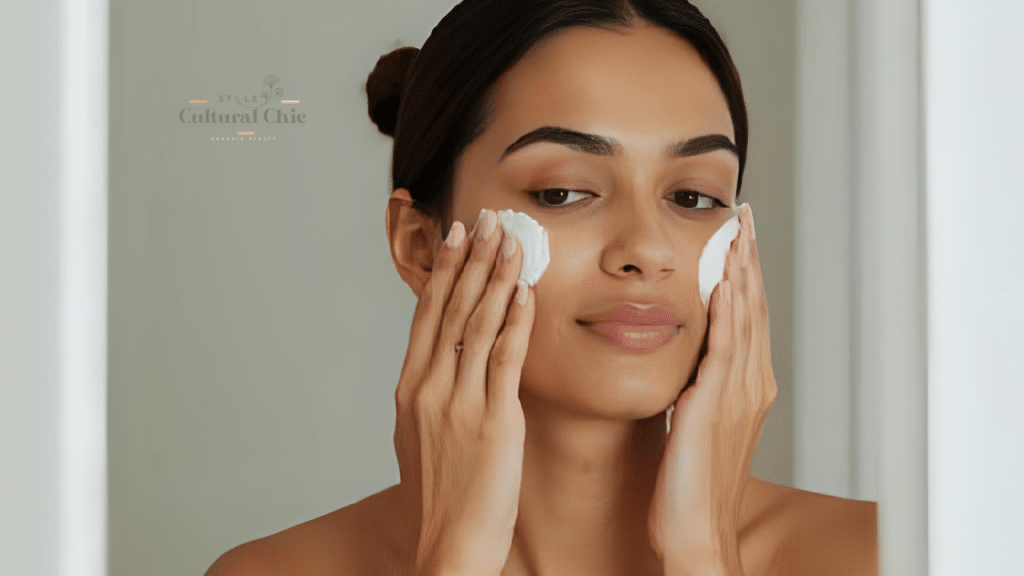
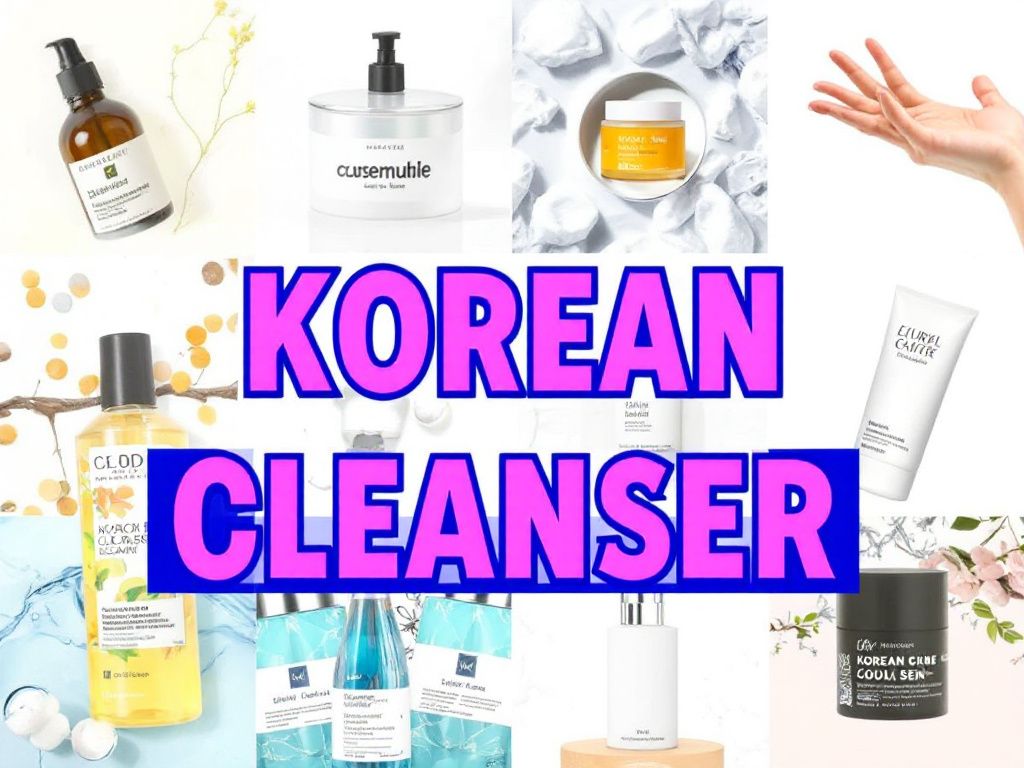
- Cleanse: Begin with a gentle cleanser to freshen up your skin.
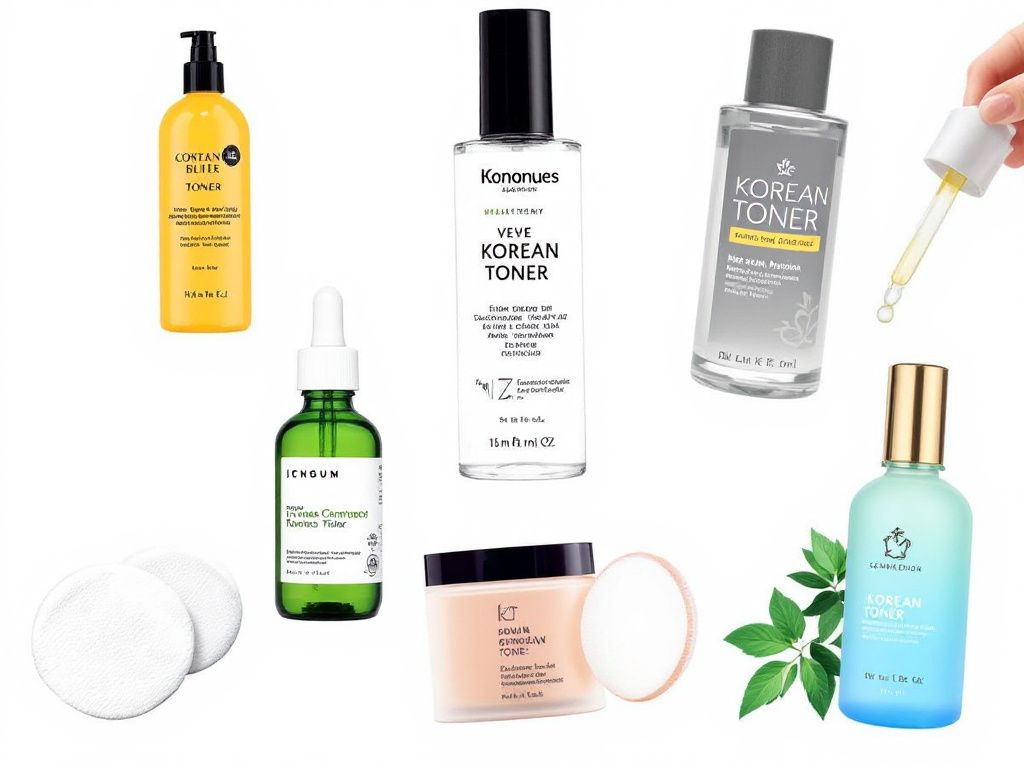
- Tone: A nourishing toner softens the surface and preps it for serum absorption.
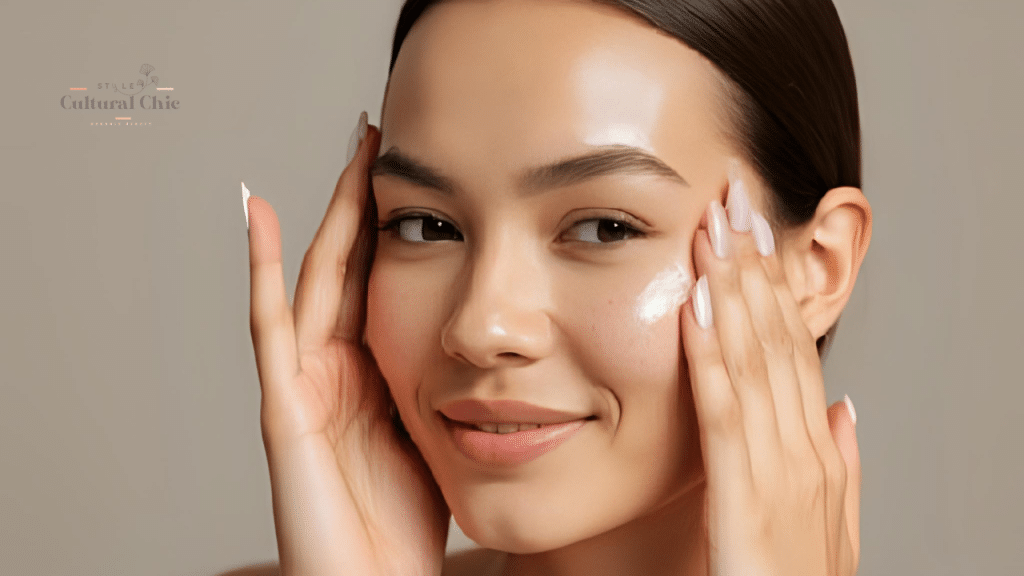
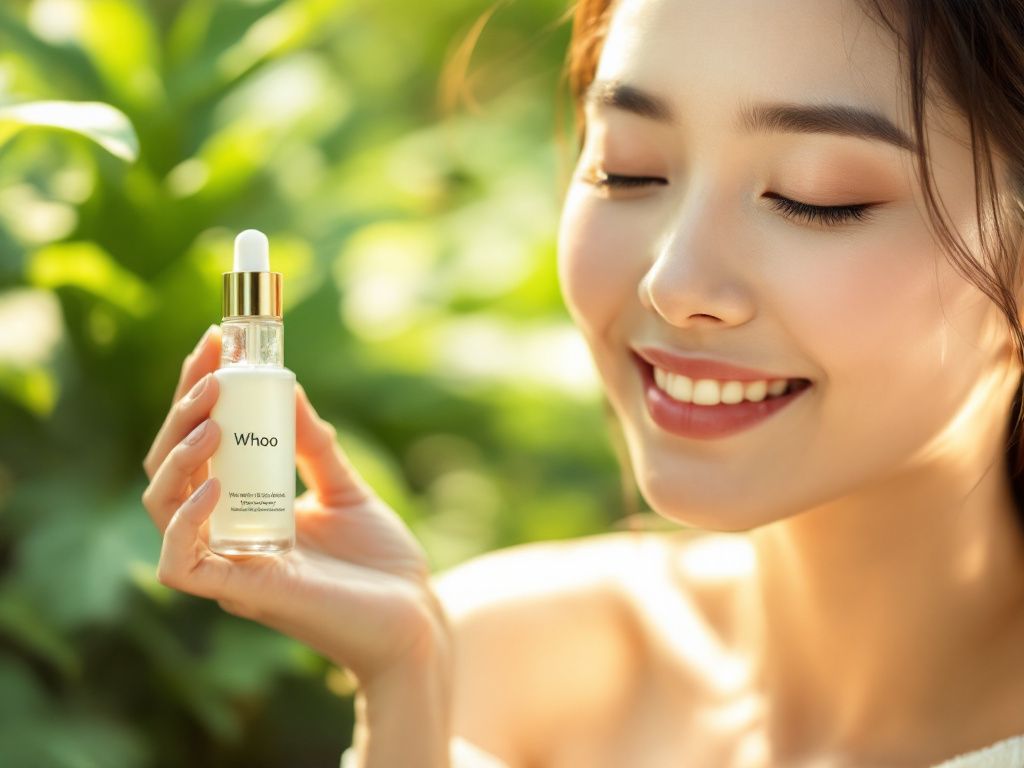
- Apply Serum: Using the dropper, dispense 2-3 drops onto your palm. Gently pat it over your face—think love tap, not slap.
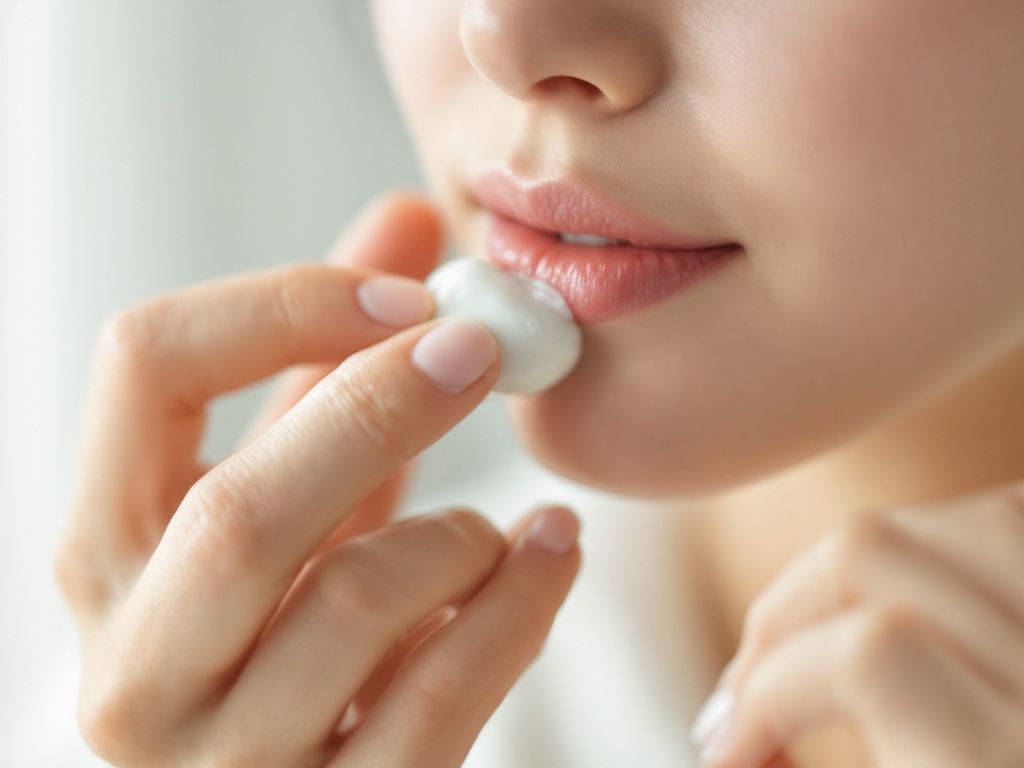
- Seal the deal with Moisturizer: Lock in all the serum goodness by topping off with a moisturizer that suits your skin type.
Troubleshooting Common Mistakes
So, maybe your serum isn’t turning out as expected, or it smells funky. Let’s go through some common snags and how to tackle them.
Texture Issues

If it’s too watery, you’ve overdone the amounts. Or if it’s too thick, less is more next time on the gels. Alter the proportions gently, don’t worry, experimentation is all part of the DIY game.
Scent Doesn’t Seem Right
Essentials oils vary in intensity, and something’s up if you’re feeling a chemical waft. Try altering the drops or check the source of your ingredients.
Storage Problems
Your DIY concoction may separate or spoil if not stored correctly. Ensure an airtight seal and keep it in a client spot, like a skincare shelf away from sunlight.
Benefits of Making Your Own Korean-Inspired Serum

In case you need convincing yet, homemade serums cater precisely to your skin’s whims. Bypass unseens in store-bought stuff that may irritate or break you out. Plus, it’s cost-efficient. Little re-ups on ingredients go a long way, leaving room for evaluating what works well with your skin and what doesn’t. Adding each essence-rich ingredient is part of bringing holistic wellness into skincare—where self-care frankly meets self-investment.
Recap on Key Concepts
- Customize your serum to suit personal skin needs, embracing unique elements that cater specifically to your face.
- Emulate best practices from Korean skincare with mindful and gentle layers.
- Savor the deep-rooted recognition in sticking with natural options that can never fall out of trend and adapt systematically to skin harmony.
Wrapping It Up
Creating a DIY natural Korean-inspired face serum is a walk in the park once you’re past that initial ingredient avons fear. It’s all about fine-tuning with the best ingredients. Empower yourself through ingredients forming the guiding touchstones in aligning exemplary care with budget-friendly ways to retain that skin-glow state. Now, take that serum flair, jump into Korean skincare respecting its vibrant health benefits, slap on a feel-good smile, and admire your self-made smooth sailing regime!
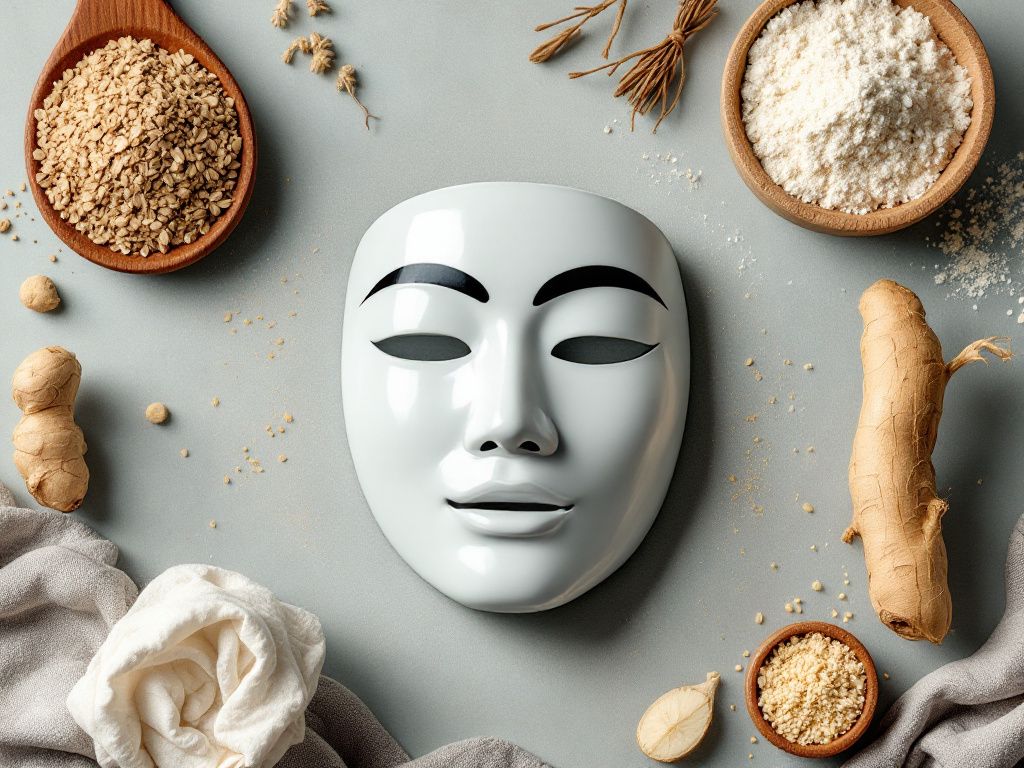
Frequently Asked Questions
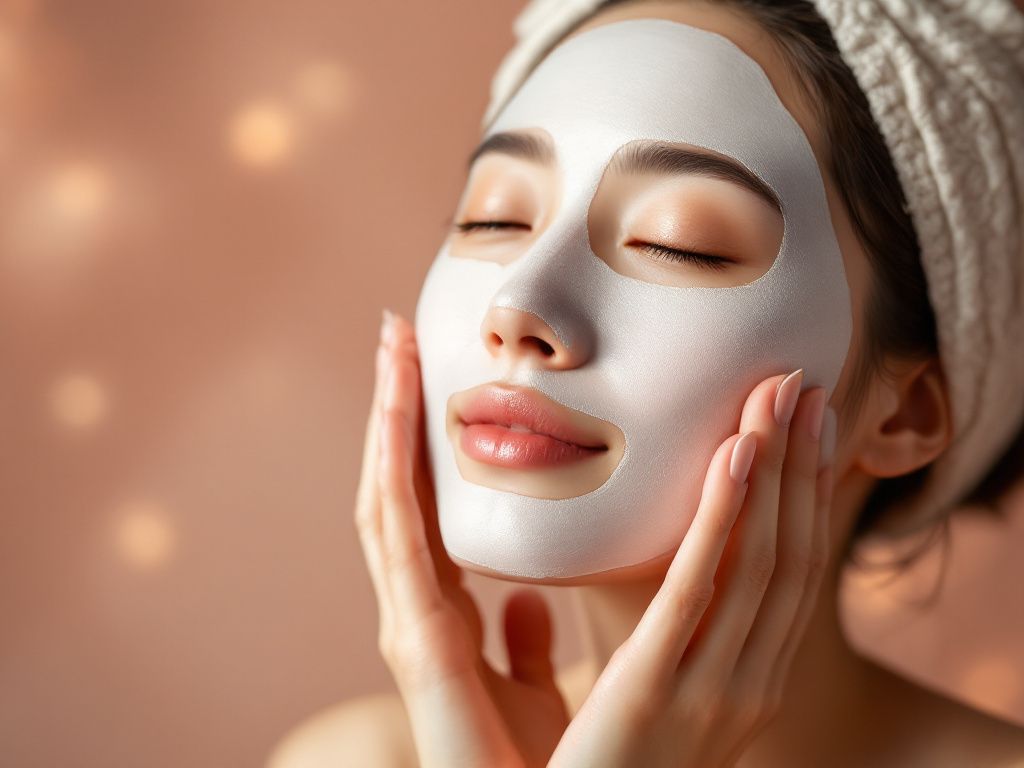
How often should I wash my face mask to prevent maskne?
To prevent maskne, it is crucial to wash your face mask regularly. For fabric masks, wash them after every use, similar to how you would wash your underwear[2][3][4]. Disposable masks should be tossed after each use to prevent the buildup of bacteria and other contaminants[3][5>.
What type of skincare products are best for preventing maskne?
For preventing maskne, use skincare products that are oil-free or noncomedogenic. These products, such as gentle cleansers, moisturizers, and sunscreens, help prevent clogged pores and reduce the risk of acne. Look for products containing salicylic acid or benzoyl peroxide for their acne-fighting properties[1][3][4>.
How can I reduce friction and irritation caused by wearing a face mask?
To reduce friction and irritation, choose a mask that fits well and is made from breathable fabrics like cotton or bamboo. Loosen the mask straps, use pads under the straps, or consider a headband-style mask to minimize friction. Taking brief breaks to remove the mask and allow your skin to breathe can also help[2][3][5>.
What are some additional tips to prevent maskne while wearing a face mask?
In addition to regular mask washing and using the right skincare products, avoid touching your face, skip makeup or use noncomedogenic makeup, and moisturize your skin to keep it hydrated. Also, limit the use of active ingredients like retinol or benzoyl peroxide during the day when wearing a mask, and consider using a topical antimicrobial cream to prevent bacterial buildup[1][3][4>.
References